1.Unplug refrigerator or disconnect power.

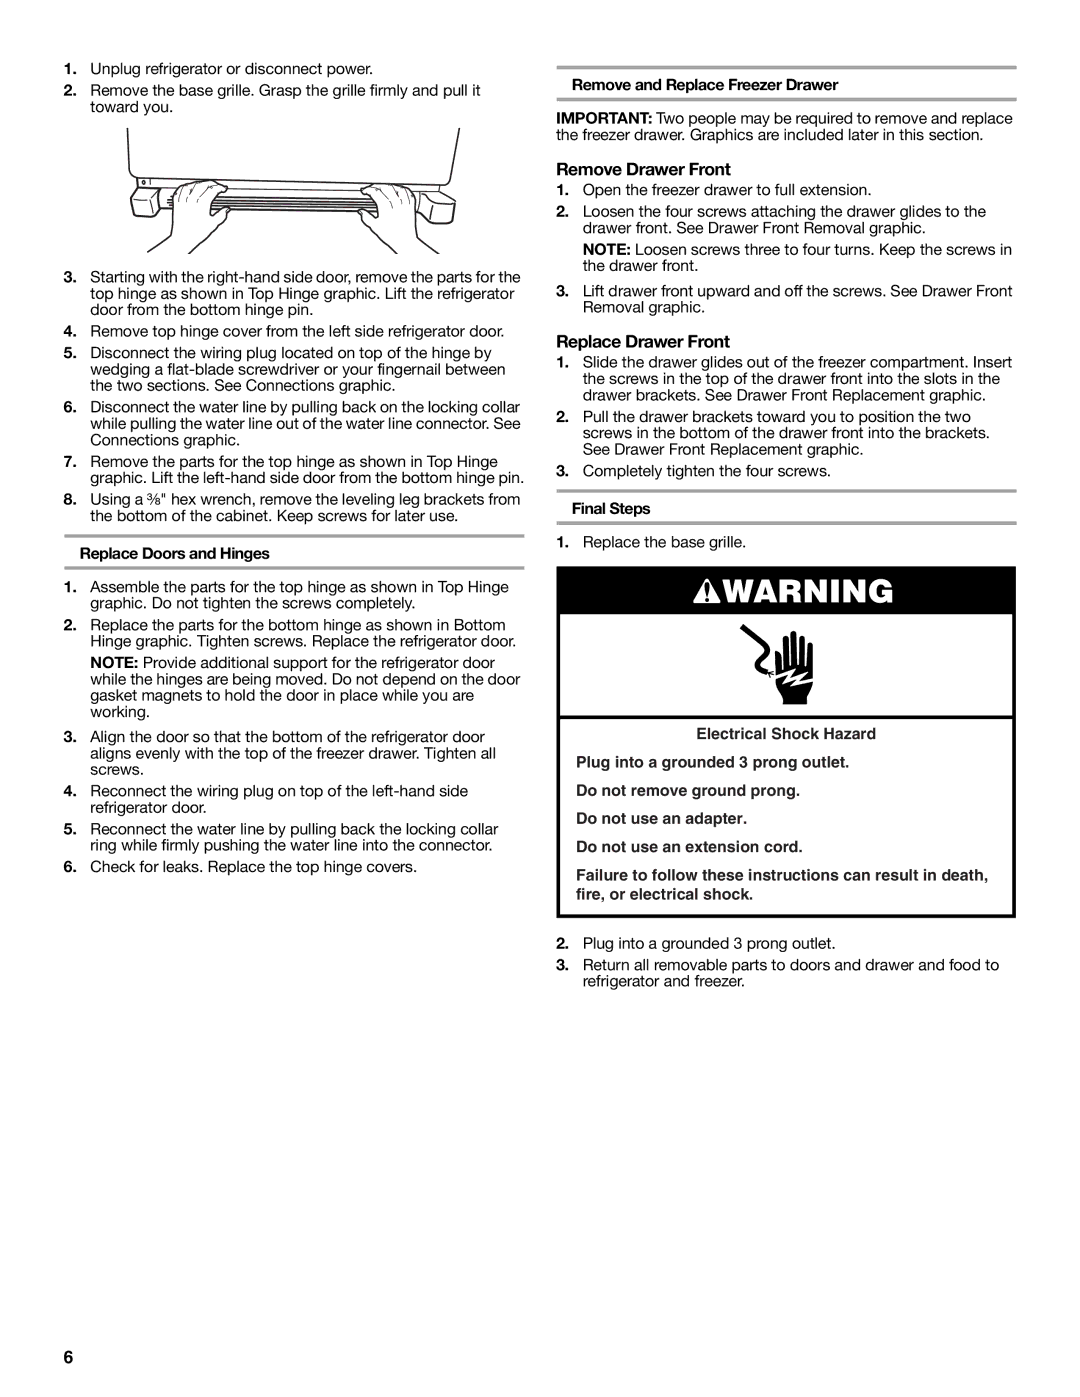
2.Remove the base grille. Grasp the grille firmly and pull it toward you.

3.Starting with the right-hand side door, remove the parts for the top hinge as shown in Top Hinge graphic. Lift the refrigerator door from the bottom hinge pin.

4.Remove top hinge cover from the left side refrigerator door.

5.Disconnect the wiring plug located on top of the hinge by wedging a flat-blade screwdriver or your fingernail between the two sections. See Connections graphic.

6.Disconnect the water line by pulling back on the locking collar while pulling the water line out of the water line connector. See Connections graphic.

7.Remove the parts for the top hinge as shown in Top Hinge graphic. Lift the left-hand side door from the bottom hinge pin.

8.Using a ³⁄₈" hex wrench, remove the leveling leg brackets from the bottom of the cabinet. Keep screws for later use.

Replace Doors and Hinges

1.Assemble the parts for the top hinge as shown in Top Hinge graphic. Do not tighten the screws completely.

2.Replace the parts for the bottom hinge as shown in Bottom Hinge graphic. Tighten screws. Replace the refrigerator door.

NOTE: Provide additional support for the refrigerator door while the hinges are being moved. Do not depend on the door gasket magnets to hold the door in place while you are working.

3.Align the door so that the bottom of the refrigerator door aligns evenly with the top of the freezer drawer. Tighten all screws.

4.Reconnect the wiring plug on top of the left-hand side refrigerator door.

5.Reconnect the water line by pulling back the locking collar ring while firmly pushing the water line into the connector.

6.Check for leaks. Replace the top hinge covers.

Remove and Replace Freezer Drawer

IMPORTANT: Two people may be required to remove and replace the freezer drawer. Graphics are included later in this section.

Remove Drawer Front

1.Open the freezer drawer to full extension.

2.Loosen the four screws attaching the drawer glides to the drawer front. See Drawer Front Removal graphic.

NOTE: Loosen screws three to four turns. Keep the screws in the drawer front.

3.Lift drawer front upward and off the screws. See Drawer Front Removal graphic.

Replace Drawer Front

1.Slide the drawer glides out of the freezer compartment. Insert the screws in the top of the drawer front into the slots in the drawer brackets. See Drawer Front Replacement graphic.

2.Pull the drawer brackets toward you to position the two screws in the bottom of the drawer front into the brackets. See Drawer Front Replacement graphic.

3.Completely tighten the four screws.

Final Steps

1.Replace the base grille.

WARNING

Electrical Shock Hazard

Plug into a grounded 3 prong outlet.

Do not remove ground prong.

Do not use an adapter.

Do not use an extension cord.

Failure to follow these instructions can result in death, fire, or electrical shock.

2.Plug into a grounded 3 prong outlet.

3.Return all removable parts to doors and drawer and food to refrigerator and freezer.

6

Page 6
Image 6
Whirlpool W10329360A Remove Drawer Front, Replace Drawer Front, Replace Doors and Hinges, Final Steps

W10329360A specifications

The Whirlpool W10329360A is a premium appliance designed for modern kitchens, seamlessly blending functionality with stylish design. This advanced dish rack serves as a crucial part of the dishwashing process, providing ample space for wet dishes while ensuring optimal drying conditions. One of its standout features is its innovative design, which allows dishes to be stacked efficiently, maximizing space without compromising accessibility.

One notable characteristic of the W10329360A is its adjustable tiers. The tiers can be modified to accommodate various types of cookware and dinnerware. This flexibility is particularly beneficial for households that frequently use oversized pots and pans, providing the necessary room for larger items. The dish rack also features a durable stainless steel construction, making it resistant to rust and corrosion, which is essential for maintaining a clean and hygienic kitchen environment.

In addition to its robust build, the Whirlpool W10329360A incorporates smart drainage technology. This feature ensures that water is directed away from the clean dishes, facilitating a quicker drying process and reducing the risk of water spots. The integrated drainage system works efficiently, allowing the excess water to flow into nearby sinks without creating a mess on the countertop.

Another important aspect is the rack's anti-slip design. Equipped with soft rubber feet, the dish rack stays securely in place on your counter, preventing any accidental slips or spills. This stability is crucial when stacking fragile glassware and china. Its elegant finish not only complements a variety of kitchen decors but also enhances the overall aesthetic of your dishwashing station.

Whirlpool has always focused on user-friendliness, and the W10329360A is no exception. It is easy to clean, with smooth surfaces that can be quickly wiped down to maintain peak hygiene. This ease of maintenance extends the product's longevity, making it a reliable addition to any kitchen.

Overall, the Whirlpool W10329360A combines practicality with cutting-edge features, making it an ideal choice for both busy families and those who appreciate a well-organized kitchen space. Whether you're dealing with an everyday meal's dishes or hosting a large gathering, this dish rack is designed to meet your needs efficiently and stylishly.