
WFE540H0AS, W10392930A specifications
The Whirlpool W10392930A and WFE540H0AS are standout appliances in the realm of modern kitchen technology, designed for both efficiency and convenience. These products reflect a commitment to delivering high-quality performance, making them ideal for any contemporary home.The Whirlpool W10392930A is a versatile wall oven that epitomizes innovation. One of its main features is the True Convection cooking system, which utilizes a fan and a third heating element to circulate hot air throughout the oven evenly. This technology ensures that dishes are cooked more uniformly and can reduce cooking times, making meal preparation more efficient.
Another significant characteristic of the W10392930A is its Smart Oven technology. This feature allows users to control the oven remotely through a smartphone application. Whether adjusting cooking temperatures or monitoring cooking progress, home chefs can do so from anywhere, further enhancing convenience in the kitchen.
In terms of design, the W10392930A boasts a sleek, stainless steel finish that aligns perfectly with modern kitchen aesthetics. Its intuitive touchscreen controls simplify the cooking process, allowing users to select settings easily.
Moving on to the Whirlpool WFE540H0AS, this freestanding electric range combines style with functionality. One of its standout features is the 6.4 cu. ft. capacity, providing ample space for baking multiple dishes at once. The range also includes a FlexHeat dual radiant element, which offers versatile heating options for pots and pans of various sizes.
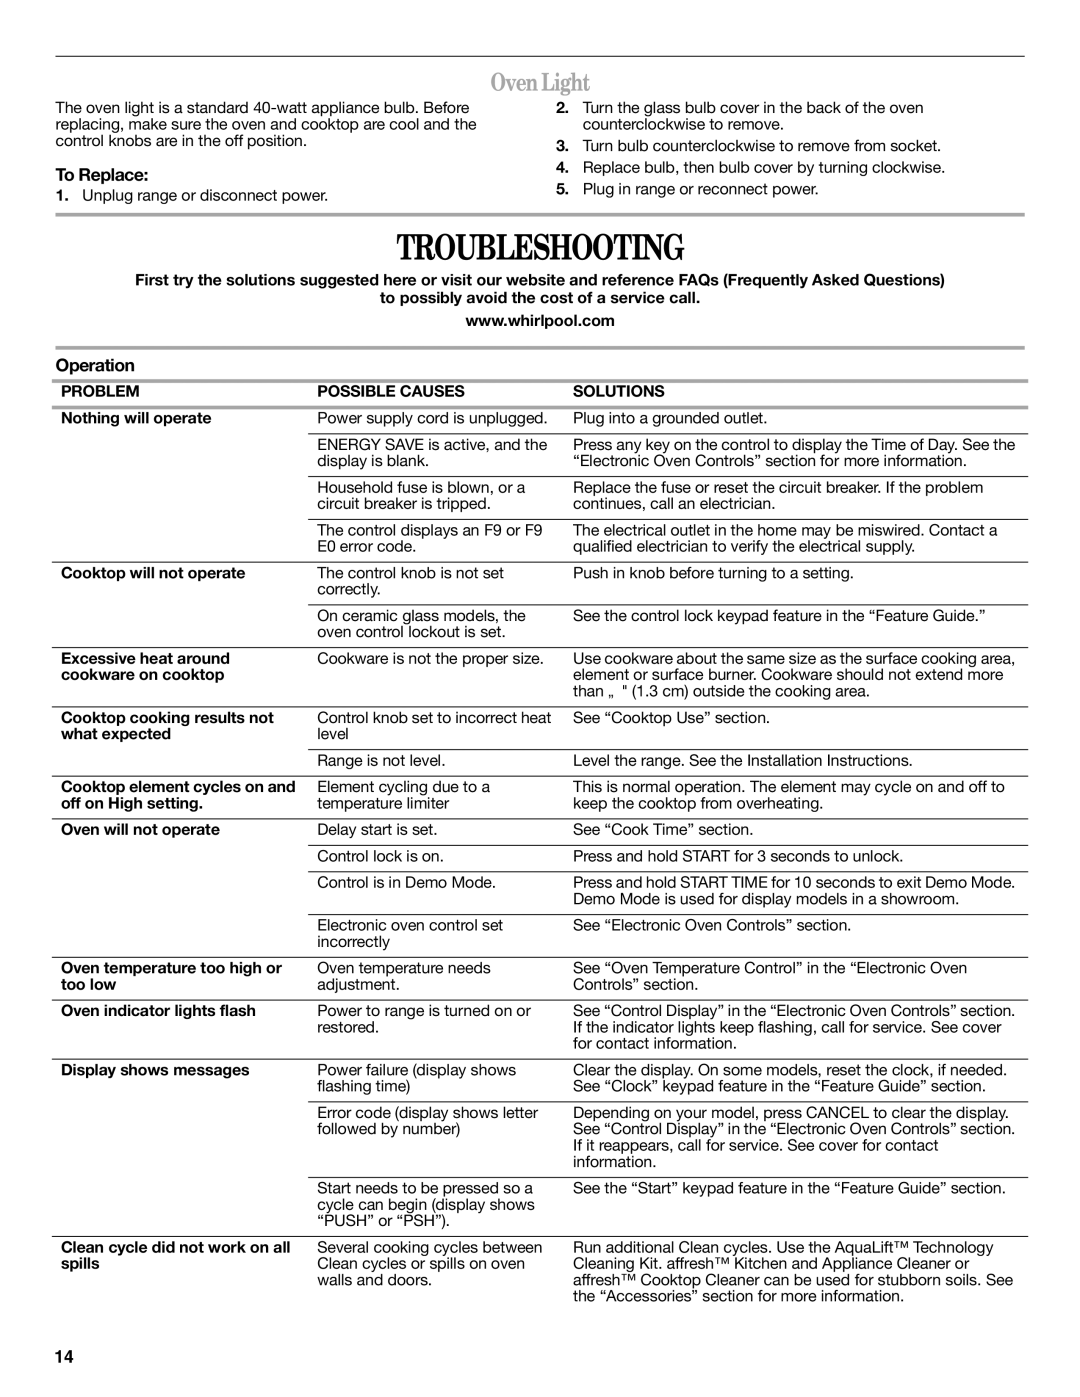
The WFE540H0AS is equipped with a range of safety features, including a control lock option that prevents accidental adjustments during cooking. This is particularly useful in households with young children, ensuring a safer cooking environment.
Additionally, this model features a self-cleaning oven option, making it easier to maintain its pristine appearance. Users can choose between a self-clean cycle or a steam cleaning option, catering to different cleaning preferences.
Both the W10392930A and WFE540H0AS showcase Whirlpool's dedication to user-friendly designs and cutting-edge technology. With their impressive features, these appliances not only simplify the cooking process but also contribute to a stylish and modern kitchen environment. Whether you are a culinary enthusiast or a busy family, these Whirlpool products promise reliability and performance to enhance your cooking experience.