Refrigerator Doors
Tools Needed: |
|
| |
■ | ⁵⁄₁₆" | ■ | ⁵⁄₁₆" |
| wrench |
|
|
■ | #2 Phillips screwdriver | ■ | Flat 2" putty knife |
■
IMPORTANT:
■Before you begin, turn the refrigerator control OFF. Unplug refrigerator or disconnect power.
■Remove food and adjustable door or utility bins from doors.
■If you are only removing and replacing the doors, see the “Remove Doors and Hinges” and “Replace Doors and Hinges” sections.
■Depending on your model, you may have standard (Style 1) or contoured (Style 2) doors. If you are also going to reverse the door swing, follow the instructions for the appropriate door style.
NOTE: A Reversibility Kit, which includes a new Brand Badge and hole covers, is available.
■All graphics referenced in the following instructions are included later in this section after “Final Steps.”
Remove Doors and Hinges
⁵⁄₁₆"
1.Unplug refrigerator or disconnect power.
2.Close the refrigerator door and keep both doors closed until you are ready to lift them free from the cabinet.
NOTE: Provide additional support for the doors while the hinges are being moved. Do not depend on the door magnets to hold the doors in place while you are working.
3.Remove the parts for the top hinge, as shown in Top Hinge graphic. Lift the freezer door free from the cabinet.
4.Remove the parts for the center hinge, as shown in the Center Hinge graphic. Lift the refrigerator door free from the cabinet.
5.Remove base grille from the bottom front of the refrigerator.
6.Remove the parts for the bottom hinge, as shown in the Bottom Hinge graphic.
Reverse Doors (optional)
IMPORTANT: If you want to reverse your doors so that they open in the opposite direction, follow these steps. If you are not reversing the doors, see “Replace Doors and Hinges.”
Style 1 - Standard Door Models
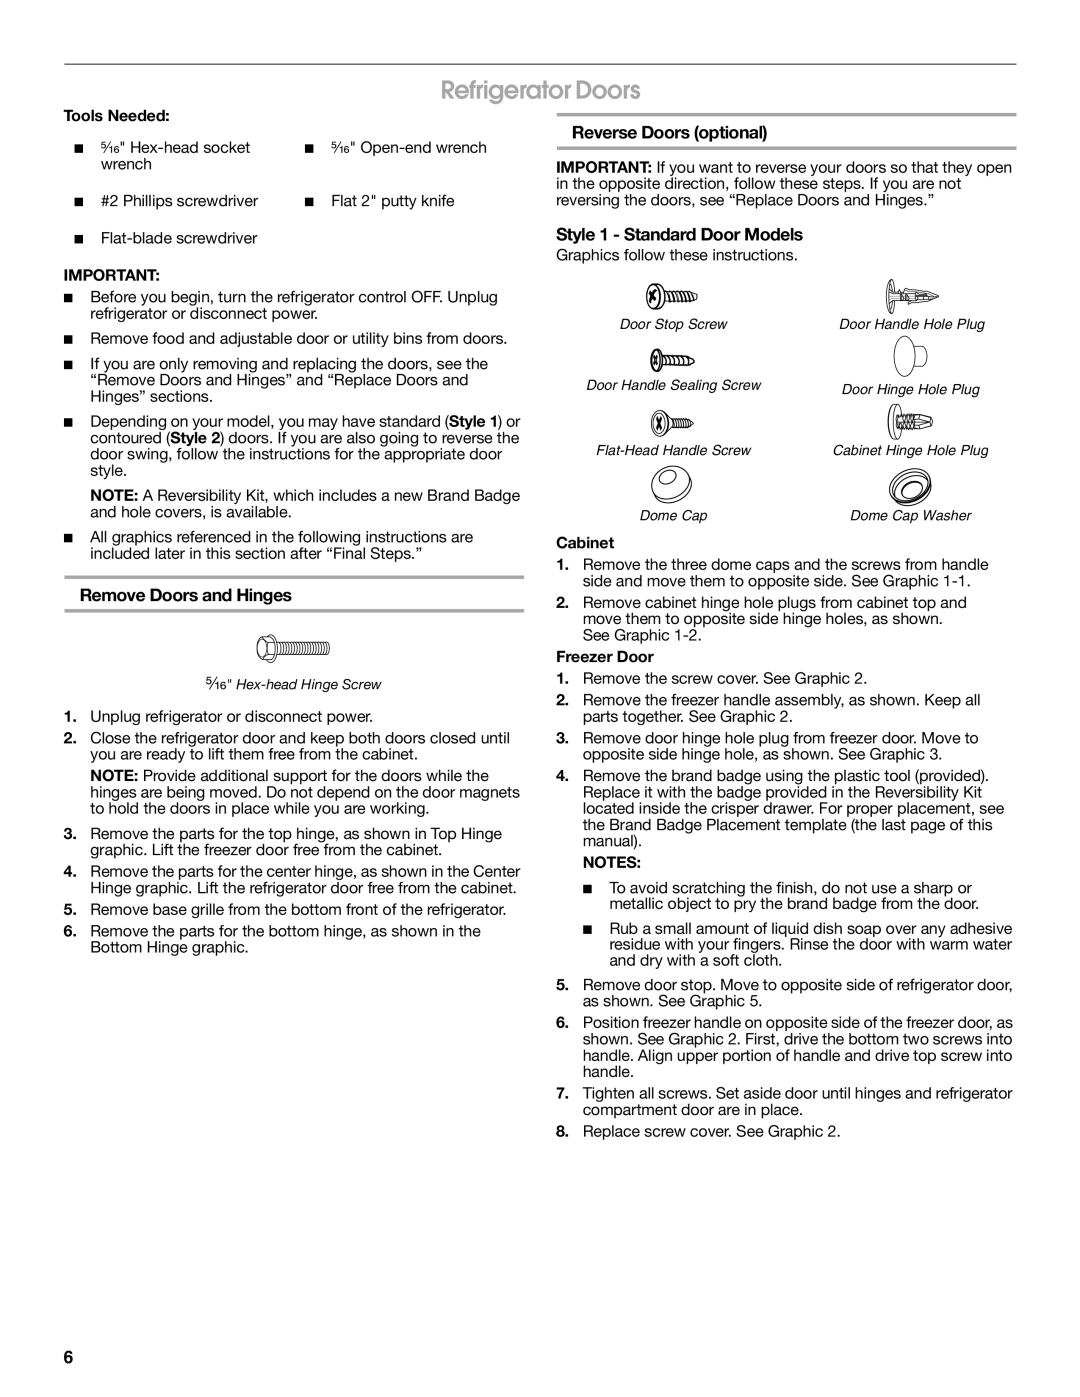
Graphics follow these instructions.
Door Stop Screw | Door Handle Hole Plug |
Door Handle Sealing Screw | Door Hinge Hole Plug |
| |
Cabinet Hinge Hole Plug | |
Dome Cap | Dome Cap Washer |
Cabinet
1.Remove the three dome caps and the screws from handle side and move them to opposite side. See Graphic
2.Remove cabinet hinge hole plugs from cabinet top and move them to opposite side hinge holes, as shown. See Graphic
Freezer Door
1.Remove the screw cover. See Graphic 2.
2.Remove the freezer handle assembly, as shown. Keep all parts together. See Graphic 2.
3.Remove door hinge hole plug from freezer door. Move to opposite side hinge hole, as shown. See Graphic 3.
4.Remove the brand badge using the plastic tool (provided). Replace it with the badge provided in the Reversibility Kit located inside the crisper drawer. For proper placement, see the Brand Badge Placement template (the last page of this manual).
NOTES:
■To avoid scratching the finish, do not use a sharp or metallic object to pry the brand badge from the door.
■Rub a small amount of liquid dish soap over any adhesive residue with your fingers. Rinse the door with warm water and dry with a soft cloth.
5.Remove door stop. Move to opposite side of refrigerator door, as shown. See Graphic 5.
6.Position freezer handle on opposite side of the freezer door, as shown. See Graphic 2. First, drive the bottom two screws into handle. Align upper portion of handle and drive top screw into handle.
7.Tighten all screws. Set aside door until hinges and refrigerator compartment door are in place.
8.Replace screw cover. See Graphic 2.
6