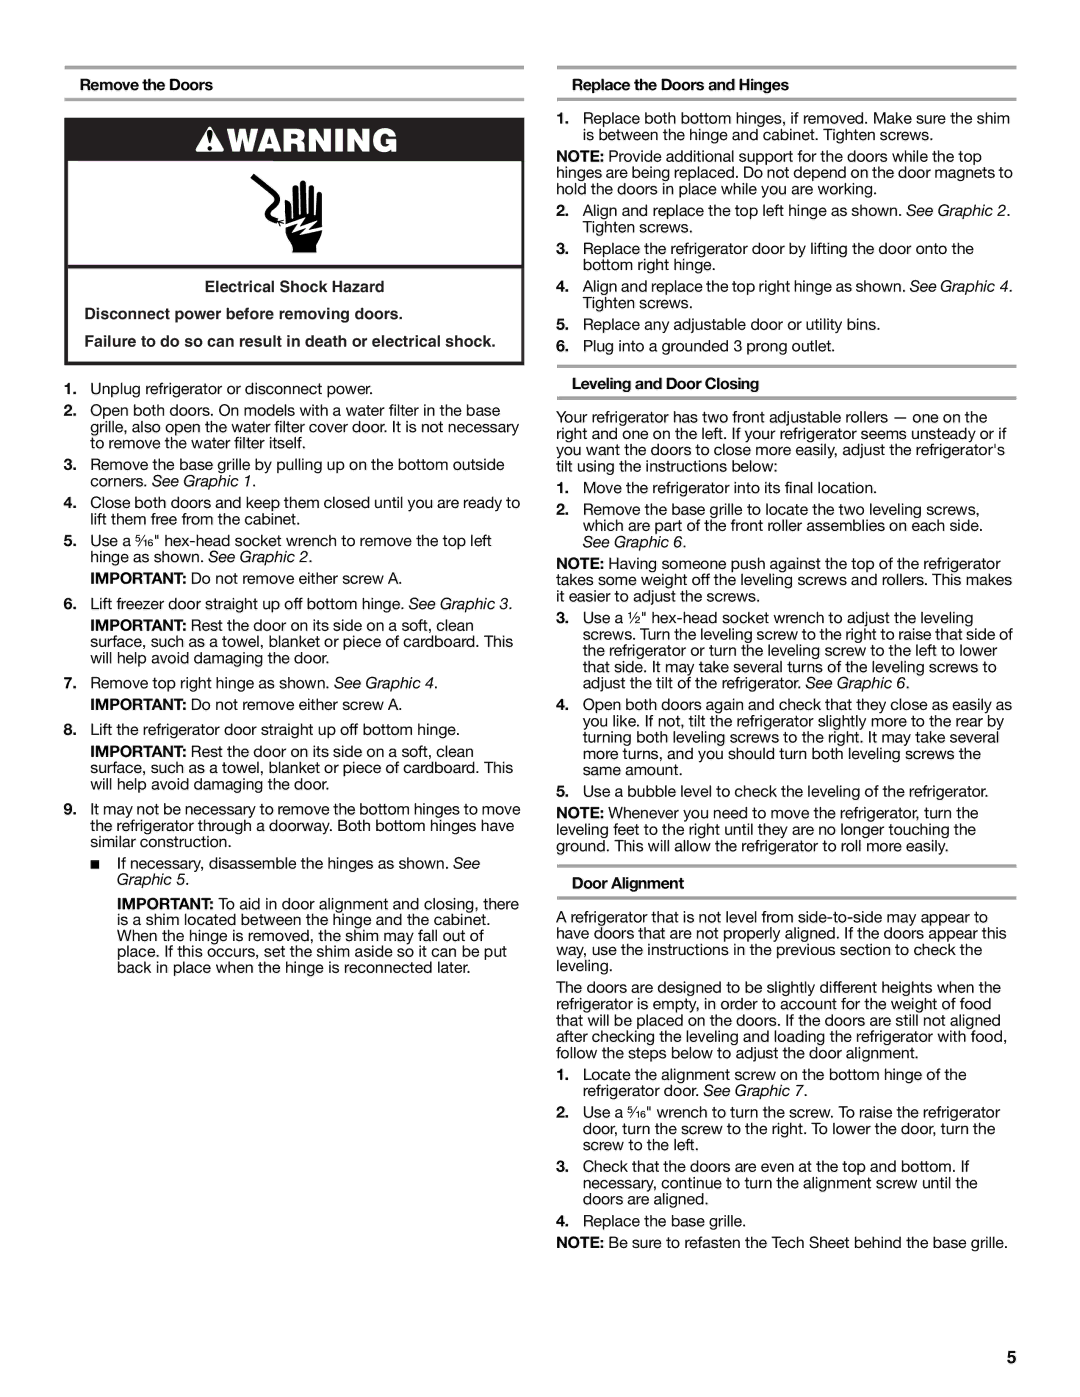
Remove the Doors

WARNING

Electrical Shock Hazard

Disconnect power before removing doors.

Failure to do so can result in death or electrical shock.

1.Unplug refrigerator or disconnect power.

2.Open both doors. On models with a water filter in the base grille, also open the water filter cover door. It is not necessary to remove the water filter itself.

3.Remove the base grille by pulling up on the bottom outside corners. See Graphic 1.

4.Close both doors and keep them closed until you are ready to lift them free from the cabinet.

5.Use a ⁵⁄₁₆" hex-head socket wrench to remove the top left hinge as shown. See Graphic 2.

IMPORTANT: Do not remove either screw A.

6.Lift freezer door straight up off bottom hinge. See Graphic 3.

IMPORTANT: Rest the door on its side on a soft, clean surface, such as a towel, blanket or piece of cardboard. This will help avoid damaging the door.

7.Remove top right hinge as shown. See Graphic 4. IMPORTANT: Do not remove either screw A.

8.Lift the refrigerator door straight up off bottom hinge.

IMPORTANT: Rest the door on its side on a soft, clean surface, such as a towel, blanket or piece of cardboard. This will help avoid damaging the door.

9.It may not be necessary to remove the bottom hinges to move the refrigerator through a doorway. Both bottom hinges have similar construction.

If necessary, disassemble the hinges as shown. See Graphic 5.

IMPORTANT: To aid in door alignment and closing, there is a shim located between the hinge and the cabinet. When the hinge is removed, the shim may fall out of place. If this occurs, set the shim aside so it can be put back in place when the hinge is reconnected later.

Replace the Doors and Hinges

1.Replace both bottom hinges, if removed. Make sure the shim is between the hinge and cabinet. Tighten screws.

NOTE: Provide additional support for the doors while the top hinges are being replaced. Do not depend on the door magnets to hold the doors in place while you are working.

2.Align and replace the top left hinge as shown. See Graphic 2. Tighten screws.

3.Replace the refrigerator door by lifting the door onto the bottom right hinge.

4.Align and replace the top right hinge as shown. See Graphic 4. Tighten screws.

5.Replace any adjustable door or utility bins.

6.Plug into a grounded 3 prong outlet.

Leveling and Door Closing

Your refrigerator has two front adjustable rollers — one on the right and one on the left. If your refrigerator seems unsteady or if you want the doors to close more easily, adjust the refrigerator's tilt using the instructions below:

1.Move the refrigerator into its final location.

2.Remove the base grille to locate the two leveling screws, which are part of the front roller assemblies on each side. See Graphic 6.

NOTE: Having someone push against the top of the refrigerator takes some weight off the leveling screws and rollers. This makes it easier to adjust the screws.

3.Use a ¹⁄₂" hex-head socket wrench to adjust the leveling screws. Turn the leveling screw to the right to raise that side of the refrigerator or turn the leveling screw to the left to lower that side. It may take several turns of the leveling screws to adjust the tilt of the refrigerator. See Graphic 6.

4.Open both doors again and check that they close as easily as you like. If not, tilt the refrigerator slightly more to the rear by turning both leveling screws to the right. It may take several more turns, and you should turn both leveling screws the same amount.

5.Use a bubble level to check the leveling of the refrigerator.

NOTE: Whenever you need to move the refrigerator, turn the leveling feet to the right until they are no longer touching the ground. This will allow the refrigerator to roll more easily.

Door Alignment

A refrigerator that is not level from side-to-side may appear to have doors that are not properly aligned. If the doors appear this way, use the instructions in the previous section to check the leveling.

The doors are designed to be slightly different heights when the refrigerator is empty, in order to account for the weight of food that will be placed on the doors. If the doors are still not aligned after checking the leveling and loading the refrigerator with food, follow the steps below to adjust the door alignment.

1.Locate the alignment screw on the bottom hinge of the refrigerator door. See Graphic 7.

2.Use a ⁵⁄₁₆" wrench to turn the screw. To raise the refrigerator door, turn the screw to the right. To lower the door, turn the screw to the left.

3.Check that the doors are even at the top and bottom. If necessary, continue to turn the alignment screw until the doors are aligned.

4.Replace the base grille.

NOTE: Be sure to refasten the Tech Sheet behind the base grille.

5

Page 5
Image 5
Whirlpool WRS325FNAM installation instructions Replace the Doors and Hinges, Leveling and Door Closing, Door Alignment

WRS325FNAM specifications

The Whirlpool WRS325FNAM is a side-by-side refrigerator that combines a classic design with modern features, catering to those who value both style and functionality in their kitchen appliances. This refrigerator is notable for its sleek stainless steel finish, which not only enhances its aesthetic appeal but also ensures durability and easy maintenance.

One of the key features of the WRS325FNAM is its spacious interior, designed to optimize storage. With a total capacity of 25 cubic feet, it provides ample space for groceries and household items. The two doors offer easy access to both the refrigerator and freezer sections, allowing for convenient organization and storage of food items. The adjustable shelving in the refrigerator compartment allows users to customize the space according to their needs, accommodating taller bottles or larger containers with ease.

Additionally, the refrigerator includes a water and ice dispenser located on the front, providing easy access to chilled water and ice cubes. This feature is particularly convenient for families and individuals who enjoy having cold beverages readily available. The water filter ensures that the water dispensed is clean and free from impurities, promoting a healthier lifestyle.

Energy efficiency is another highlight of the Whirlpool WRS325FNAM. It is designed to be energy-efficient, helping homeowners save on utility bills while also reducing their environmental footprint. The refrigerator is ENERGY STAR certified, meaning it meets strict energy efficiency guidelines set by the U.S. Environmental Protection Agency.

The technology integrated into this refrigerator also enhances its cooling performance. Equipped with a reliable cooling system, it maintains consistent temperatures throughout the unit to keep food fresher for longer. The humidity-controlled crisper drawers help preserve fruits and vegetables, extending their shelf life by maintaining optimal humidity levels.

Moreover, the WRS325FNAM features bright LED lighting that illuminates the interior, making it easy to spot items even in low light conditions. The easy-to-clean surfaces and fingerprint-resistant finish further make maintenance simple, keeping the appliance looking new over time.

In summary, the Whirlpool WRS325FNAM side-by-side refrigerator stands out for its combination of style, functionality, and energy efficiency. Its spacious design, modern features like a water and ice dispenser, and advanced cooling technology make it a practical addition to any kitchen. With the WRS325FNAM, users can enjoy both convenience and reliability in their daily food storage needs.