
C500APT, C500AP specifications
Wilbur Curtis Company has long been a prominent name in the coffee equipment industry, known for its high-quality brewing solutions. One of its standout products is the C500AP/C500APT series, which has gained acclaim among coffee enthusiasts and commercial operators alike. These machines are designed to meet the demands of both high-volume coffee production and consistent performance, making them a staple in cafés, restaurants, and various foodservice venues.The C500AP model features a robust brewing system capable of producing up to 12 gallons of coffee per hour, while the C500APT mirrors this performance with additional advanced features. Both models are equipped with an innovative brewing technology that ensures optimal extraction and rich flavor profiles. The brewing process is finely tuned to allow for precise control over water temperature and contact time, which are critical in achieving the best coffee flavor.
At the heart of the C500AP/C500APT series is the Curtis Heat Exchange System, which allows for rapid brewing while maintaining the desired coffee temperature. This ensures that every batch of coffee is brewed to perfection, regardless of the volume being produced. Additionally, the machines boast a pre-infusion feature, allowing for the saturation of coffee grounds before the main brewing cycle, enhancing flavor extraction and aroma.
Ergonomics is another key feature of these models. The C500AP and C500APT are designed with user-friendly interfaces, making them easy to operate even in busy environments. Both machines also come with programmable brew controls, allowing users to customize brew strength and volume, which is essential for meeting diverse customer preferences.
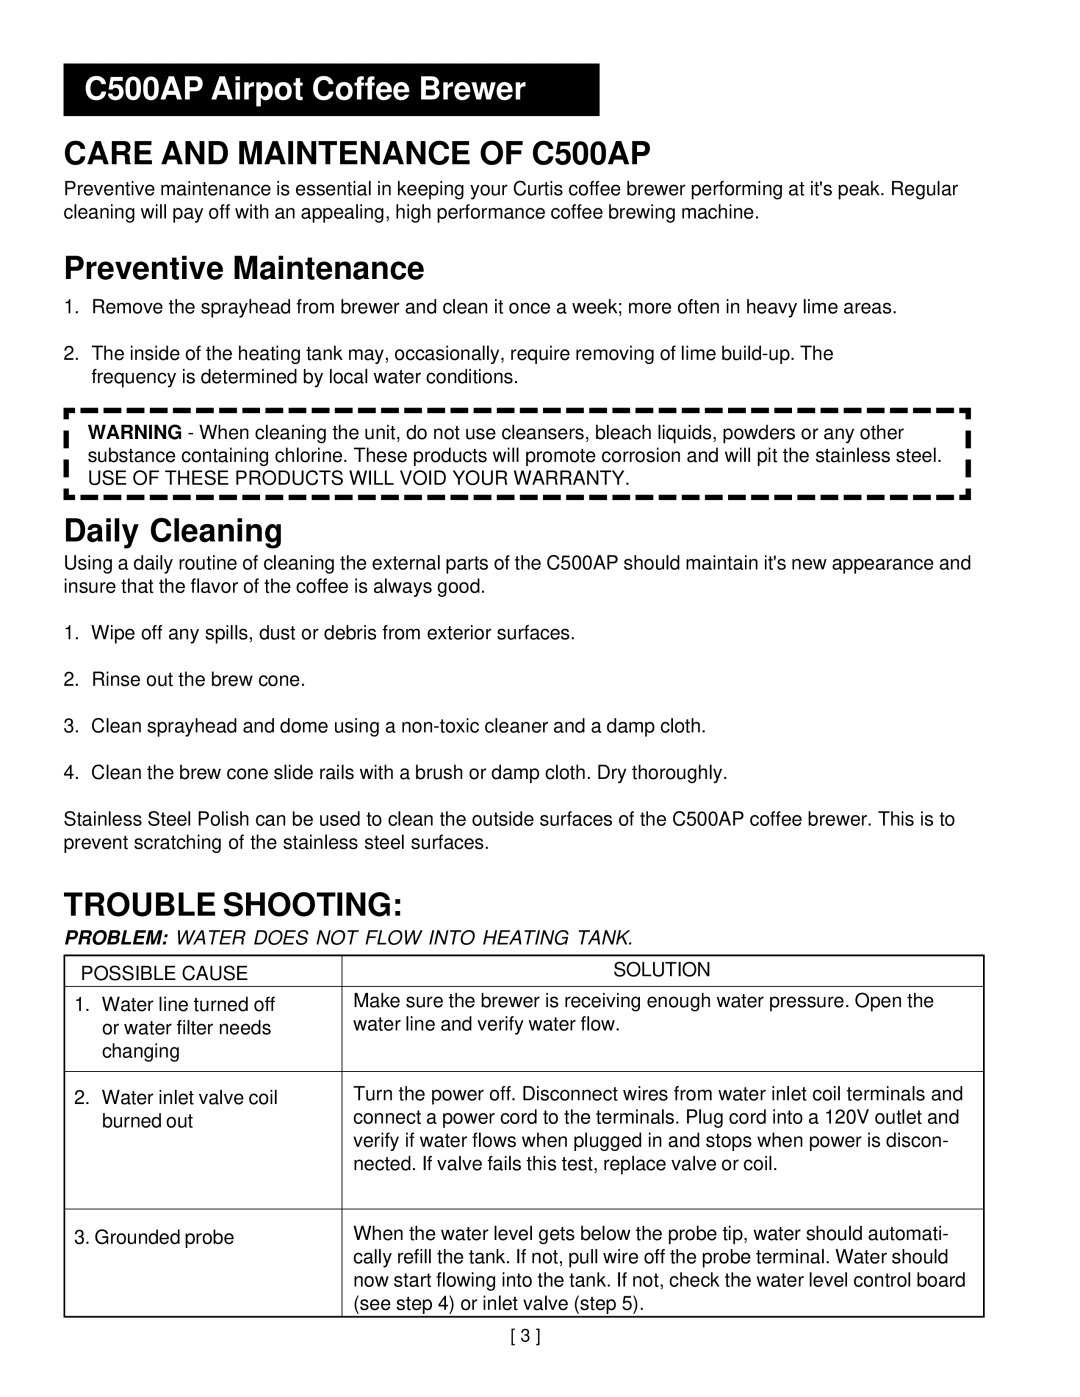
Durability and reliability are hallmarks of the Wilbur Curtis brand, and the C500 series is no exception. Constructed from heavy-duty materials, these machines are built to withstand the rigors of daily use. Their maintenance-friendly design ensures that routine cleaning and servicing can be performed with minimal downtime, thus maximizing operational efficiency.
In conclusion, the Wilbur Curtis C500AP and C500APT coffee brewers stand out for their combination of innovative brewing technology, robust performance, and user-centric design. With their ability to produce high-quality coffee quickly and efficiently, they are ideal for any establishment focused on delivering exceptional coffee experiences. As the demand for quality coffee continues to grow, the C500 series remains an excellent choice for commercial operators looking to enhance their coffee offerings.