
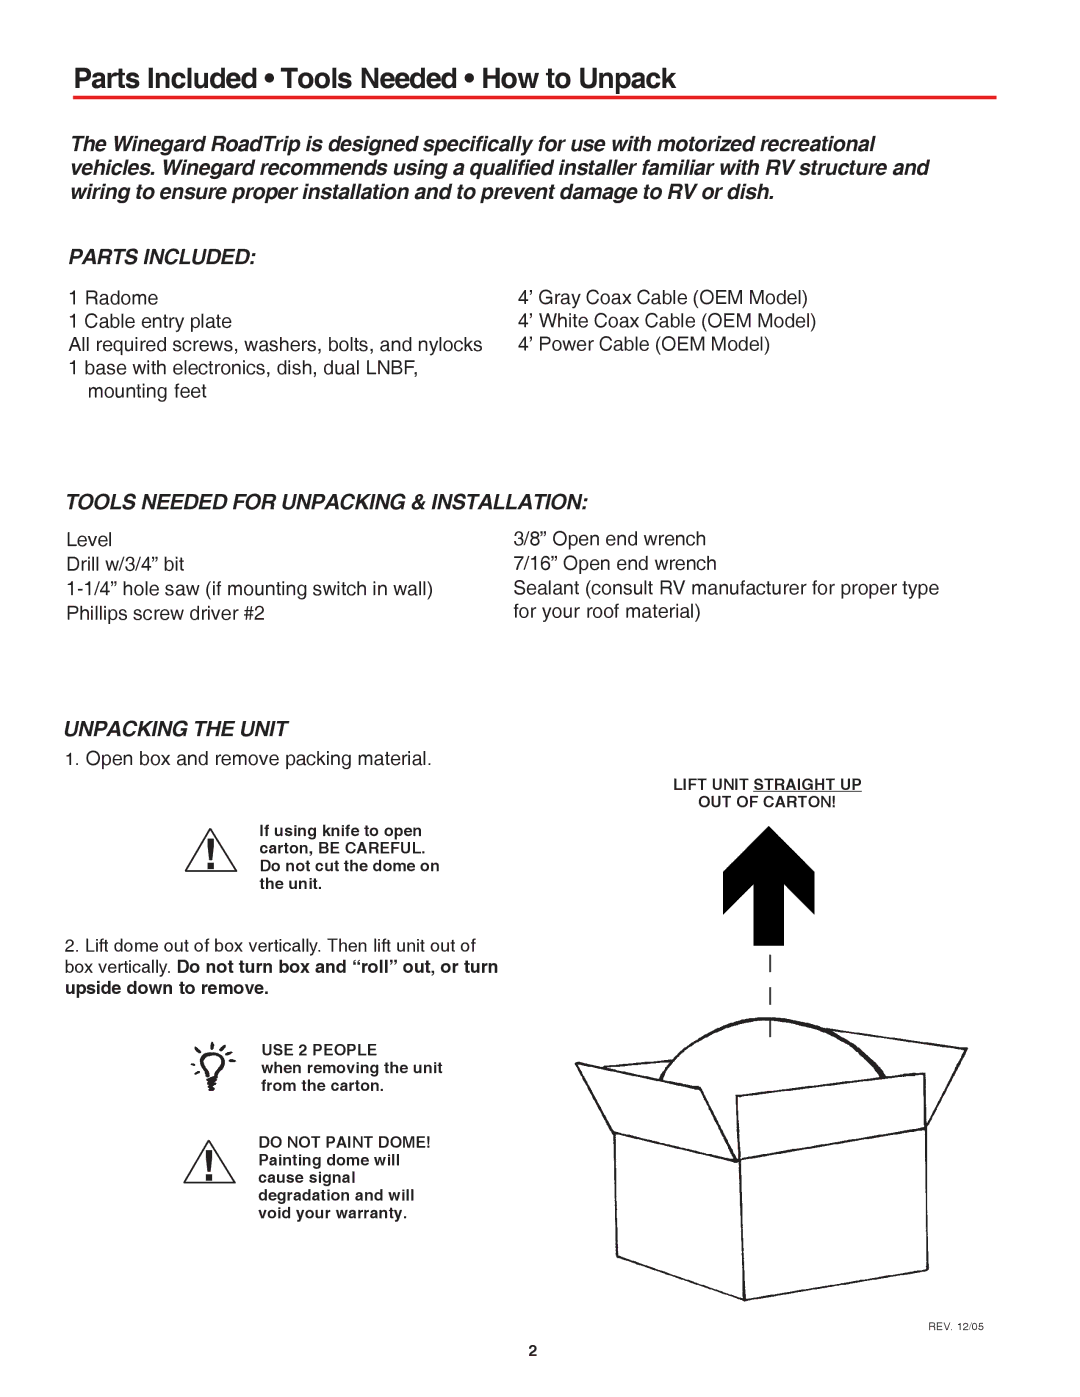
SDi, SD specifications
Winegard SD and SDi are compact satellite dishes designed for versatile and high-performance reception. These portable solutions cater to various users, from RV enthusiasts to tailgaters and even residential applications. Winegard is renowned for its innovative approach to satellite technology, ensuring robust signal strength and exceptional performance regardless of the user’s location.One of the standout features of the Winegard SD series is its lightweight and aerodynamic design. Weighing significantly less than traditional satellite dishes, these models are crafted for easy portability, making them ideal for those who are constantly on the move. This design allows for convenient setup and takedown, facilitating quick access to satellite services whether camping in the wilderness or enjoying a game day with friends.
The SD and SDi models are equipped with advanced technology to ensure superior signal reception. They utilize the latest in satellite technology, enabling users to receive programming from major satellite providers, even in challenging environments. With a wide frequency range, these dishes can capture signals effectively, ensuring consistent and uninterrupted viewing.
The Winegard SDi, an enhanced version, offers added features such as automatic satellite acquisition. This intelligent functionality allows the dish to lock onto satellites quickly, saving time and effort compared to manual setups. Coupled with a user-friendly interface, even those who are not tech-savvy can operate the device with ease.
Durability is another key characteristic of the Winegard SD series. Constructed with high-quality materials, these dishes can withstand harsh weather conditions, ensuring longevity and reliable operation over time. Users can feel confident that their investment will serve them well, no matter where their travels take them.
Moreover, the SD and SDi models emphasize compatibility. They can connect to a range of receivers, accommodating the diverse needs of different users. Whether you’re streaming your favorite shows or watching live sports, these satellite dishes offer the flexibility necessary for today’s entertainment landscape.
In summary, the Winegard SD and SDi series stands out for their lightweight design, advanced signal reception technology, automatic satellite acquisition, and compatibility with various receivers. These features make them perfect for anyone seeking reliable satellite television, whether on the road or at home. With Winegard’s commitment to quality and innovation, users can enjoy seamless entertainment wherever they are.