
DO80-2, MDO80-2 specifications
The Woods Equipment MDO80-2 and DO80-2 are robust and innovative pieces of machinery designed to meet the demands of both commercial and agricultural applications. Renowned for their efficiency and performance, these models have garnered attention for their advanced features and technologies that enhance productivity.One of the standout characteristics of the MDO80-2 and DO80-2 is their powerful cutting capabilities. Equipped with a heavy-duty steel frame, both models provide exceptional durability, allowing them to withstand rigorous use in various conditions. The cutting decks are designed for superior grass trimming, reducing the need for multiple passes and saving valuable time. The adjustable cutting height offers versatility, accommodating different grass types and lengths, ensuring a flawless finish every time.
Another key feature of these models is their advanced blade technology. The blades are crafted from high-quality steel, increasing their longevity and performance. The designs enable clean cuts, promoting healthier grass growth and enhancing the overall appearance of lawns and fields. Additionally, the MDO80-2 is equipped with a double-blade system, which further enhances cutting efficiency and reduces clumping.
The MDO80-2 and DO80-2 also prioritize user comfort and ease of operation. They come with ergonomic controls that ease the strain on operators during extended use. The intuitive design of the control panel simplifies operation, allowing users to focus on their tasks without getting bogged down by complicated settings.
For enhanced maneuverability, both models feature a smooth turning radius, making them ideal for navigating tight spaces. Whether working in a residential yard or a larger agricultural field, operators benefit from the agility these machines provide.
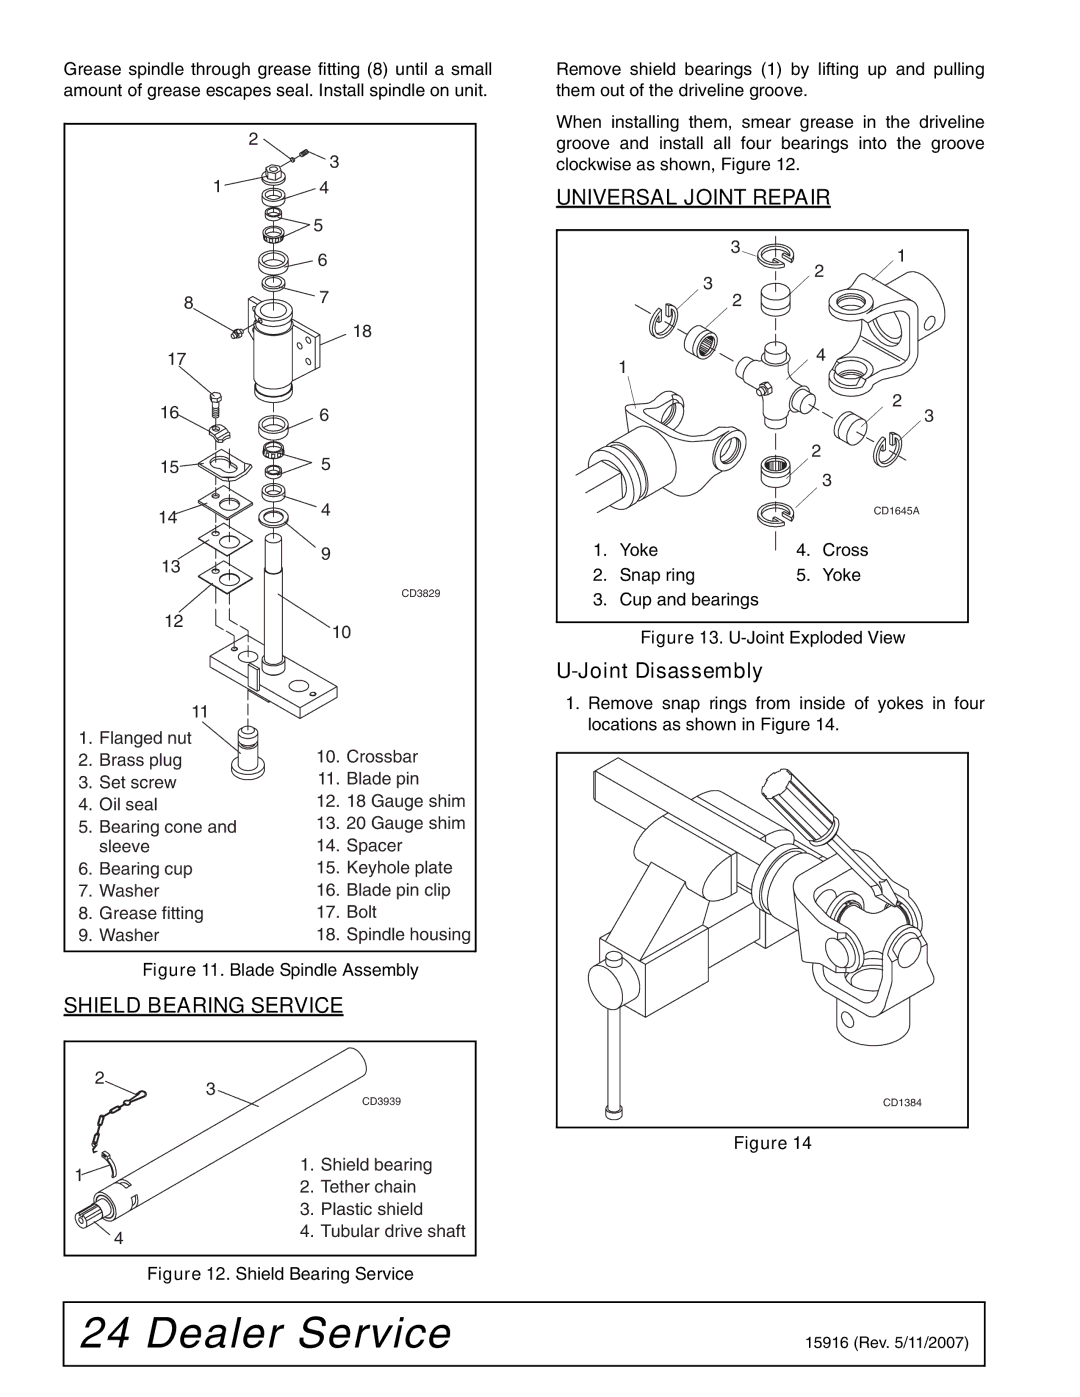
In terms of maintenance, Woods Equipment has developed the MDO80-2 and DO80-2 with user-friendliness in mind. The models are designed for easy access to critical components, simplifying routine maintenance tasks. This design philosophy not only prolongs the lifespan of the equipment but also minimizes downtime.
Overall, the Woods Equipment MDO80-2 and DO80-2 are exceptional choices for those seeking high-performance mowing solutions. With their durable construction, advanced cutting technologies, and user-friendly features, these models are well-suited for fulfilling the demands of any mowing operation, making them a reliable investment for years to come.