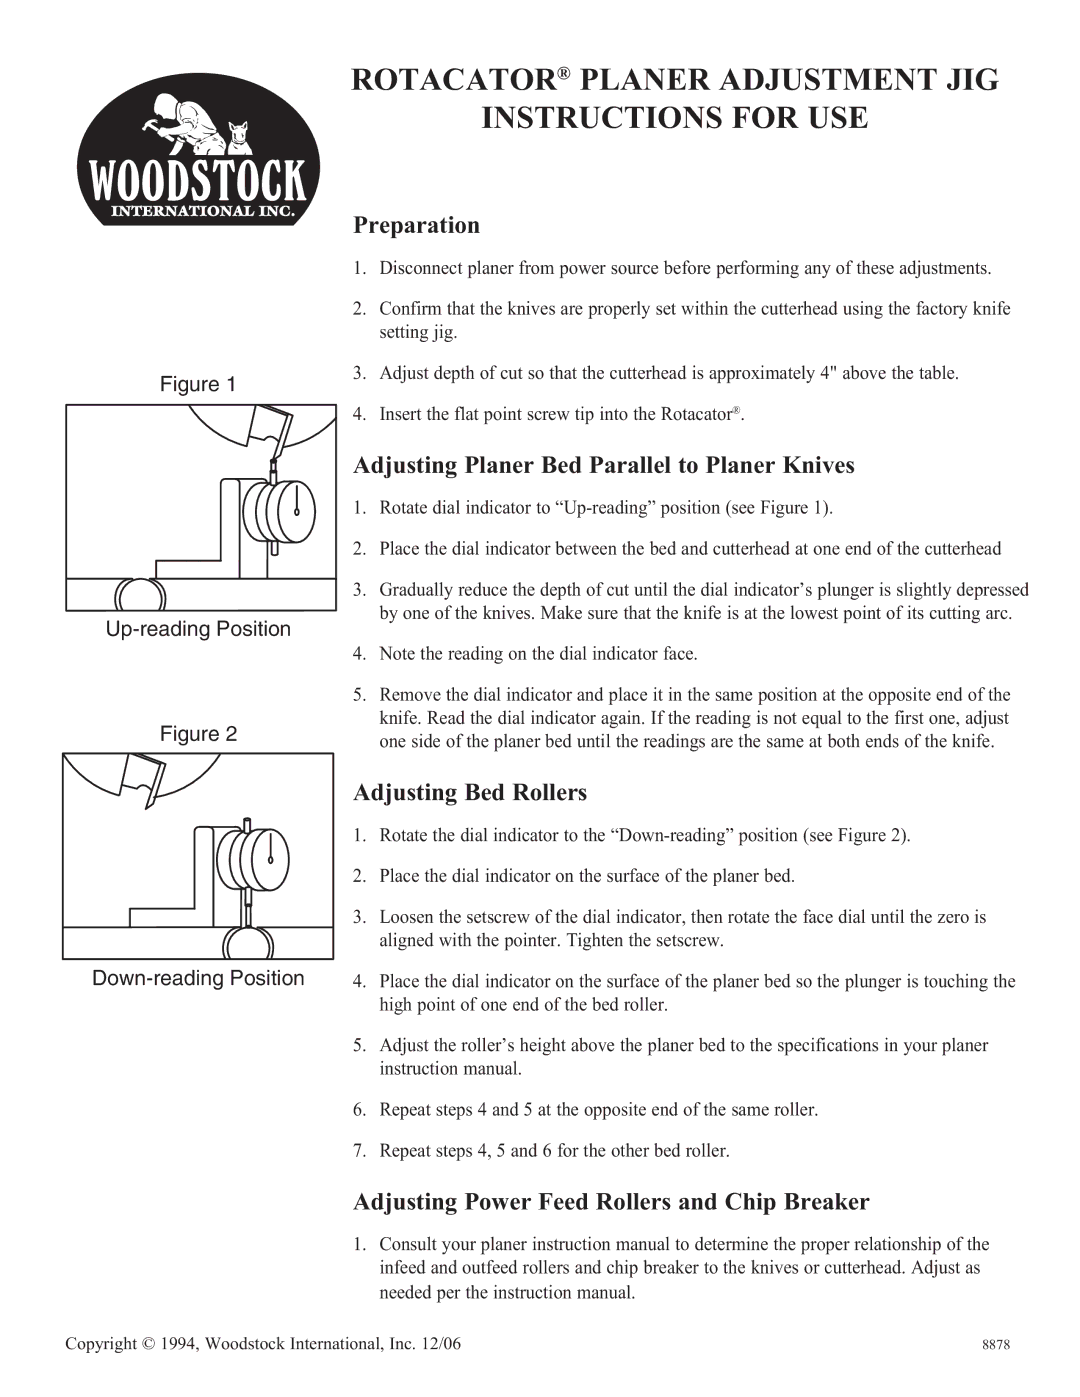
Figure 1
Figure 2
rotacator® planer adjustment JIG
INSTRUCTIONS FOR USE
Preparation
1.Disconnect planer from power source before performing any of these adjustments.
2.Confirm that the knives are properly set within the cutterhead using the factory knife setting jig.
3.Adjust depth of cut so that the cutterhead is approximately 4" above the table.
4.Insert the flat point screw tip into the Rotacator®.
Adjusting Planer Bed Parallel to Planer Knives
1.Rotate dial indicator to
2.Place the dial indicator between the bed and cutterhead at one end of the cutterhead
3.Gradually reduce the depth of cut until the dial indicator’s plunger is slightly depressed by one of the knives. Make sure that the knife is at the lowest point of its cutting arc.
4.Note the reading on the dial indicator face.
5.Remove the dial indicator and place it in the same position at the opposite end of the knife. Read the dial indicator again. If the reading is not equal to the first one, adjust one side of the planer bed until the readings are the same at both ends of the knife.
Adjusting Bed Rollers
1.Rotate the dial indicator to the
2.Place the dial indicator on the surface of the planer bed.
3.Loosen the setscrew of the dial indicator, then rotate the face dial until the zero is aligned with the pointer. Tighten the setscrew.
4.Place the dial indicator on the surface of the planer bed so the plunger is touching the high point of one end of the bed roller.
5.Adjust the roller’s height above the planer bed to the specifications in your planer instruction manual.
6.Repeat steps 4 and 5 at the opposite end of the same roller.
7.Repeat steps 4, 5 and 6 for the other bed roller.
Adjusting Power Feed Rollers and Chip Breaker
1.Consult your planer instruction manual to determine the proper relationship of the infeed and outfeed rollers and chip breaker to the knives or cutterhead. Adjust as needed per the instruction manual.
Copyright © 1994, Woodstock International, Inc. 12/06 | 8878 |
