Anaconda Switcher |
| Includes VS10A + |
| ™ | Model VK68A |
|
| |
8 channel remote controlled | KR28A + PR30A | |
The VK68A includes an 8 channel camera switcher (VS10A), a
CAUTION:DONOTCONNECTTHEJACKSONTHE BACKOFTHEVS10ATOYOURPHONELINE!
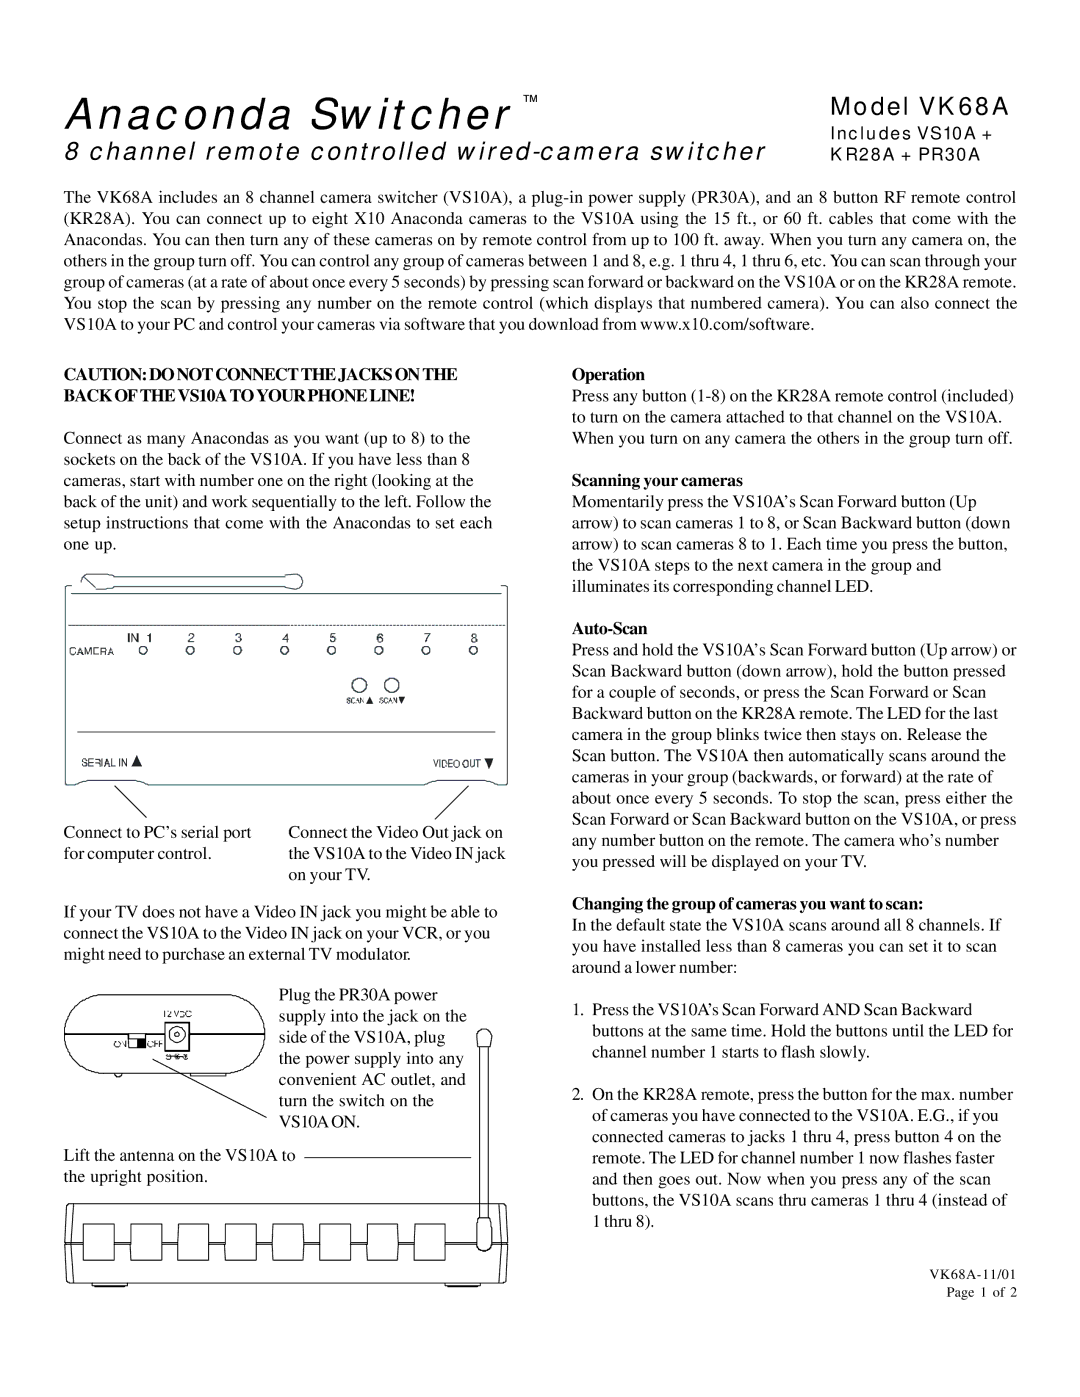
Connect as many Anacondas as you want (up to 8) to the sockets on the back of the VS10A. If you have less than 8 cameras, start with number one on the right (looking at the back of the unit) and work sequentially to the left. Follow the setup instructions that come with the Anacondas to set each one up.
Connect to PC’s serial port | Connect the Video Out jack on |
for computer control. | the VS10A to the Video IN jack |
| on your TV. |
If your TV does not have a Video IN jack you might be able to connect the VS10A to the Video IN jack on your VCR, or you might need to purchase an external TV modulator.
Plug the PR30A power supply into the jack on the side of the VS10A, plug ![]() the power supply into any convenient AC outlet, and turn the switch on the VS10A ON.
the power supply into any convenient AC outlet, and turn the switch on the VS10A ON.
Lift the antenna on the VS10A to the upright position.
Operation
Press any button
Scanning your cameras
Momentarily press the VS10A’s Scan Forward button (Up arrow) to scan cameras 1 to 8, or Scan Backward button (down arrow) to scan cameras 8 to 1. Each time you press the button, the VS10A steps to the next camera in the group and illuminates its corresponding channel LED.
Auto-Scan
Press and hold the VS10A’s Scan Forward button (Up arrow) or Scan Backward button (down arrow), hold the button pressed for a couple of seconds, or press the Scan Forward or Scan Backward button on the KR28A remote. The LED for the last camera in the group blinks twice then stays on. Release the Scan button. The VS10A then automatically scans around the cameras in your group (backwards, or forward) at the rate of about once every 5 seconds. To stop the scan, press either the Scan Forward or Scan Backward button on the VS10A, or press any number button on the remote. The camera who’s number you pressed will be displayed on your TV.
Changing the group of cameras you want to scan:
In the default state the VS10A scans around all 8 channels. If you have installed less than 8 cameras you can set it to scan around a lower number:
1.Press the VS10A’s Scan Forward AND Scan Backward buttons at the same time. Hold the buttons until the LED for channel number 1 starts to flash slowly.
2.On the KR28A remote, press the button for the max. number of cameras you have connected to the VS10A. E.G., if you connected cameras to jacks 1 thru 4, press button 4 on the remote. The LED for channel number 1 now flashes faster and then goes out. Now when you press any of the scan buttons, the VS10A scans thru cameras 1 thru 4 (instead of 1 thru 8).
