Index
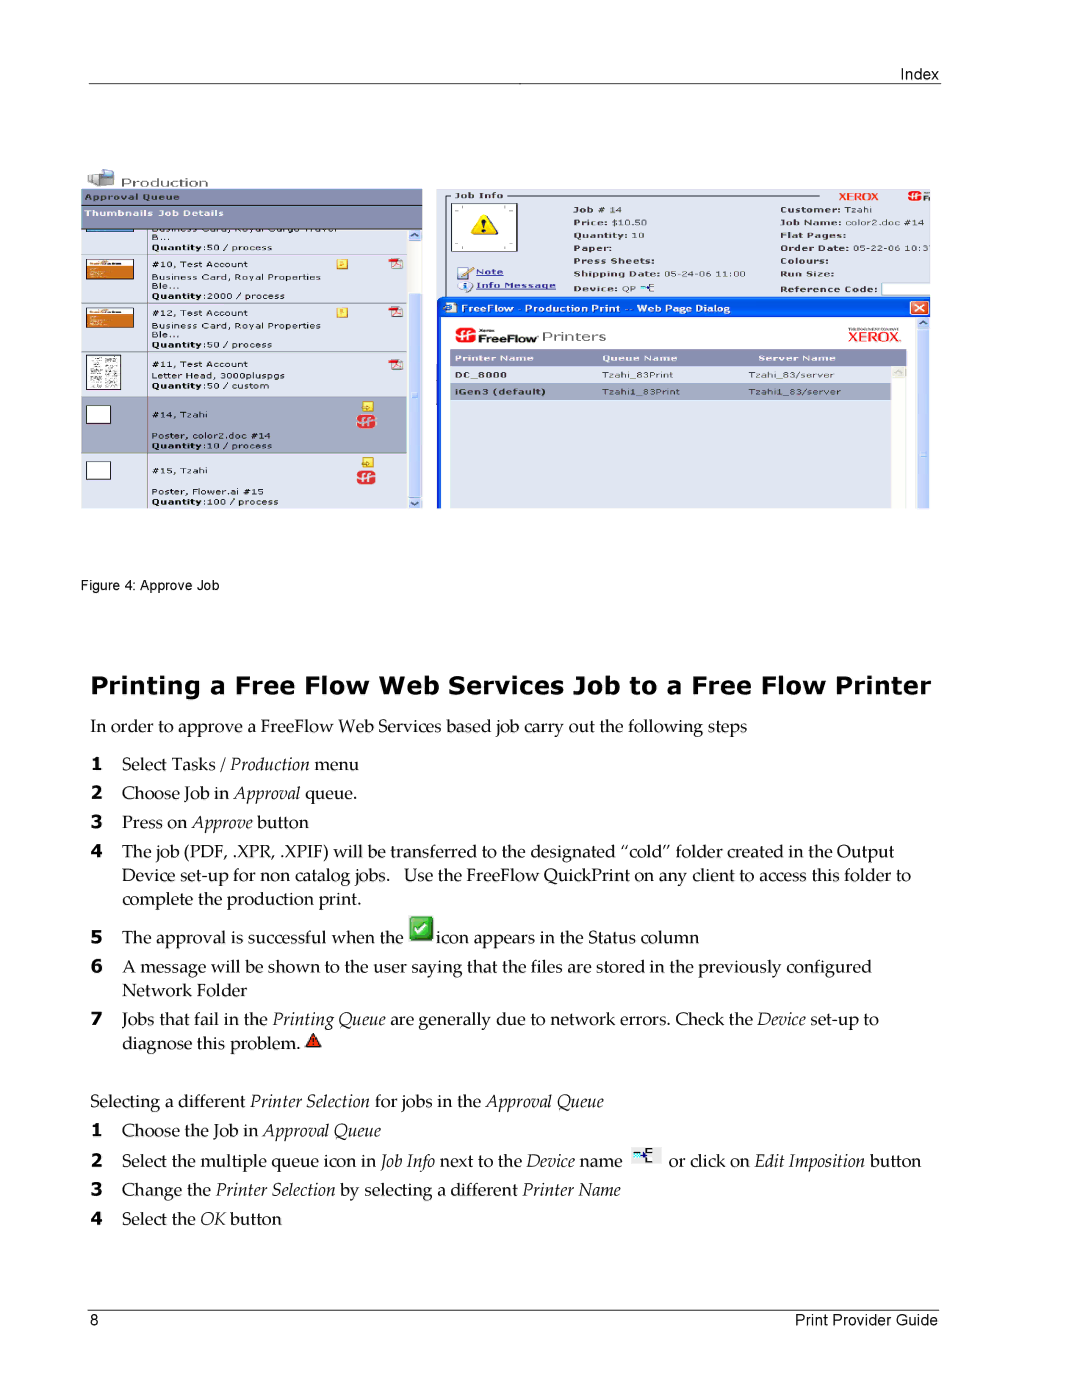
Figure 4: Approve Job
Printing a Free Flow Web Services Job to a Free Flow Printer
In order to approve a FreeFlow Web Services based job carry out the following steps
1Select Tasks / Production menu
2Choose Job in Approval queue.
3Press on Approve button
4The job (PDF, .XPR, .XPIF) will be transferred to the designated “cold” folder created in the Output Device set‐up for non catalog jobs. Use the FreeFlow QuickPrint on any client to access this folder to complete the production print.
5The approval is successful when the ![]() icon appears in the Status column
icon appears in the Status column
6A message will be shown to the user saying that the files are stored in the previously configured Network Folder
7Jobs that fail in the Printing Queue are generally due to network errors. Check the Device set‐up to diagnose this problem. ![]()
Selecting a different Printer Selection for jobs in the Approval Queue
1Choose the Job in Approval Queue
2Select the multiple queue icon in Job Info next to the Device name ![]() or click on Edit Imposition button
or click on Edit Imposition button
3Change the Printer Selection by selecting a different Printer Name
4Select the OK button
8 | Print Provider Guide |
