OSD Menu
3 OSD Menu
Using the OSD Menu
To create the best picture, your XR6 series series has been preset at the factory with the Preset Mode Timing shown on page 22.
The OSD (On Screen Display) Menu allows the user to adjust various settings and options by following the steps below.
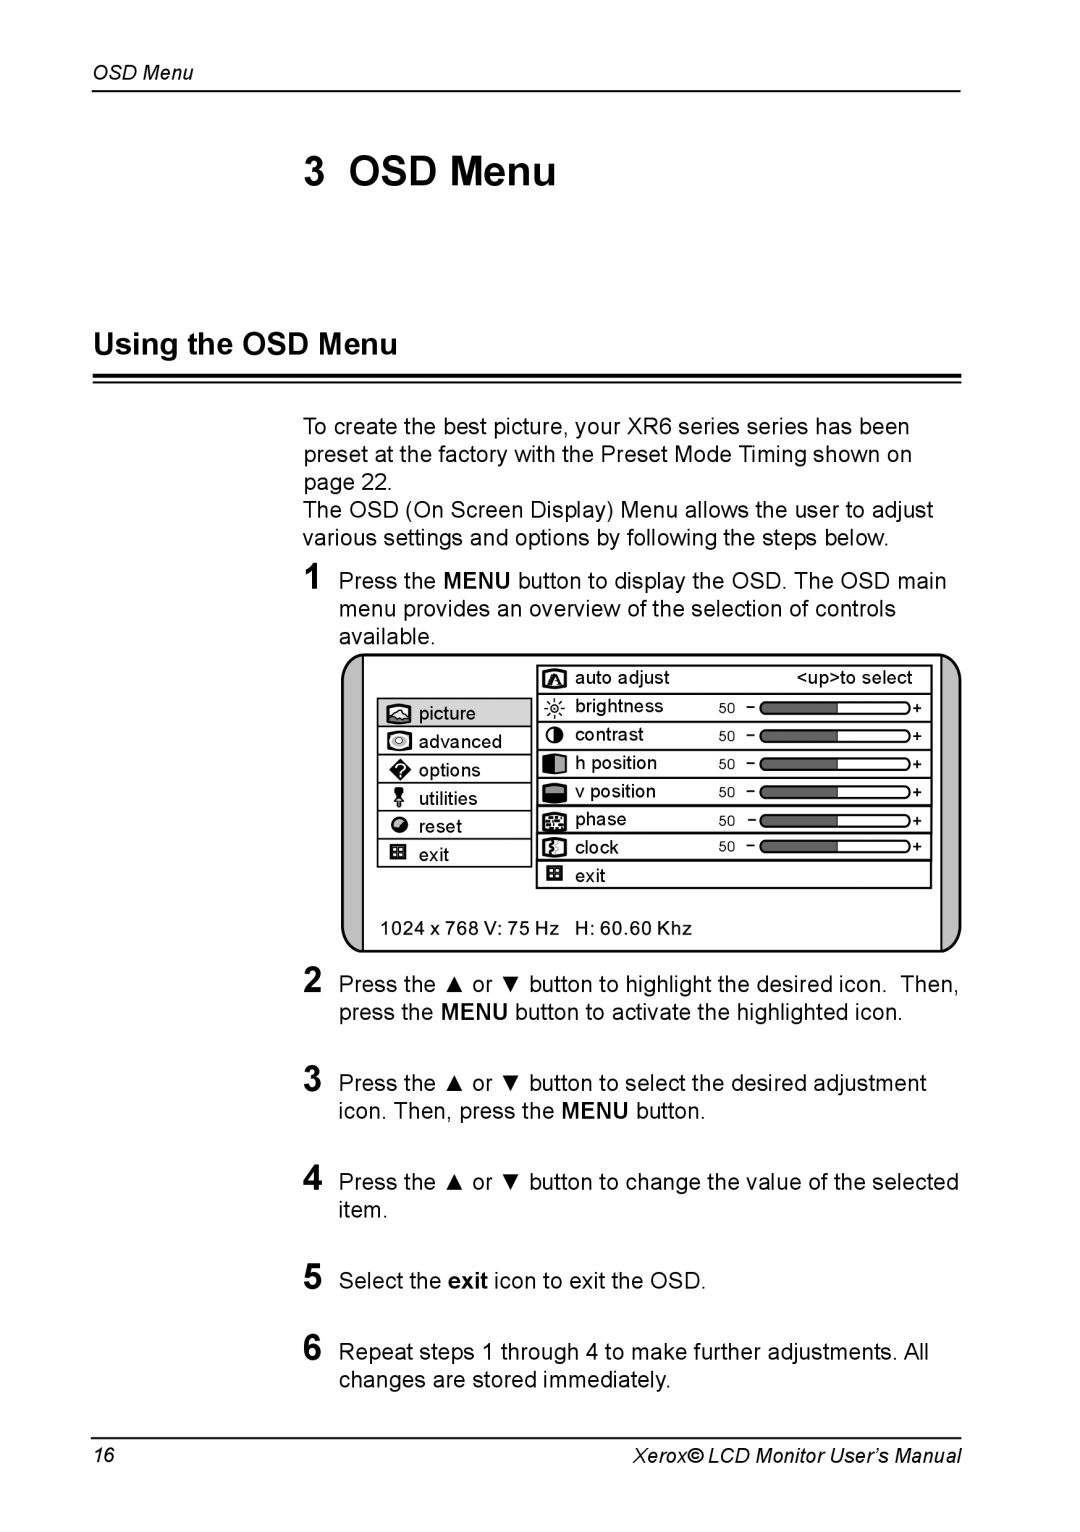
1Press the MENU button to display the OSD. The OSD main menu provides an overview of the selection of controls available.
| auto adjust | <up>to select |
picture | brightness |
|
contrast |
| |
advanced |
| |
h position |
| |
options |
| |
v position |
| |
utilities |
| |
phase |
| |
reset |
| |
clock |
| |
exit |
| |
exit |
| |
|
|
2Press the ▲ or ▼ button to highlight the desired icon. Then, press the MENU button to activate the highlighted icon.
3Press the ▲ or ▼ button to select the desired adjustment icon. Then, press the MENU button.
4Press the ▲ or ▼ button to change the value of the selected item.
5Select the exit icon to exit the OSD.
6Repeat steps 1 through 4 to make further adjustments. All changes are stored immediately.
16 | Xerox© LCD Monitor User’s Manual |