DPX-530 specifications
The Yamaha DPX-530 is an innovative and versatile digital projector designed to meet diverse presentation needs. Known for its exceptional image quality and advanced features, the DPX-530 is ideal for corporate, educational, and entertainment environments.One of the key features of the DPX-530 is its impressive brightness, with a lamp output of approximately 3,200 ANSI lumens. This ensures vivid and clear images even in well-lit rooms, making it suitable for a wide range of settings. The projector utilizes a native XGA resolution of 1024 x 768 pixels, which provides sharp and detailed visuals, ensuring that presentations, videos, and images are displayed with stunning clarity.
The technology incorporated into the DPX-530 includes a 3LCD design, allowing for brilliant color reproduction and dynamic contrast ratios. The color light output is balanced, producing vibrant and lifelike colors that enhance the viewing experience. This feature is particularly beneficial for showcasing graphics and detailed imagery, making the projector a favorite among educators and business professionals alike.
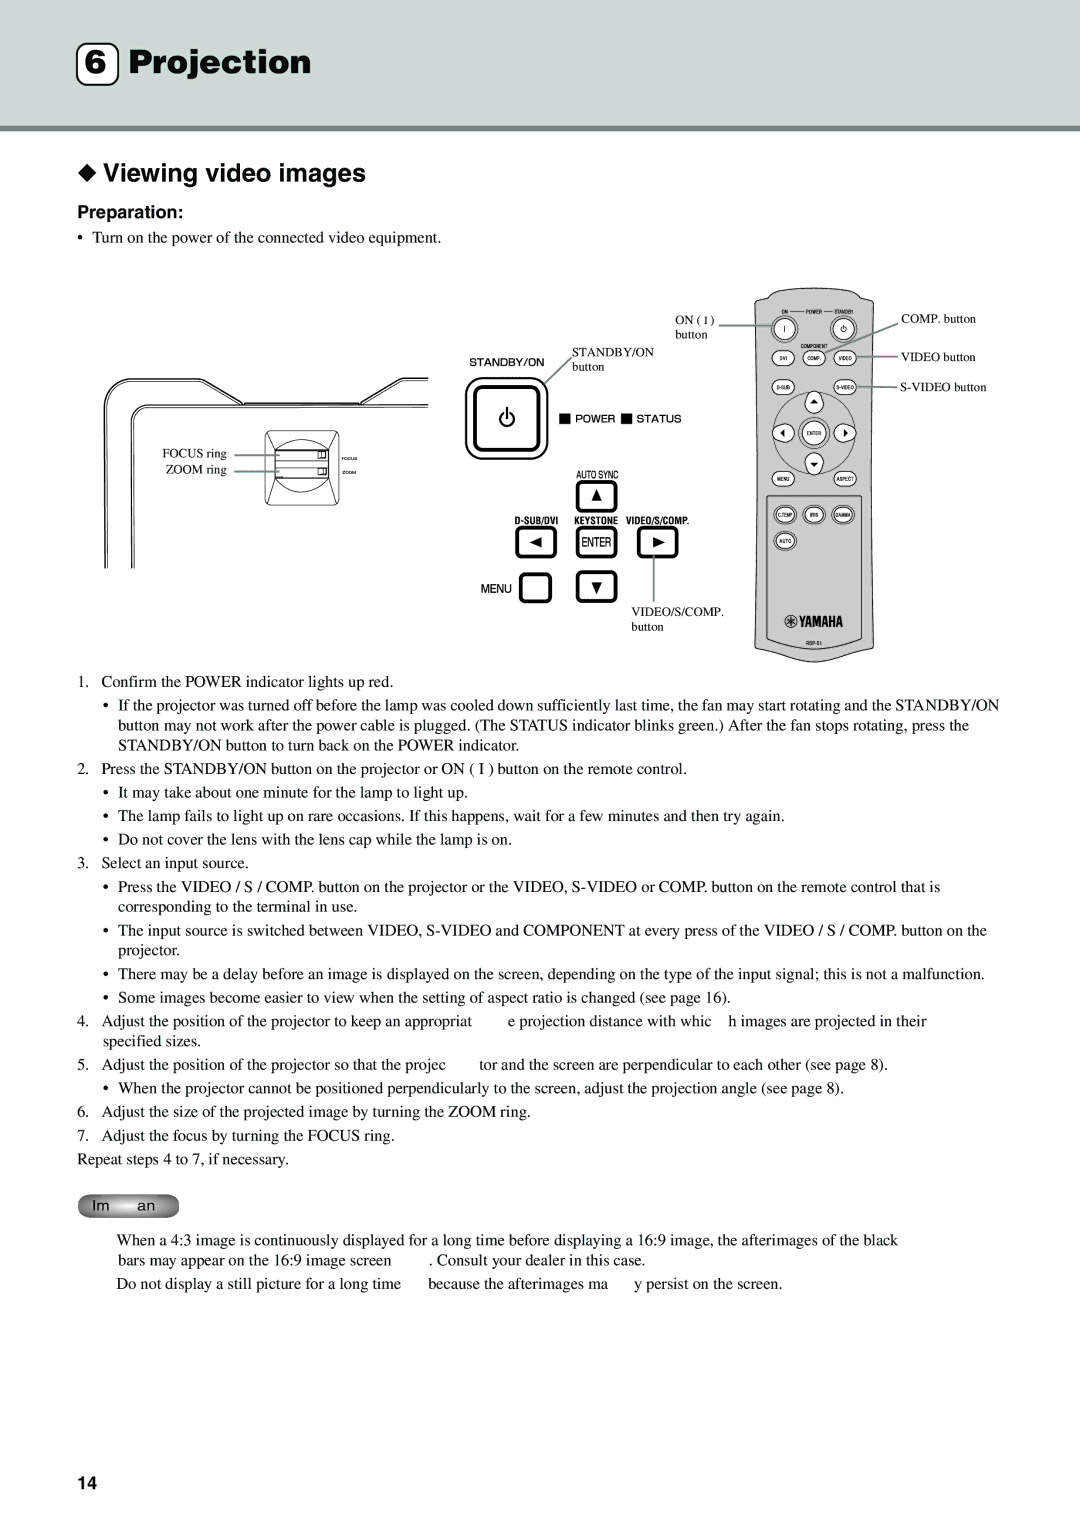
In addition to its excellent image performance, the Yamaha DPX-530 offers a range of connectivity options. It includes multiple inputs such as VGA, composite video, and S-Video, allowing users to connect various devices easily. The inclusion of HDMI connectivity also facilitates the connection to modern digital devices, ensuring compatibility with the latest technology.
Portability is another advantage of the DPX-530. The compact and lightweight design makes it easy to transport and set up in different locations. It is equipped with an automatic keystone correction feature, which helps to maintain a rectangular image even when the projector is not perfectly aligned with the screen. This feature ensures that users can achieve optimal projection angles with minimal effort.
The DPX-530's user-friendly interface further enhances its appeal. The on-screen menus and controls are intuitive and easy to navigate, allowing users to adjust settings quickly based on their preferences. Additionally, the projector includes features like a quick start-up and shut-down time, enabling users to focus on their presentations rather than technical adjustments.
Overall, the Yamaha DPX-530 stands out as a reliable and efficient digital projector, combining powerful performance with user-friendly features. Whether used for business presentations, educational lectures, or home entertainment, its advanced technologies ensure a high-quality visual experience, making it a valuable tool for any environment.

