Song Lesson
Lesson 2 (Timing)
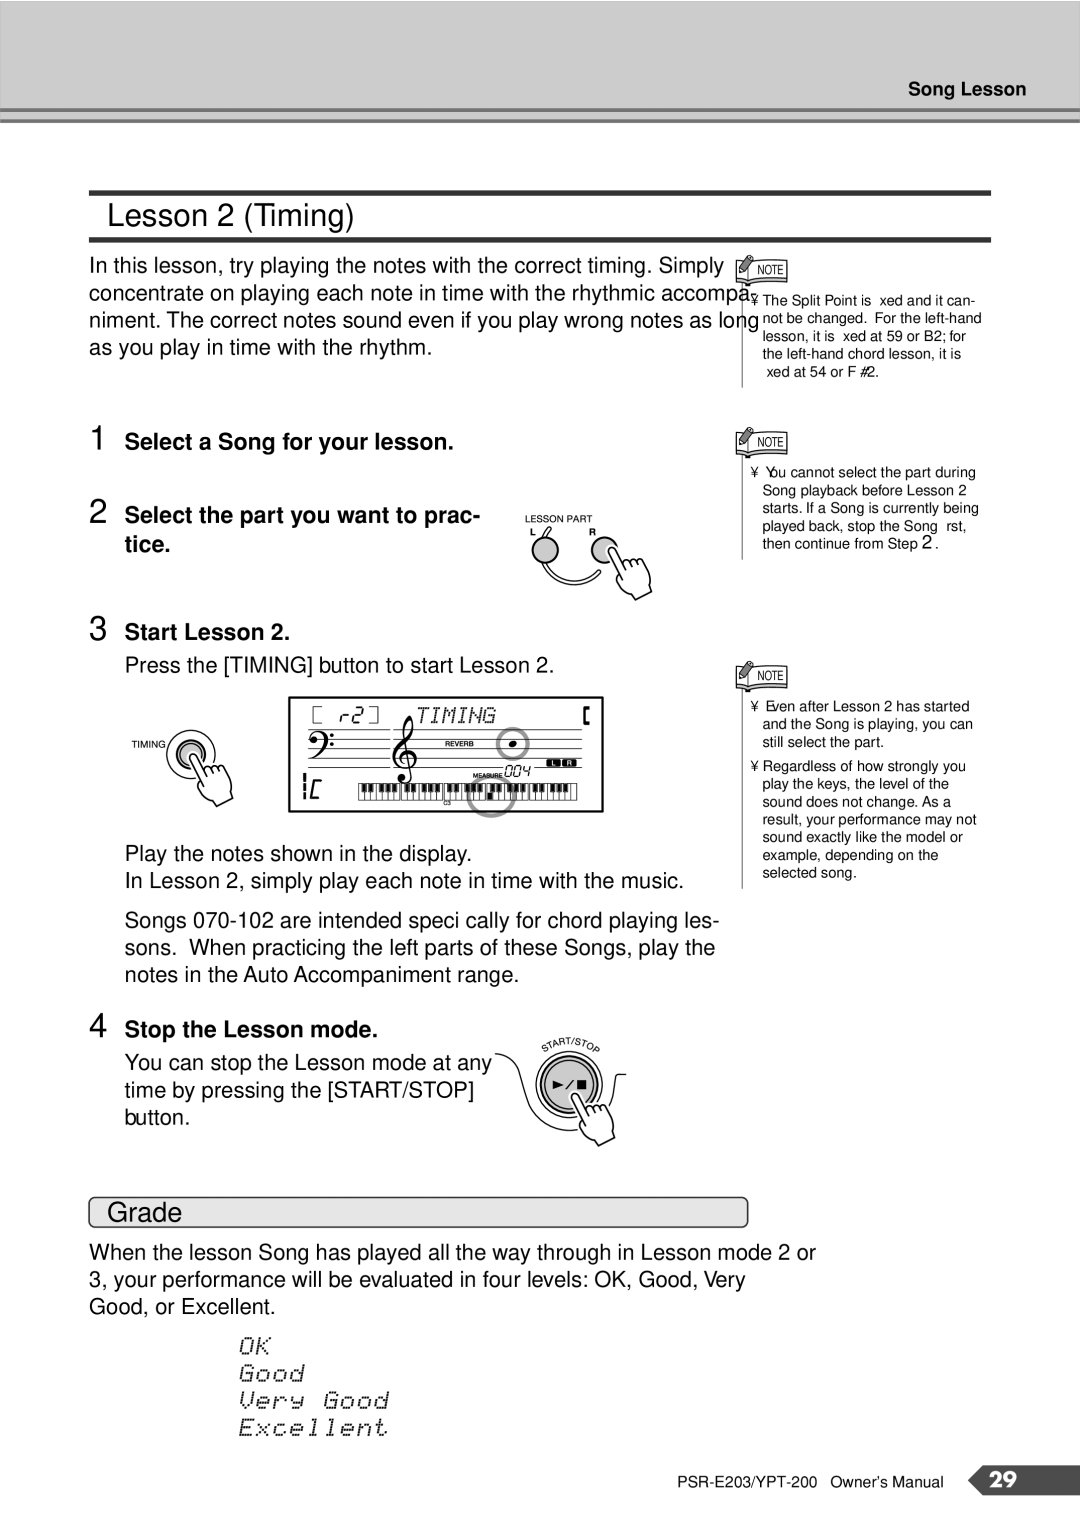
In this lesson, try playing the notes with the correct timing. Simply concentrate on playing each note in time with the rhythmic accompa- niment. The correct notes sound even if you play wrong notes as long as you play in time with the rhythm.
1 Select a Song for your lesson.
2 Select the part you want to prac- tice.
3 Start Lesson 2.
Press the [TIMING] button to start Lesson 2.
r2 | TIMING |
| 004 |
Play the notes shown in the display.
In Lesson 2, simply play each note in time with the music.
Songs
4 Stop the Lesson mode.
![]() NOTE
NOTE
•The Split Point is fixed and it can- not be changed. For the
![]() NOTE
NOTE
•You cannot select the part during Song playback before Lesson 2 starts. If a Song is currently being
played back, stop the Song first, then continue from Step 2.
![]() NOTE
NOTE
•Even after Lesson 2 has started and the Song is playing, you can still select the part.
•Regardless of how strongly you play the keys, the level of the sound does not change. As a result, your performance may not sound exactly like the model or example, depending on the selected song.
You can stop the Lesson mode at any time by pressing the [START/STOP] button.
Grade
When the lesson Song has played all the way through in Lesson mode 2 or 3, your performance will be evaluated in four levels: OK, Good, Very Good, or Excellent.
OK
Good
Very0Good
Excellent
29 |
