Painting (cont.)
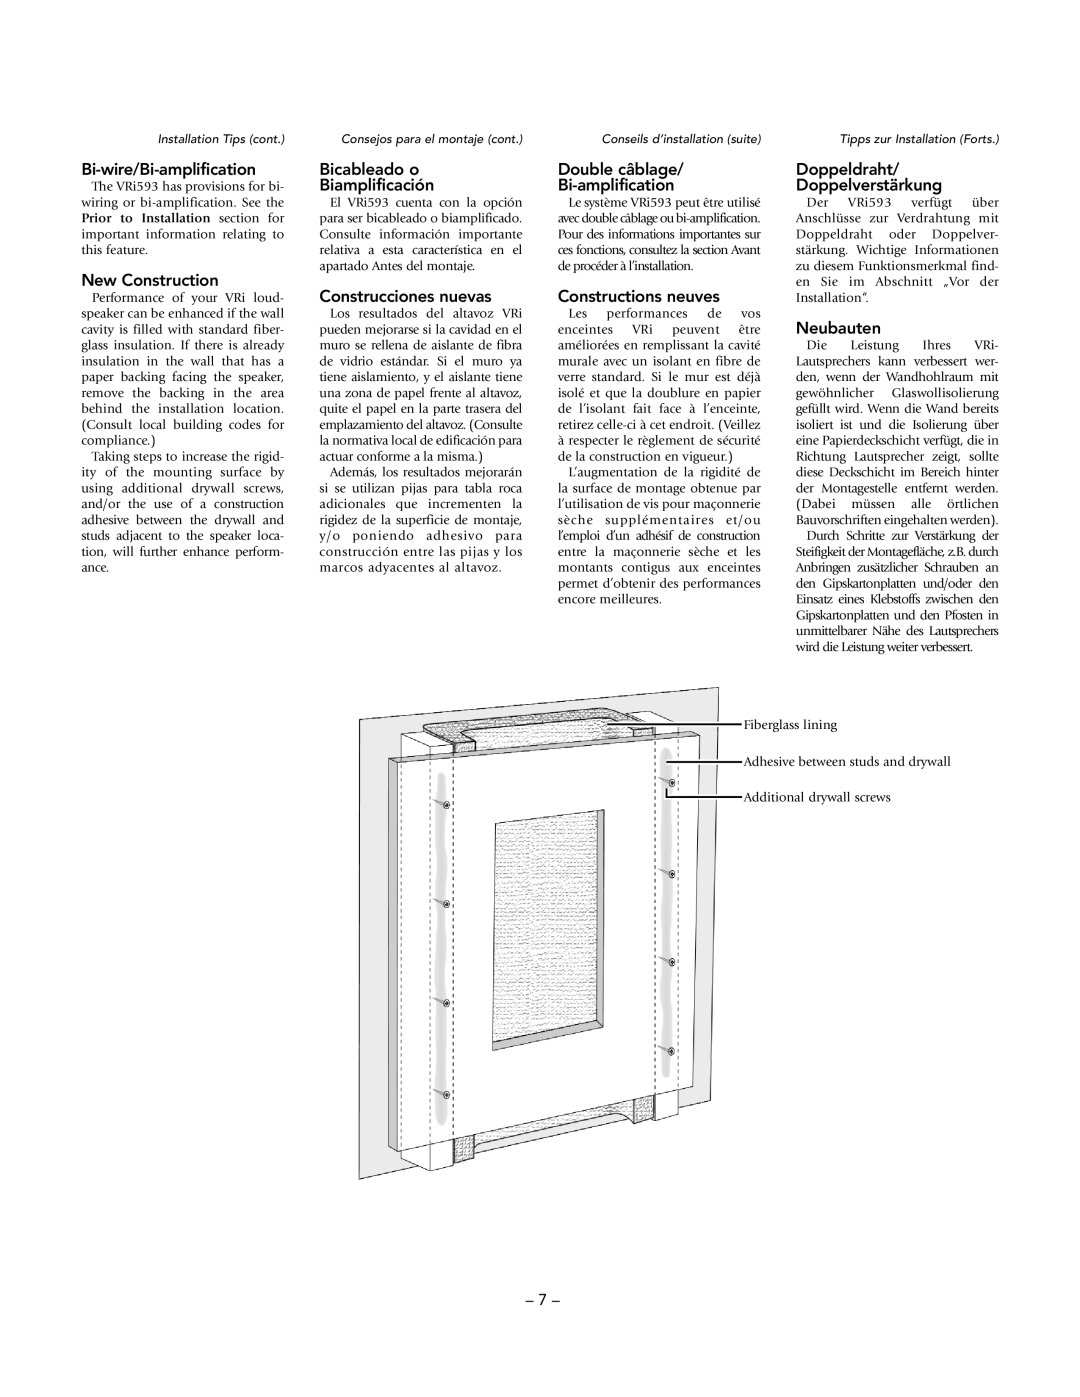
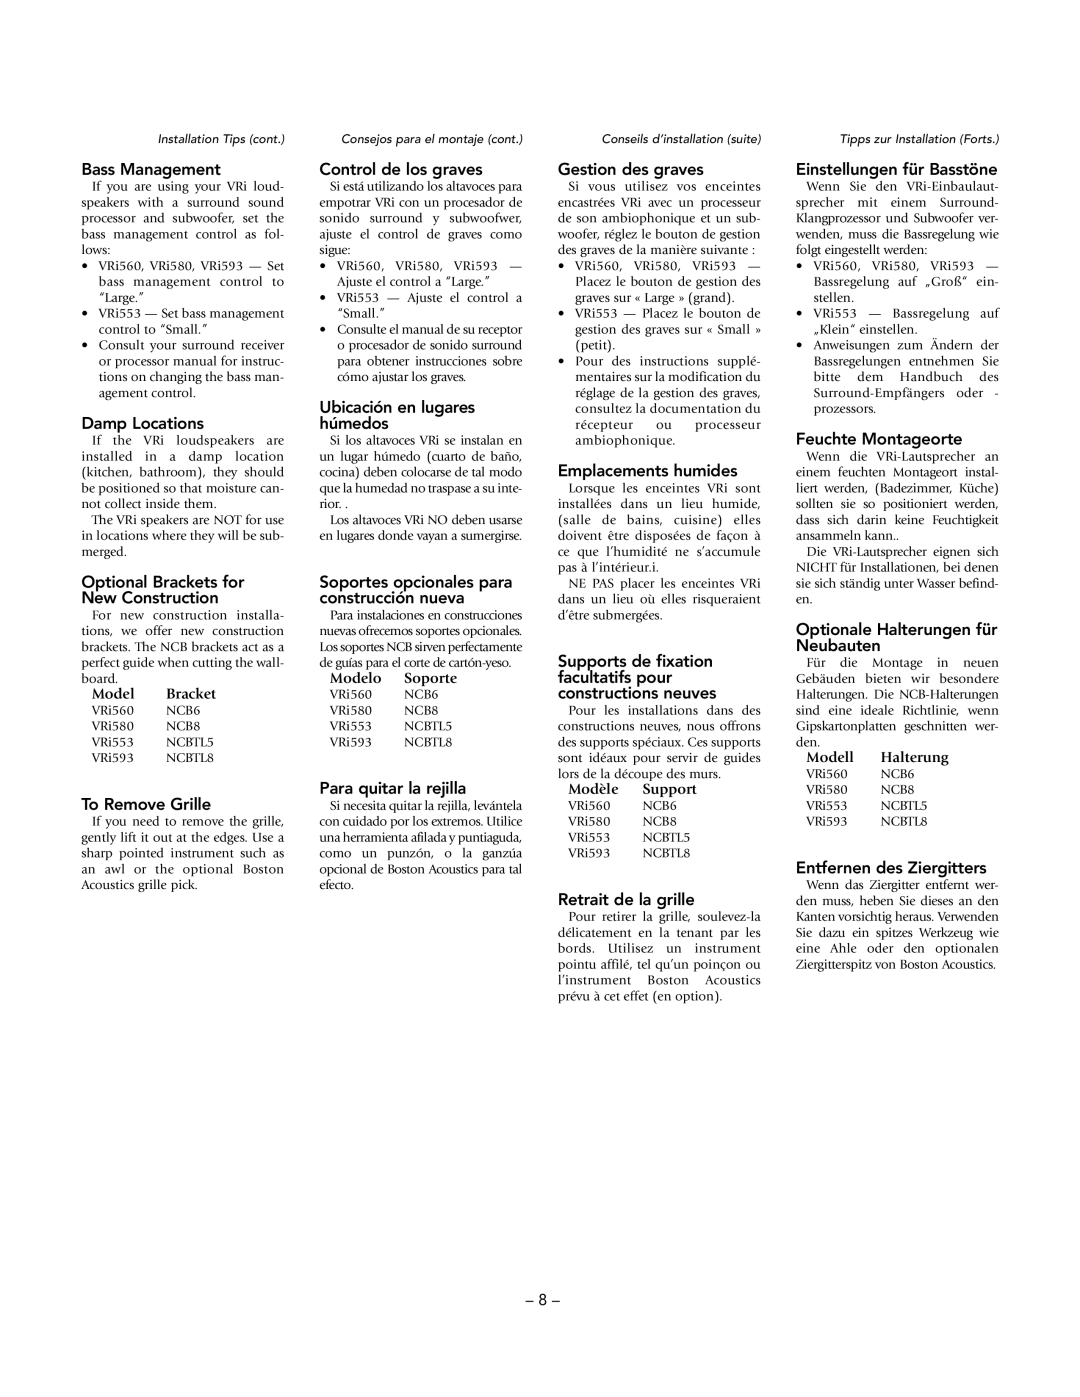
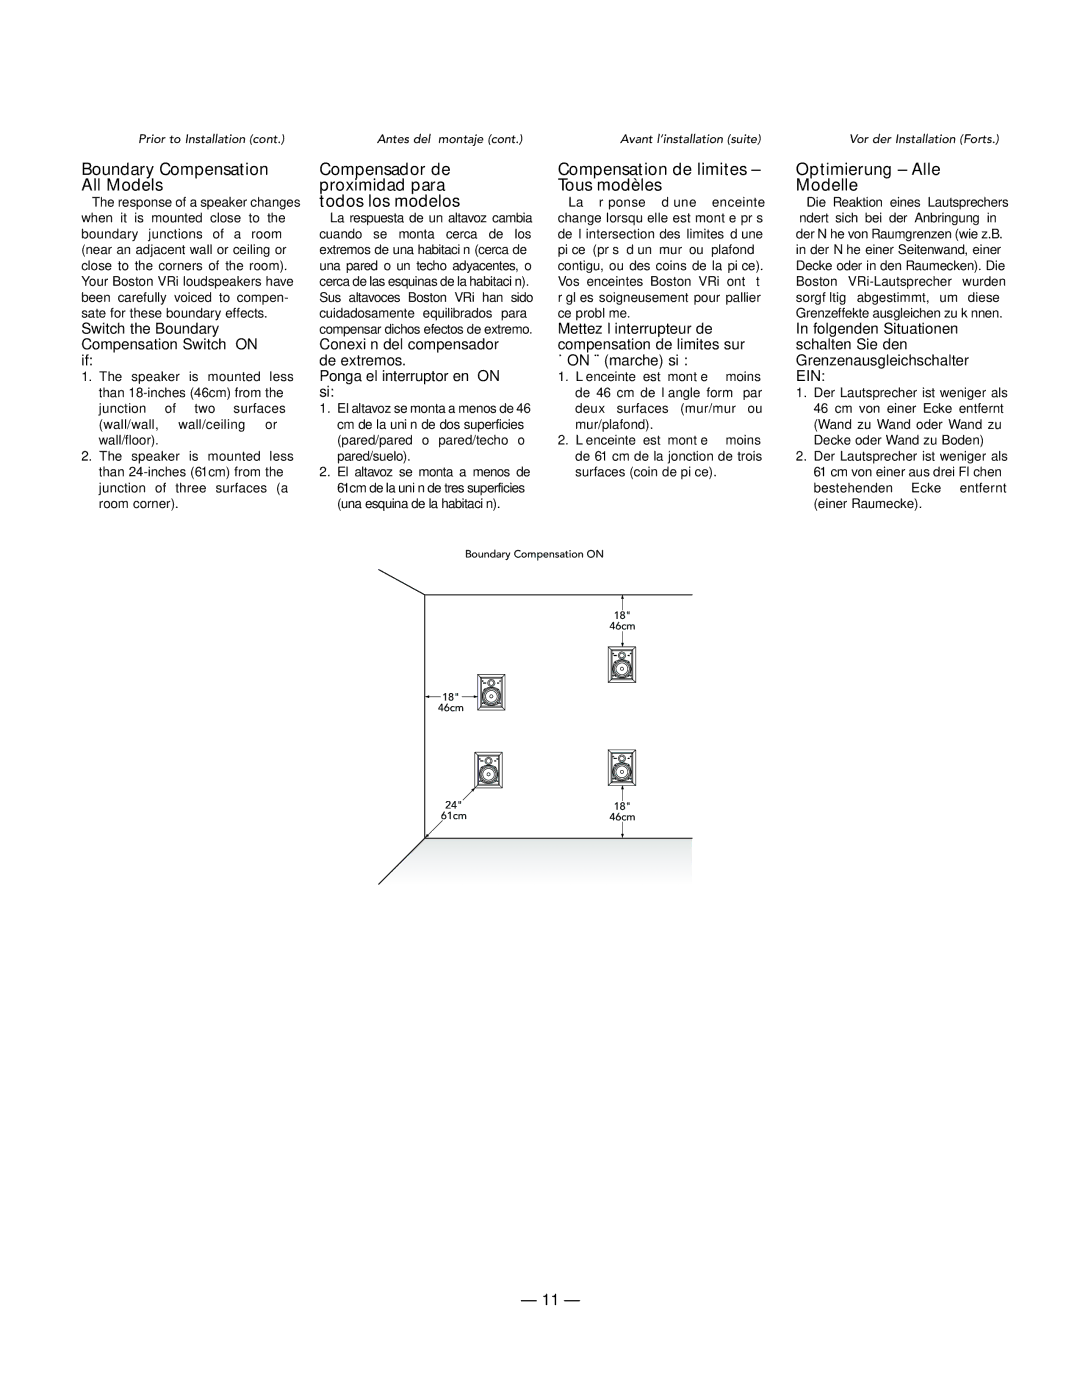
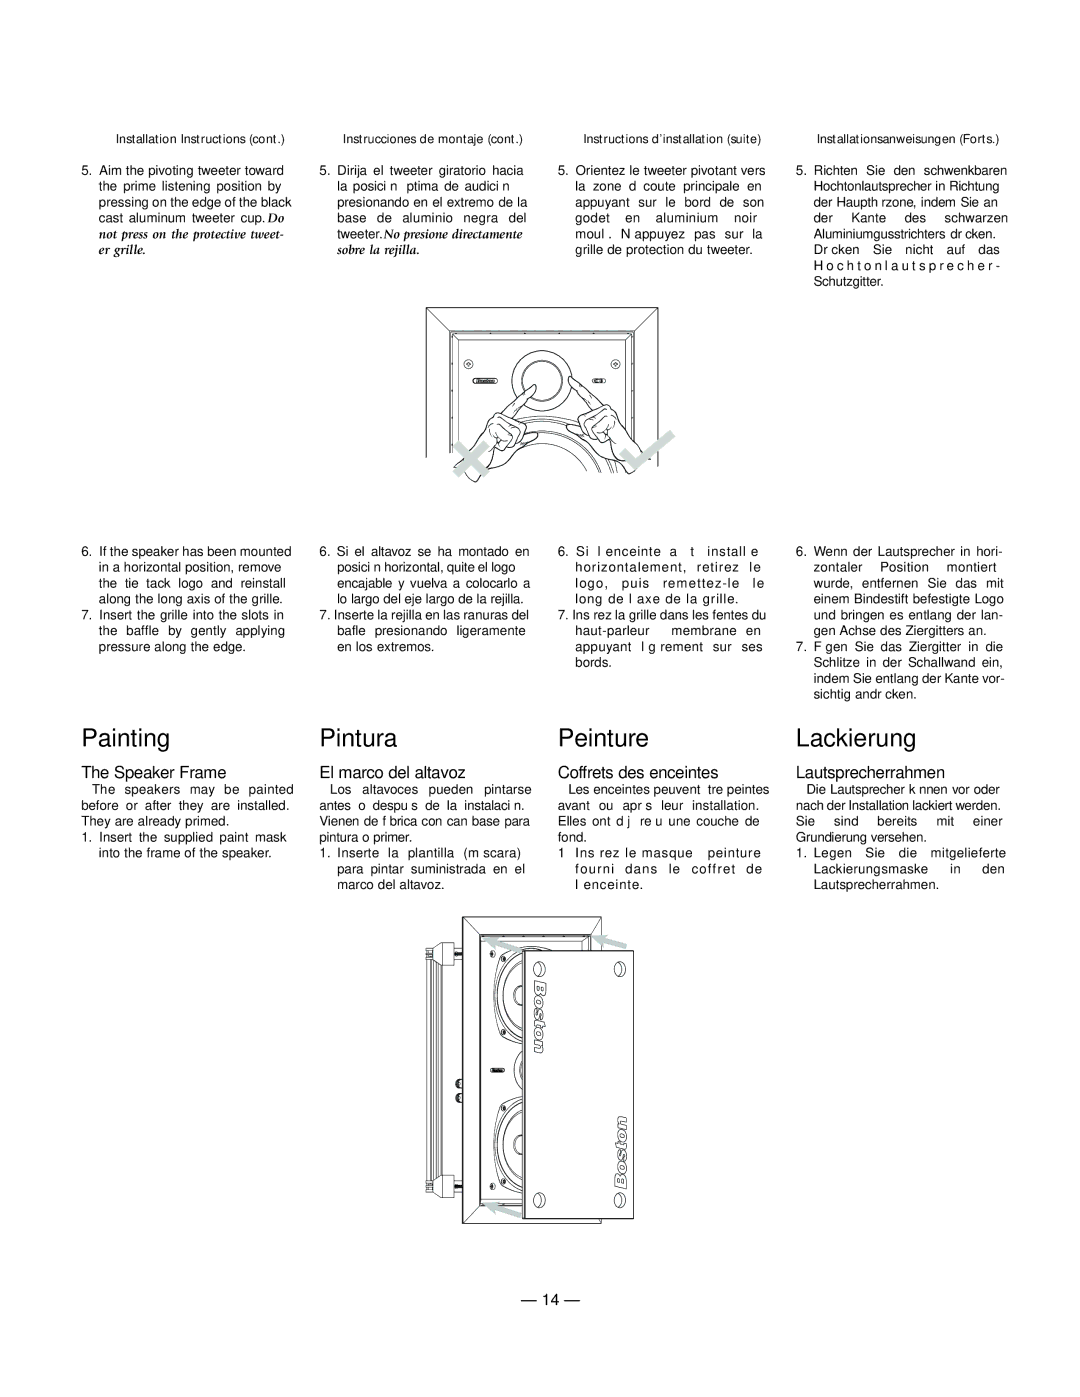
2.Paint the frame. If you are using spray paint, apply two light coats. If you are applying paint with a brush or roller, thin the paint and apply two very light coats. This helps prevent exces- sive paint buildup or “runs” on the frame.
3.After the paint has dried, use the finger pulls to remove the paint mask.
The Speaker Grille
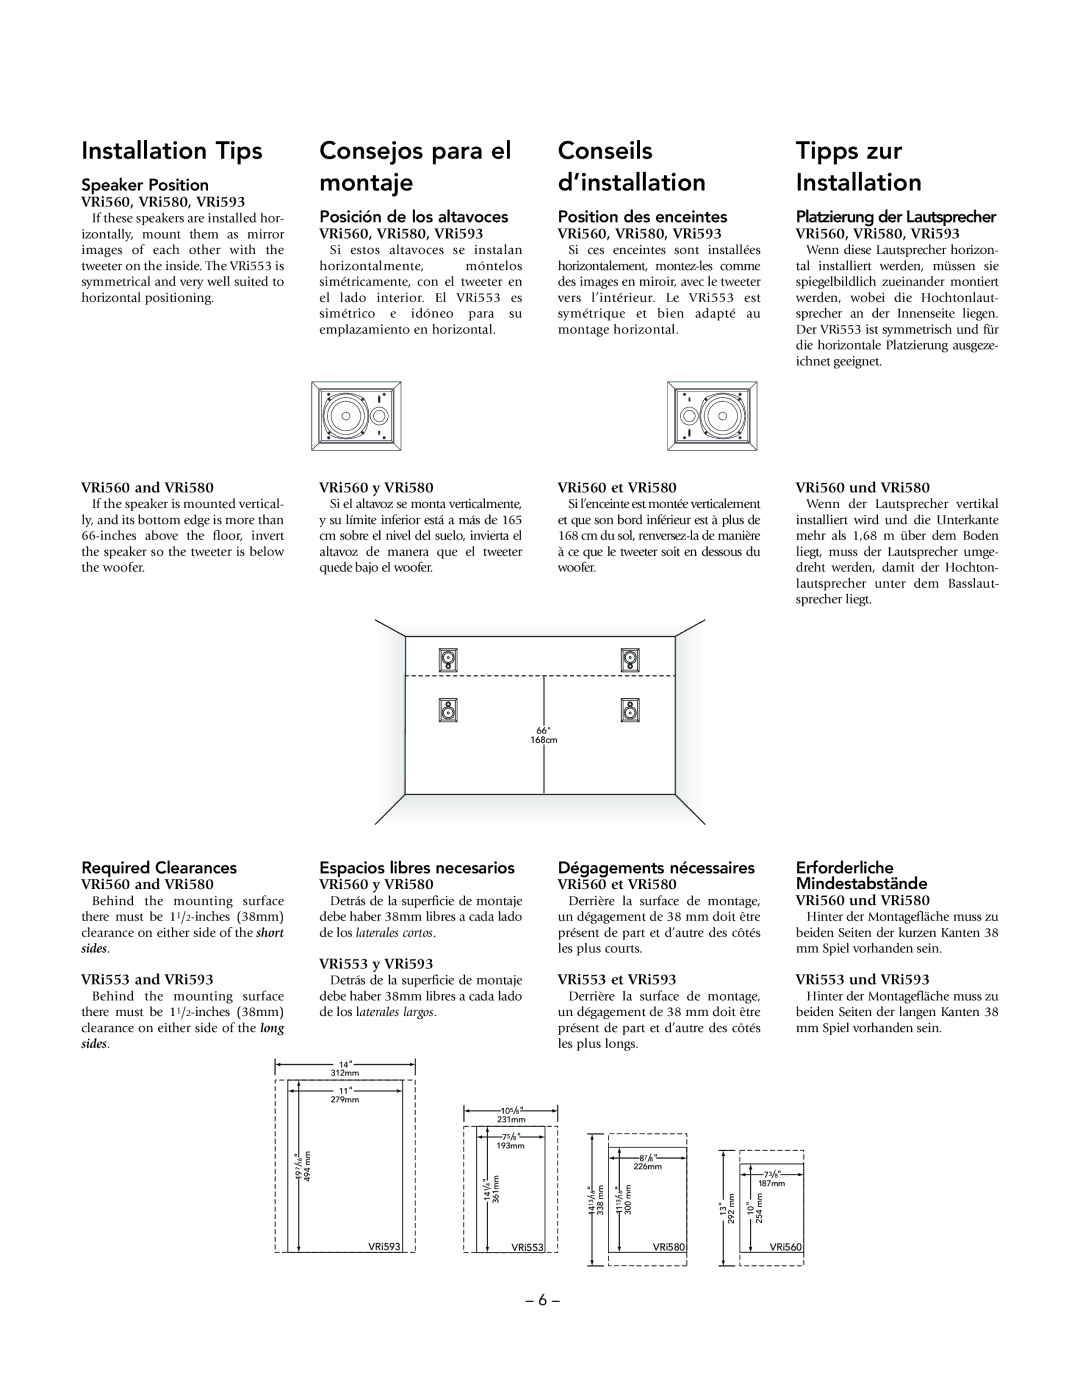
1.Remove the grille logo. It is mounted with a “tie tack” style fastener. Set it aside for later reinstallation.
2.Carefully remove the cloth from the inside of the grille. Set it aside in a clean location for later reinstallation.
3.Paint the grille. If you are using spray paint, apply two light coats. If you are applying paint with a brush or roller, thin the paint and apply two very light coats. This helps prevent paint from filling the holes on the grille.
4.After the paint is dry, reinstall the cloth and grille logo.
Pintura (cont.)
2.Pinte el marco. Si utiliza pintura en spray, aplique dos capas ligeras. Si utiliza pincel o rodillo, diluya la pintura y aplique dos capas muy delgadas. Esto evitará el exceso de pintura y el “corrimiento” de la misma.
3.Una vez seca la pintura, tire de los lugares previstos en la máscara para retirarla.
La rejilla del altavoz
1.Quite el logo de la rejilla. Está montado mediante un sistema de inserción a presión. Déjelo aparte para su posterior instalación.
2.Quite cuidadosamente la tela del interior de la rejilla. Déjela aparte en sitio limpio para su posterior instalación.
3.Pinte la rejilla. Si utiliza pintura en spray, aplique dos capas ligeras. Si utiliza pincel o un rodillo, diluya la pintura y aplique dos capas muy delgadas. Esto evitará el exceso de pintura y el “corrimiento” de la misma.
4.Cuando la pintura esté seca, vuelva a colocar la tela y el logo.
Peinture (suite)
2.Peignez le coffret. Si vous utilisez de la peinture au pistolet, appliquez deux couches légères. Si vous appliquez la peinture avec un pinceau ou un rouleau, diluez-la et appliquez deux couches très légères. Vous éviterez ainsi une accumulation excessive de peinture ou des coulées sur le coffret.
3.Une fois que la peinture est sèche, utilisez les languettes pour retirer le masque de peinture.
Grille des enceintes
1.Retirez le logo de la grille. Il est fixé avec une attache genre « épingle
àcravate ». Mettez-le de côté.
2.Ôtez le tissu de l’intérieur de la grille. Mettez-le de côté dans un endroit propre.
3.Peignez la grille. Si vous utilisez de la peinture au pistolet, appliquez deux couches légères. Si vous appliquez la peinture avec un pinceau ou un rouleau, diluez-la et appliquez deux couches très légères. Vous éviterez ainsi que la peinture ne remplisse les trous de la grille.
4.Une fois que la peinture est sèche, réinstallez le tissu et le logo de la grille.
Lackierung (Forts.)
2.Lackieren Sie den Rahmen. Wenn Sie den Lack aufsprühen, müssen zwei dünne Schichten aufgetragen werden. Wenn Lack mit einem Pinsel oder einer Walze aus der Dose aufgetragen wird, verdünnen Sie erst den Lack und tragen dann zwei ganz dünne Schichten auf. Dies ver- hindert übermäßig dicke Lackansammlungen oder Lack- „Tränen“ auf dem Rahmen.
3.Nach dem Trocknen des Lacks ziehen Sie die Lackierungsmaske an den Fingerlaschen ab.
Lautsprecher-Ziergitter
1.Entfernen Sie das Ziergitter- Logo. Es ist mit einem Bindestift befestigt. Legen Sie es zur späteren Installation zur Seite.
2.Entfernen Sie vorsichtig das Tuch von der Innenseite des Ziergitters. Legen Sie es zur späteren Installation an einem sauberen Ort ab.
3.Lackieren Sie das Ziergitter. Wenn Sie den Lack aufsprühen, müssen zwei dünne Schichten aufgetragen werden. Wenn Lack mit einem Pinsel oder einer Walze aus der Dose aufgetragen wird, verdünnen Sie erst den Lack und tragen dann zwei ganz dünne Schichten auf. Damit wird verhindert, dass sich die Löcher des Ziergitters mit Lack füllen.
4.Nachdem der Lack trocken ist, installieren Sie das Tuch und das Ziergitter-Logo.
Listening Levels Power Handling
The power recommendations for the speakers assume that you will operate the amplifier in a way that will not produce distortion. Even our rugged speakers can be dam- aged by an amplifier if it is produc- ing distortion.
If you hear a harsh, gritty sound, turn down the volume. Prolonged or repeated operation of your speaker with a distorted signal from the amplifier can cause damage that is not covered by the warranty.
Niveles de audición Manejo de Potencia
Las recomendaciones sobre poten- cia de los altavoces asumen que el amplificador se ajustará de manera que no se produzca distorsión acústica. Incluso nuestros robustos altavoces pueden ser dañados en caso de que el amplificador se encuentre produciendo distorsión.
Si se produce un sonido áspero y “arenoso”, baje el volumen. El uso prolongado del altavoz con una señal distorsionada del amplificador puede causar averías en el altavoz no cubiertas por la garantía.
Gestion de la puissance et différents niveaux d’écoute
Les recommandations de puissance des enceintes supposent que vous utiliserez l’ampli de telle manière qu’il ne produira aucune distorsion. Malgré leur robustesse, nos enceintes peuvent être endommagées par l’ampli s’il déforme les sons.
Si le son est discordant et strident, baissez le volume. L’utilisation prolongée ou répétée des enceintes avec un signal déformé peut provoquer un endommagement qui n’est pas couvert par la garantie.
Lautstärkenein- stellungen/ Leistungsverar- beitung
Die Leistungsempfehlungen für die Lautsprecher setzen voraus, dass der Verstärker so betrieben wird, dass es zu keinen Verzerrungen kommt. Sogar unsere robusten Lautsprecher können durch einen Verstärker beschädigt werden, der Verzerrungen erzeugt.
Wenn Sie scharfe, schleifende Töne hören, reduzieren Sie die Lautstärke. Ein lange andauernder oder wiederholter Betrieb des Lautsprechers mit einem verzerrten Signal vom Verstärker kann Schäden verursachen, die nicht durch die Garantie gedeckt sind.
