Instant EtherFast® Series
Connecting the Power
1.Plug the power adapter cord into the PrintServer’s Power port on the back of the PrintServer.
2.Plug the power adapter into the wall. The PrintServer’s Power LED should light up green.
3.The Link or LAN LED will become active. If the LED does not light up, see “Appendix A: Troubleshooting” for more information.
Important: Only use the power adapter packaged with the PrintServer. Using a different power adapter could damage the PrintServer.
Your PrintServer hardware installation is now complete, and you are now ready to install your PrintServer software.
•If you are running any version of Windows, go to the next section.
•If you are running NetWare, go to “Chapter 12: NetWare Services Setup.”
EtherFast 10/100 PrintServers
Chapter 5: Windows Driver Setup
Installing the Windows Drivers
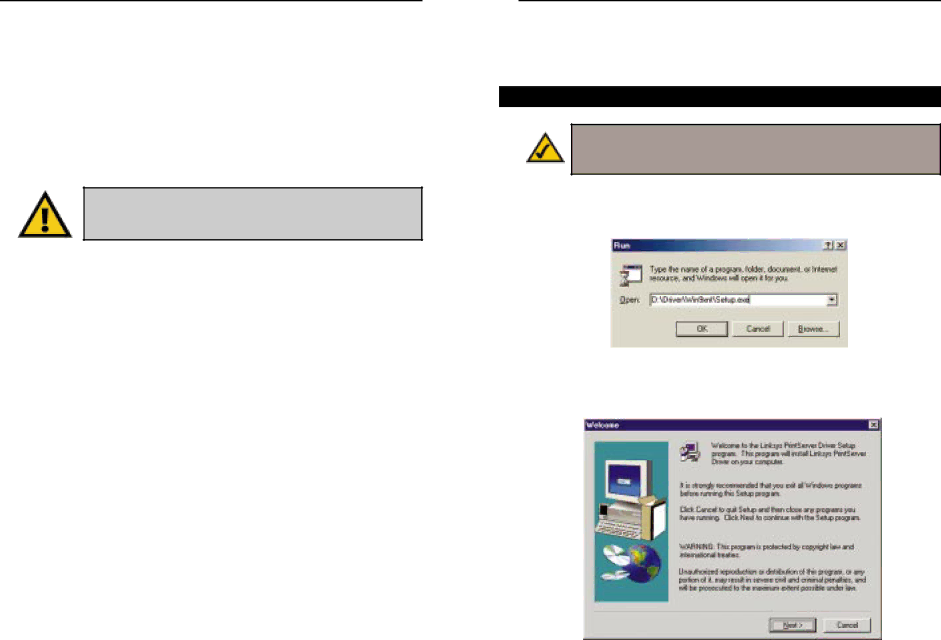
Note: Make sure you have an IP address for the computer and an IP address for the PrintServer. If you need to assign an IP address to the PrintServer, go to Chapter 5:
1.To begin driver installation, click the Start button, and select Run. Type D:\Driver\Win9xnt\Setup.exe (where “D” is the letter of your
Figure
2.The Welcome screen appears. Read the text that appears, and click the Next button.
Figure
8 | 9 |