Connecting to a Control Signal
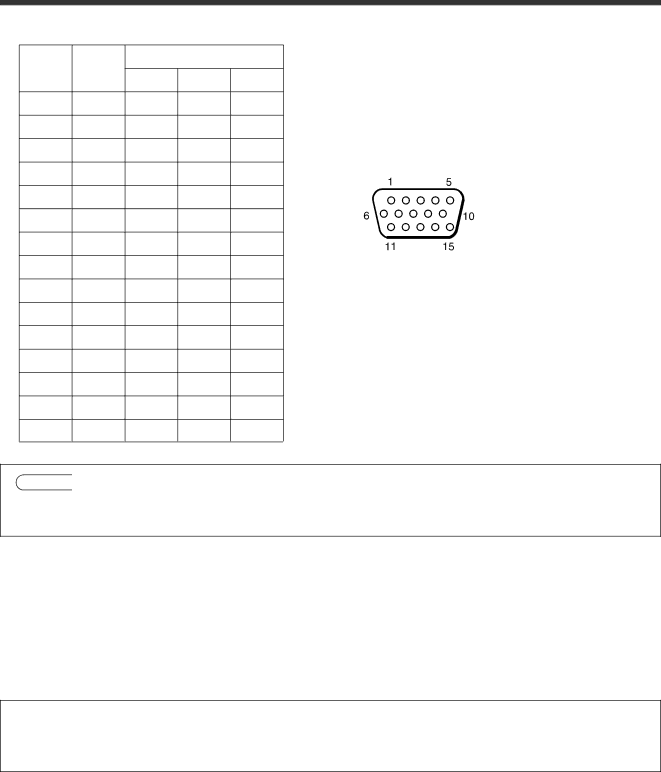
1 . CONTROL terminal
. | RS232C |
| Mouse |
|
|
Pin No |
|
|
|
| |
|
| PS/2 | ADB | Serial |
|
1 |
|
|
| TDM |
|
2 |
| CLK | SDATA |
|
|
3 |
| DATA |
|
|
|
4 |
|
|
|
|
|
5 |
|
|
|
|
|
6 |
| SEL0 | SEL0 | SEL0 |
|
7 |
| SEL1 | SEL1 | SEL1 |
|
8 |
|
|
| READY | |
9 |
|
|
|
|
|
10 | GND | GND | GND | GND |
|
11 |
|
|
|
|
|
12 |
| +5V | +5V |
|
|
13 | RDP |
|
|
|
|
14 | TDP |
|
|
|
|
15 |
|
|
|
|
|
Caution![]() Turn off the power of both the projector and computer before connecting to the CONTROL port. Connect the computer to the CONTROL terminal of the projector using an appropriate cable.
Turn off the power of both the projector and computer before connecting to the CONTROL port. Connect the computer to the CONTROL terminal of the projector using an appropriate cable.
Refer to the instruction manual for each device before connecting them through the CONTROL port.
2 . Mouse emulation
(1)Turn the projector and computer off.
(2)Connect the projector and the mouse terminal of computer using an appropriate cable.
(3)Turn on the projector.
(4)Turn on the computer.
(5)Start mouse emulation mode.
If you cannot start mouse emulation, reset the computer with a soft reset or by pressing the reset switch.
NOTE: For some Notebook computers with internal pointing devices, mouse emulation will not work without disabling the internal pointing device. Check your Notebook PC manual for the correct procedure to disable the internal pointing device.
20