Watching Videos and DVDs
If you have applicable equipment connected to the TV, you can watch videos and DVDs on the TV’s screen.
Input Select
You can select the external equipment to access.
With the connected equipment turned On
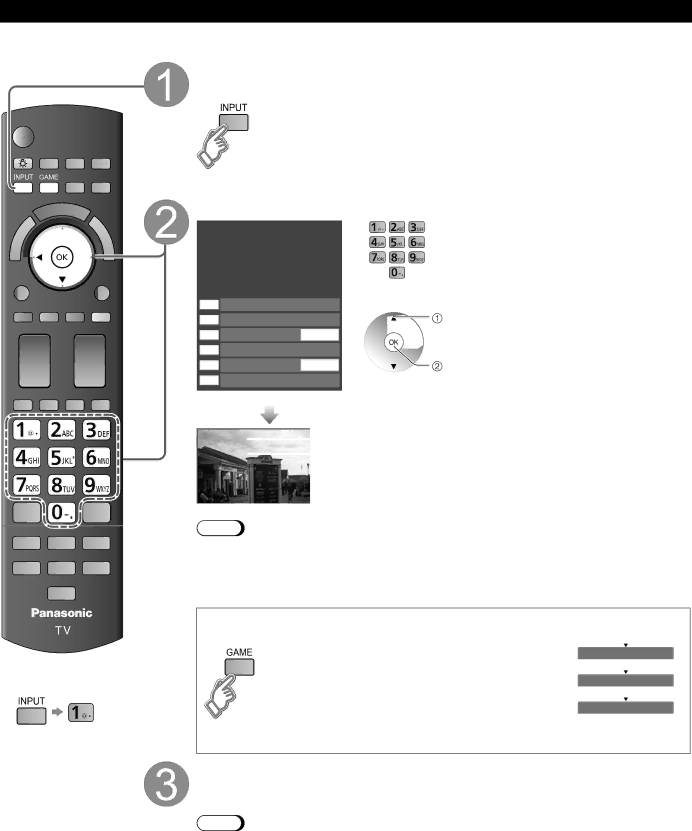
Display the Input select menu
Select the input mode
Input select
1 |
| TV |
|
|
|
|
|
|
|
2 |
| Component 1 | AUX |
|
|
|
|
|
|
|
|
|
|
|
3 |
| Component 2 |
|
|
|
|
|
|
|
|
| HDMI 1 | GAME | or |
4 |
| |||
|
|
| ||
|
|
|
|
5HDMI 2
6 | HDMI 3 | select |
7 | HDMI 4 | GAME |
8Video 1
9 Video 2 | GAME | enter |
0PC
(example)
Press corresponding NUMBER button on the remote control to select the input of your choice.
Select the input of your choice, then press OK.
![]() During the selection, if no action is taken for several seconds, the “Input select” menu disappears.
During the selection, if no action is taken for several seconds, the “Input select” menu disappears.
|
|
|
| Terminal |
HDMI 1 |
|
|
| |
GAME |
|
| Label | |
|
|
| ||
|
| (example) | ||
![]() The terminal and label of the connected equipment are displayed.
The terminal and label of the connected equipment are displayed.
To label each of the inputs, please refer to p. 59.
Note
![]() The input label will be displayed on “Input select” screen if Input label is set on p. 59.
The input label will be displayed on “Input select” screen if Input label is set on p. 59.
![]() For side input terminals (HDMI 4/Video 2), “GAME” input label is set as default. (Picture mode is set to “Game”, refer to p. 66.)
For side input terminals (HDMI 4/Video 2), “GAME” input label is set as default. (Picture mode is set to “Game”, refer to p. 66.)
![]() For more details for picture mode setting, refer to p. 66. For Input label, refer to p. 59.
For more details for picture mode setting, refer to p. 66. For Input label, refer to p. 59.
■To return to TV
■Press Game to switch to the game screen
Switches to Input terminal that has “GAME” label.
![]() Cycle through the input terminals if there are multiple Input terminals that have “GAME” label. (p. 59)
Cycle through the input terminals if there are multiple Input terminals that have “GAME” label. (p. 59)
![]() If there is no Input terminal with “GAME” label, you cannot switch the input terminal to any other input terminal than the one currently selected.
If there is no Input terminal with “GAME” label, you cannot switch the input terminal to any other input terminal than the one currently selected.
HDMI 1 |
|
|
|
GAME |
| ||
|
|
|
|
|
|
|
|
HDMI 4 |
|
| |
GAME |
| ||
|
|
|
|
|
|
|
|
Video 2 |
|
| |
GAME |
| ||
|
|
|
|
|
|
|
|
Operate the connected equipment using the remote control supplied with the equipment
Note
 For details, see the manual of the connected equipment.
32