


07Audio DRC
•Settings: High, Medium, Low, Off (default) When watching Dolby Digital DVDs at low volume, it’s easy to lose the quieter sounds completely — including some of the dialog. Switching Audio DRC (Dynamic Range Control) to on can help by bringing up the quieter sounds, while controlling loud peaks. How much of a difference you hear depends on the material you’re listening to. If the material doesn’t have wide variations in volume, you may not notice much change.
![]() Note
Note
•Audio DRC is only effective with Dolby Digital audio sources.
•Audio DRC is only effective through the digital output when Digital Out is set to On, and Dolby Digital Out is set to Dolby Digital > PCM (see Digital Audio Out settings on page 35).
•The effect of Audio DRC also depends on your speakers and AV receiver settings.
Dialog
•Settings: High, Medium, Low, Off (default) The Dialog feature is designed to make the dialog stand out from other background sounds in the soundtracks.
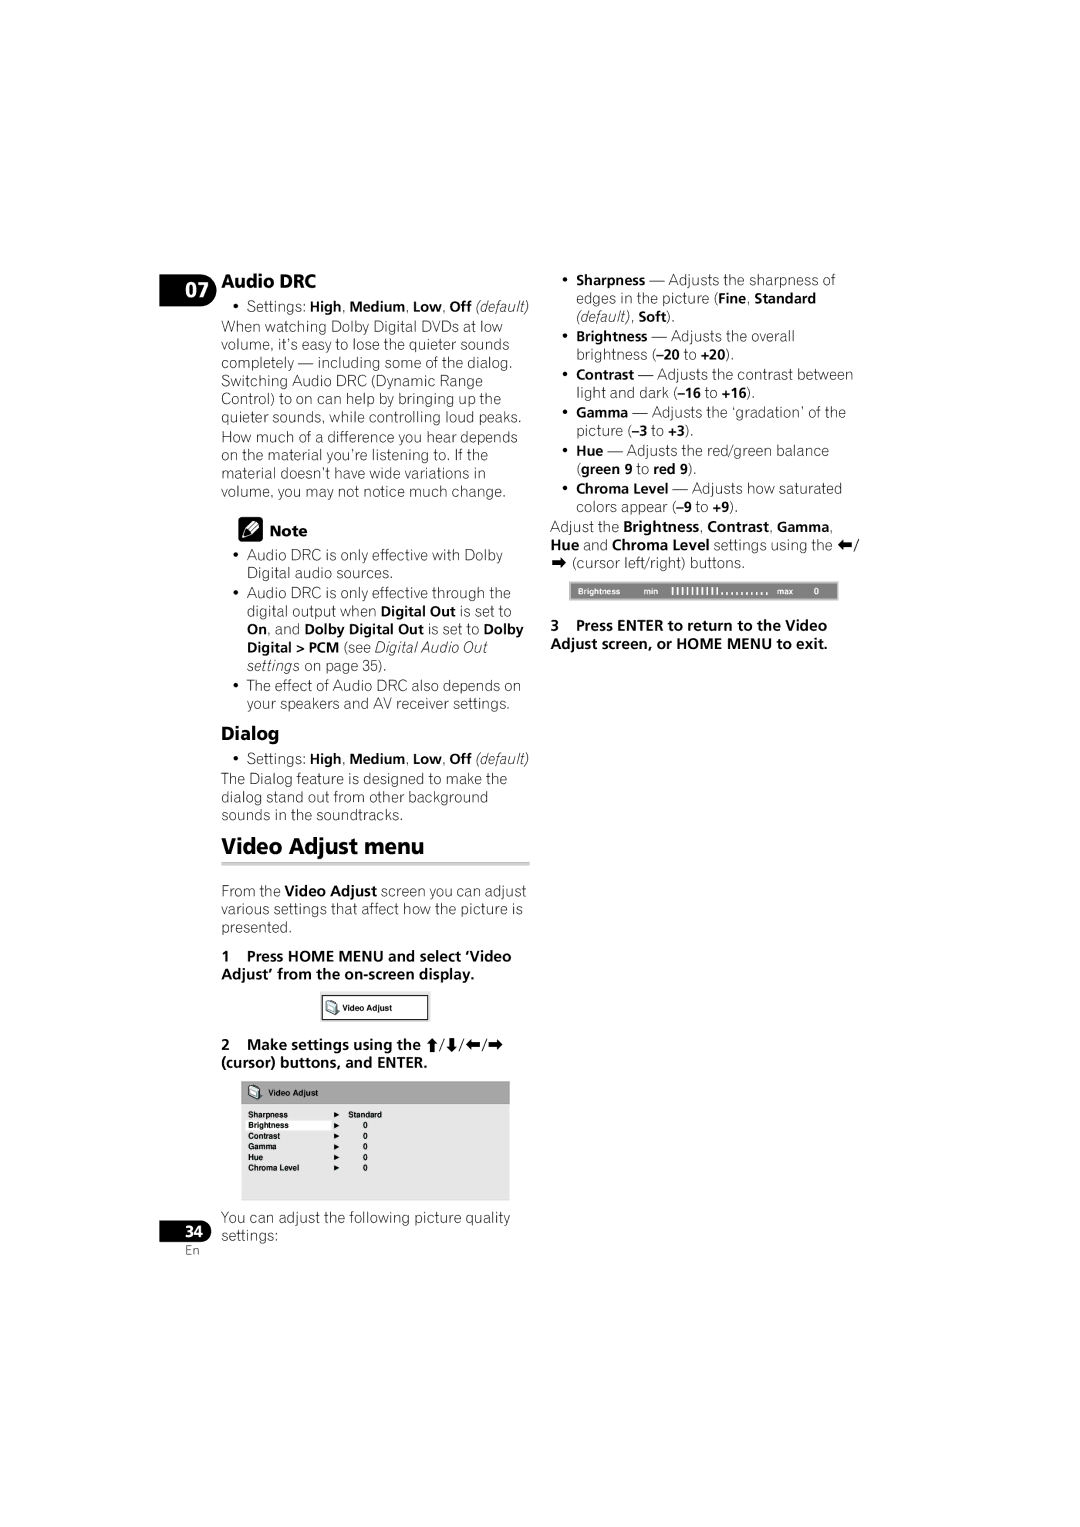
Video Adjust menu
From the Video Adjust screen you can adjust various settings that affect how the picture is presented.
1Press HOME MENU and select ‘Video Adjust’ from the
![]()
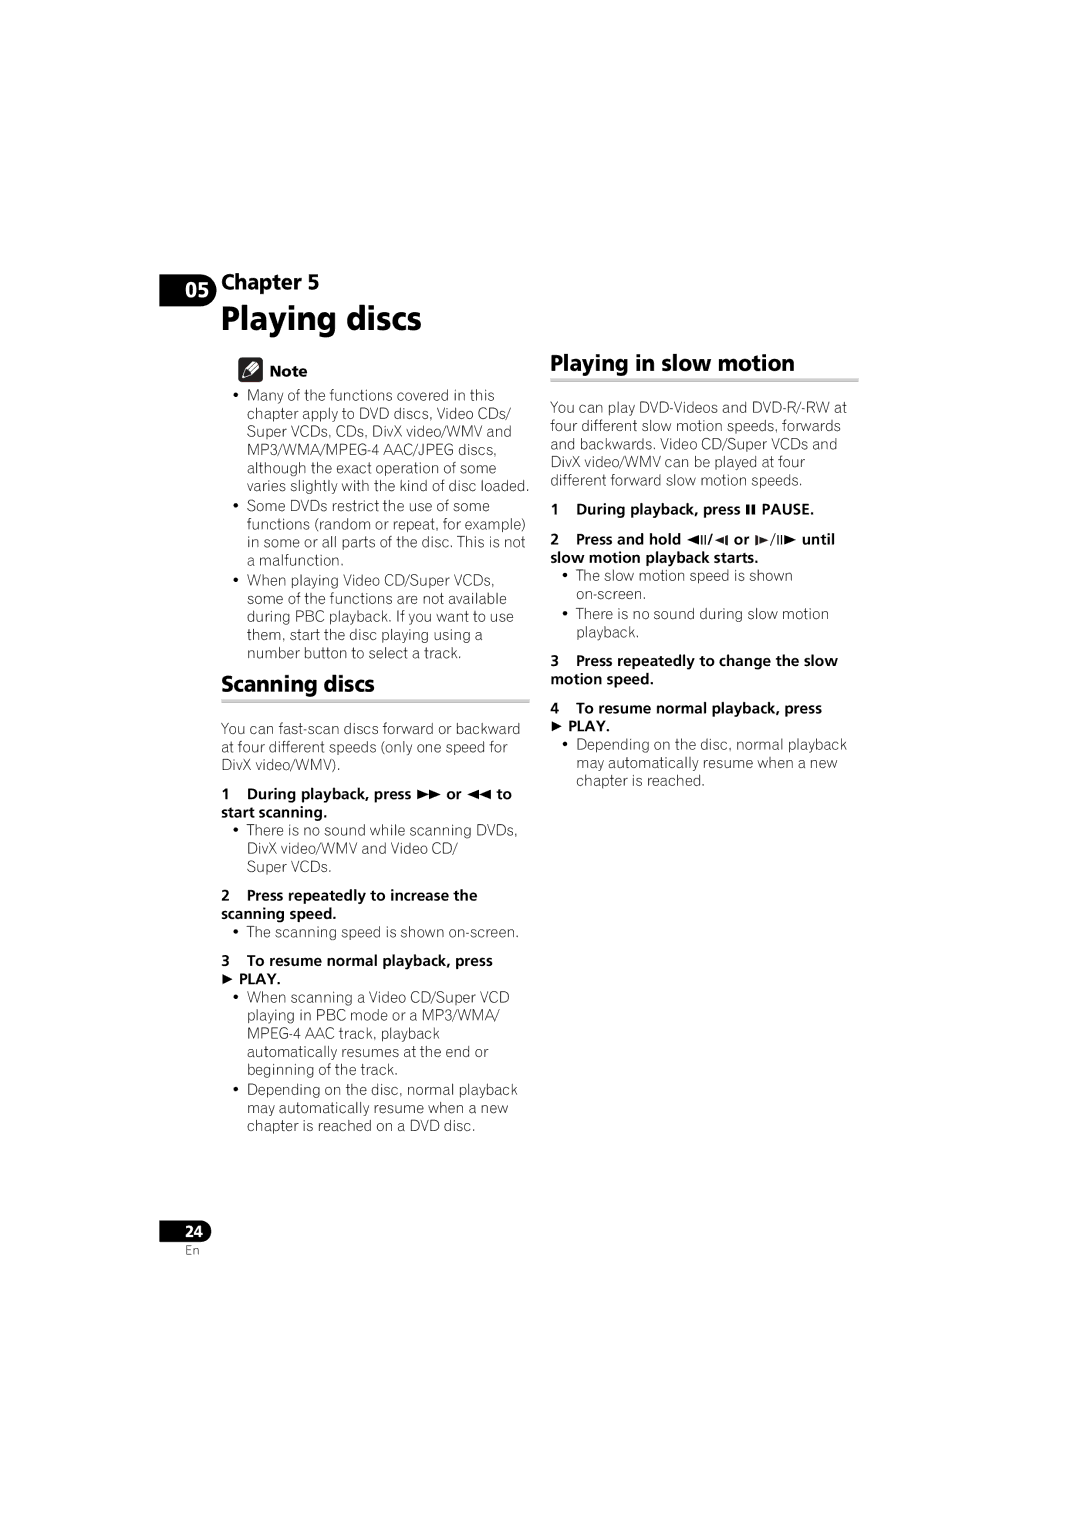
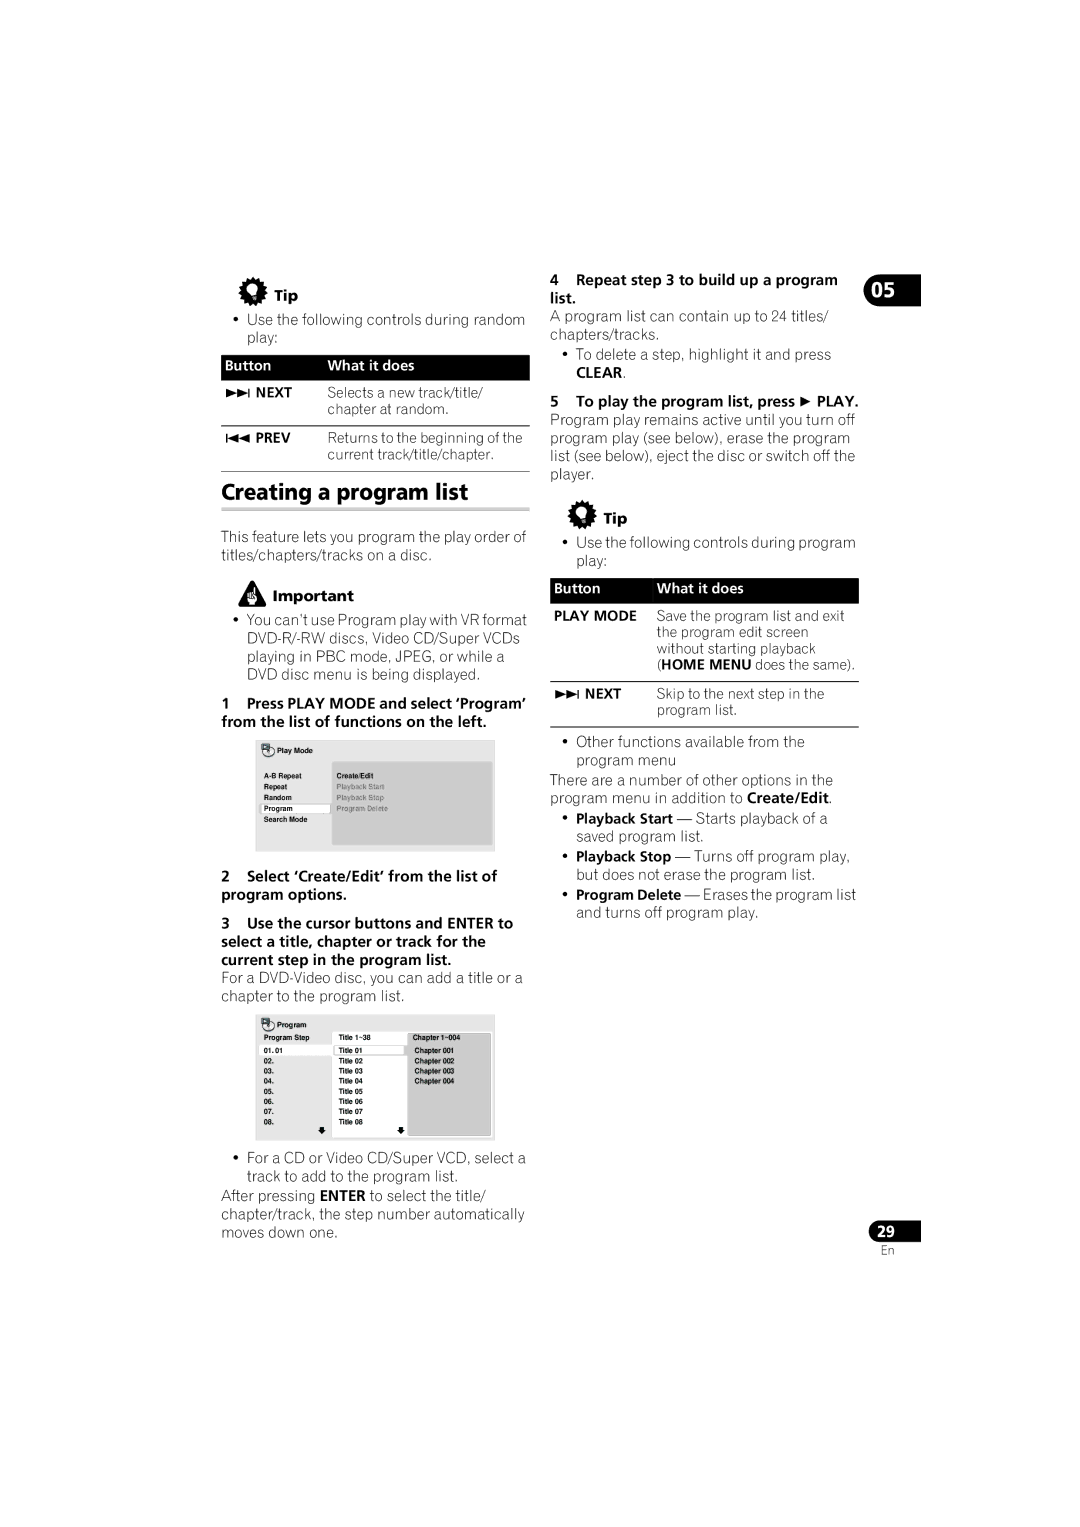
![]() Video Adjust
Video Adjust
2Make settings using the ///
(cursor) buttons, and ENTER.
Video Adjust
Sharpness | | Standard |
Brightness | | 0 |
Contrast | | 0 |
Gamma | | 0 |
Hue | | 0 |
Chroma Level | | 0 |
You can adjust the following picture quality
34settings:
•Sharpness — Adjusts the sharpness of edges in the picture (Fine, Standard (default), Soft).
•Brightness — Adjusts the overall brightness
•Contrast — Adjusts the contrast between light and dark
•Gamma — Adjusts the ‘gradation’ of the picture
•Hue — Adjusts the red/green balance (green 9 to red 9).
•Chroma Level — Adjusts how saturated colors appear
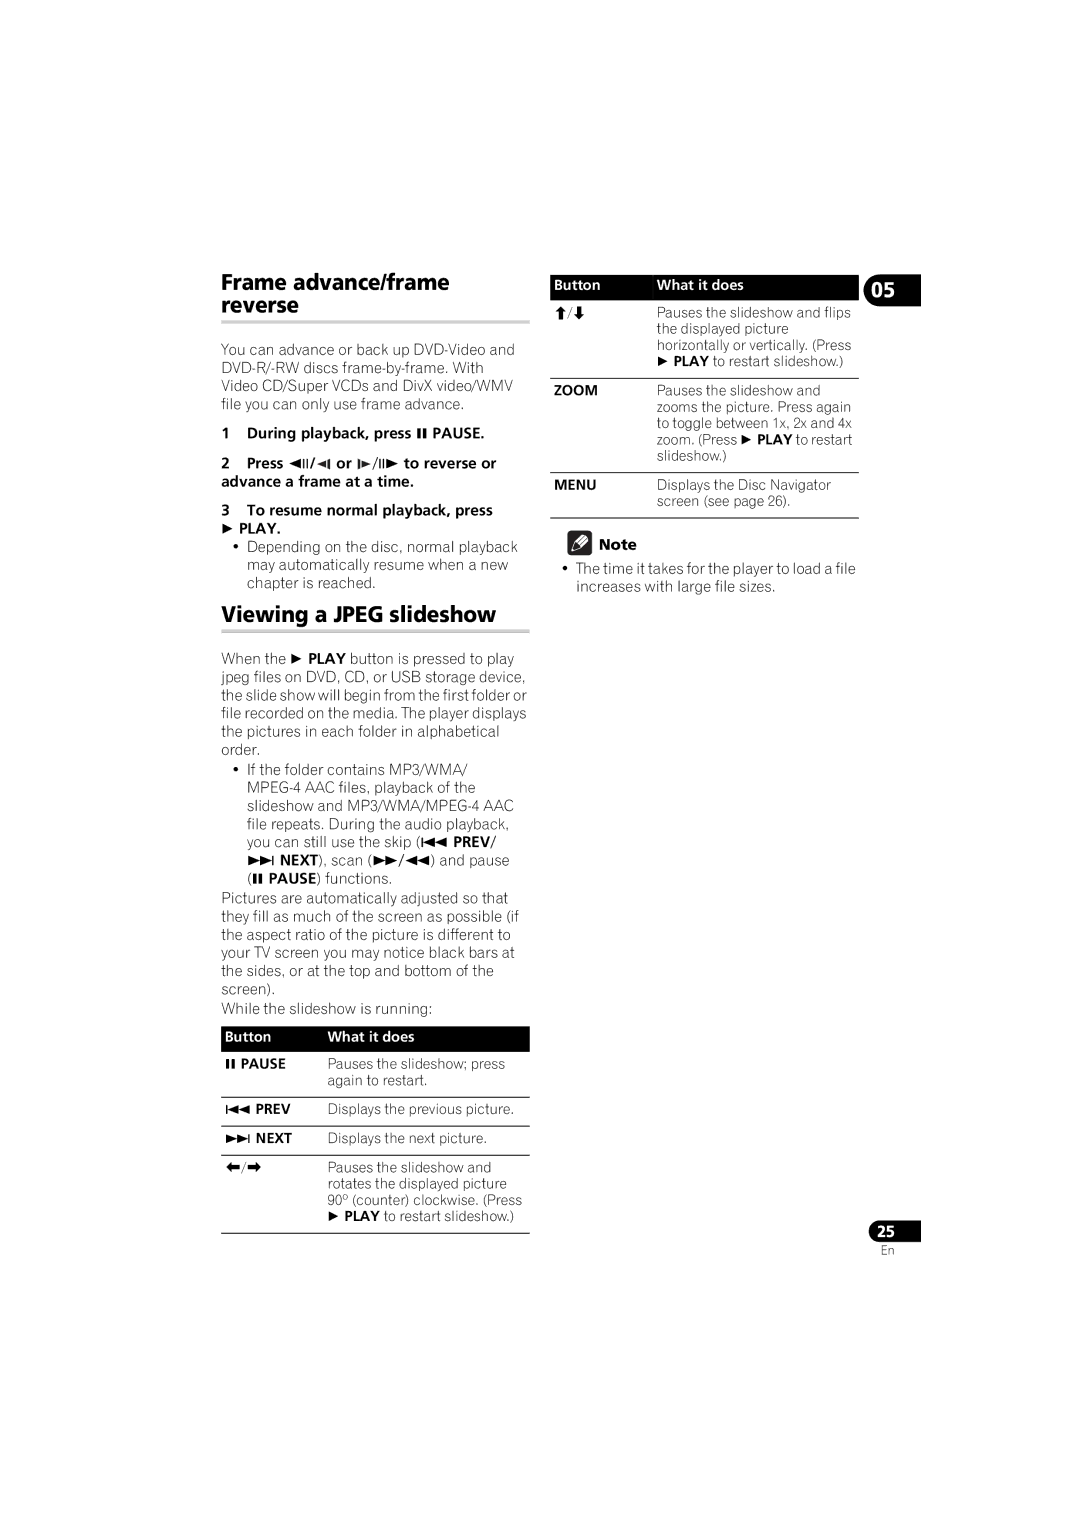
Adjust the Brightness, Contrast, Gamma, Hue and Chroma Level settings using the /
(cursor left/right) buttons.
Brightness | min | max | 0 |
|
|
|
|
3Press ENTER to return to the Video Adjust screen, or HOME MENU to exit.
En