Pioneer DV-210K-K, DV-410V-S Additional information, Taking care of your player and discs

Page 42

09Chapter 9

Additional information

Taking care of your player and discs

General

Hold discs by the edge or by the center hole and edge.

When you’re not using a disc, return it to its case and store upright. Avoid leaving discs in excessively cold, humid, or hot environments (including under direct sunlight).

Don’t glue paper or put stickers on to discs. Do not use a pencil, ball-point pen or other sharp-tipped writing instrument to write on the disc.

Don’t use self-adhesive disc labels on discs as these can cause the disc to warp slightly during playback causing distortion in the picture and/or sound.

Damaged and shaped discs

Do not use cracked, chipped, warped, or otherwise damaged discs as they may damage the player.

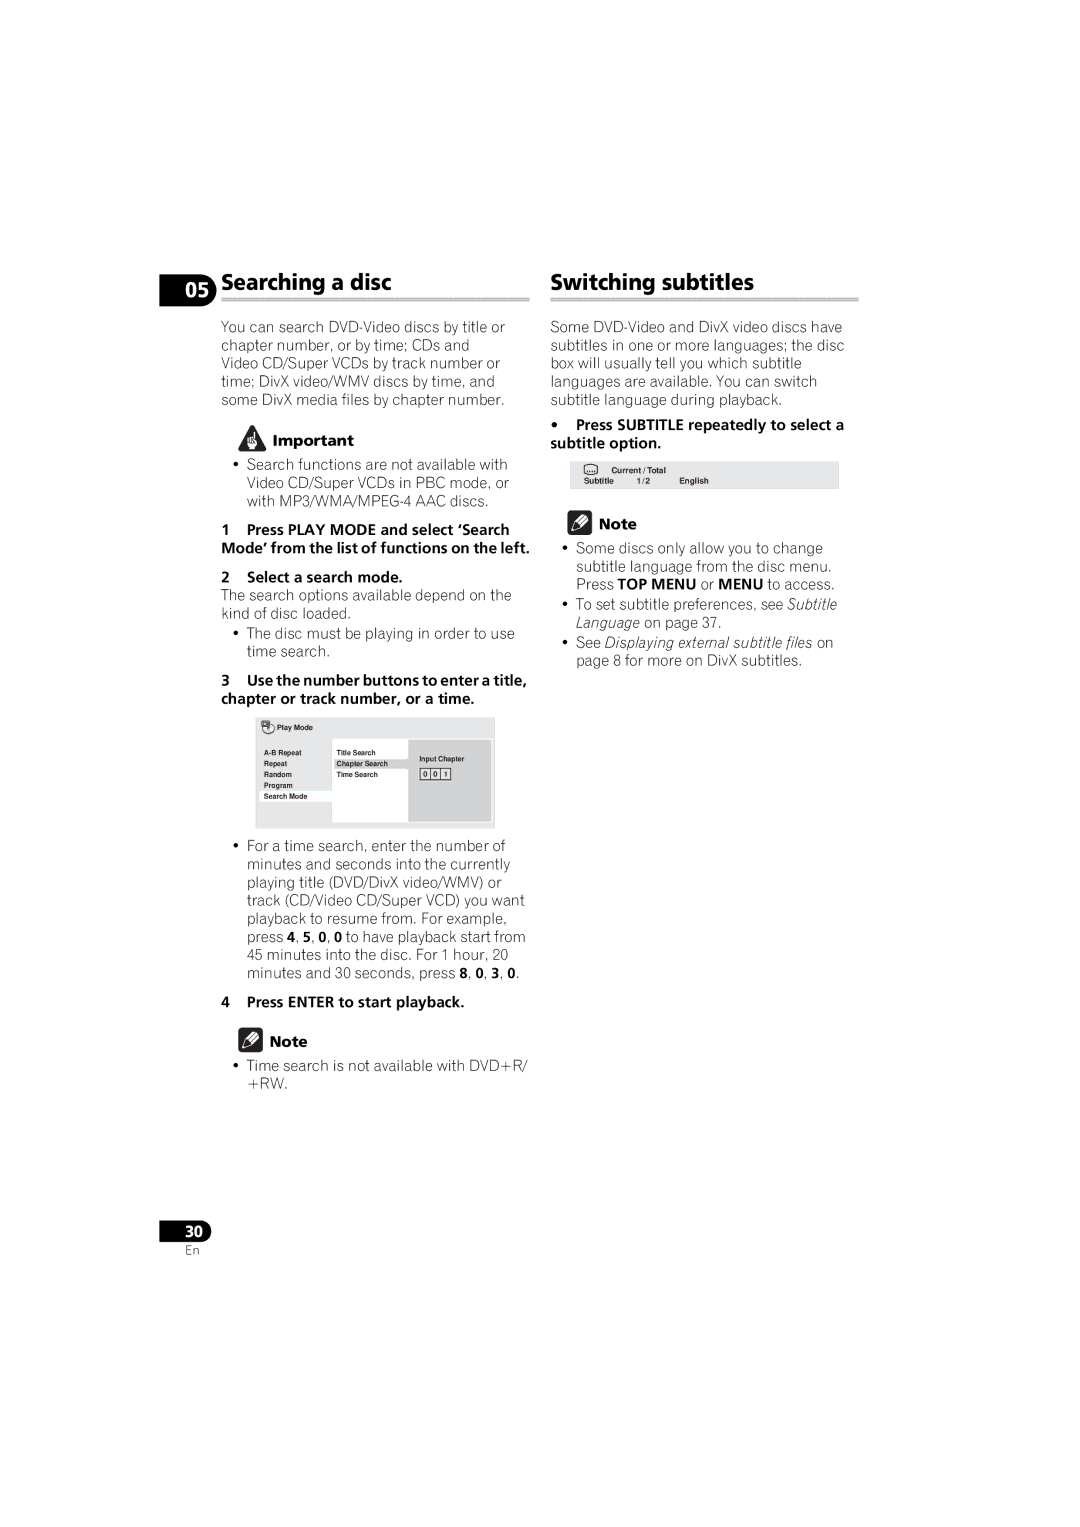
This player is designed to be used only with conventional, fully circular discs. Do not use shaped discs. Pioneer disclaims all liability arising in connection with the use of shaped discs.

Cleaning discs

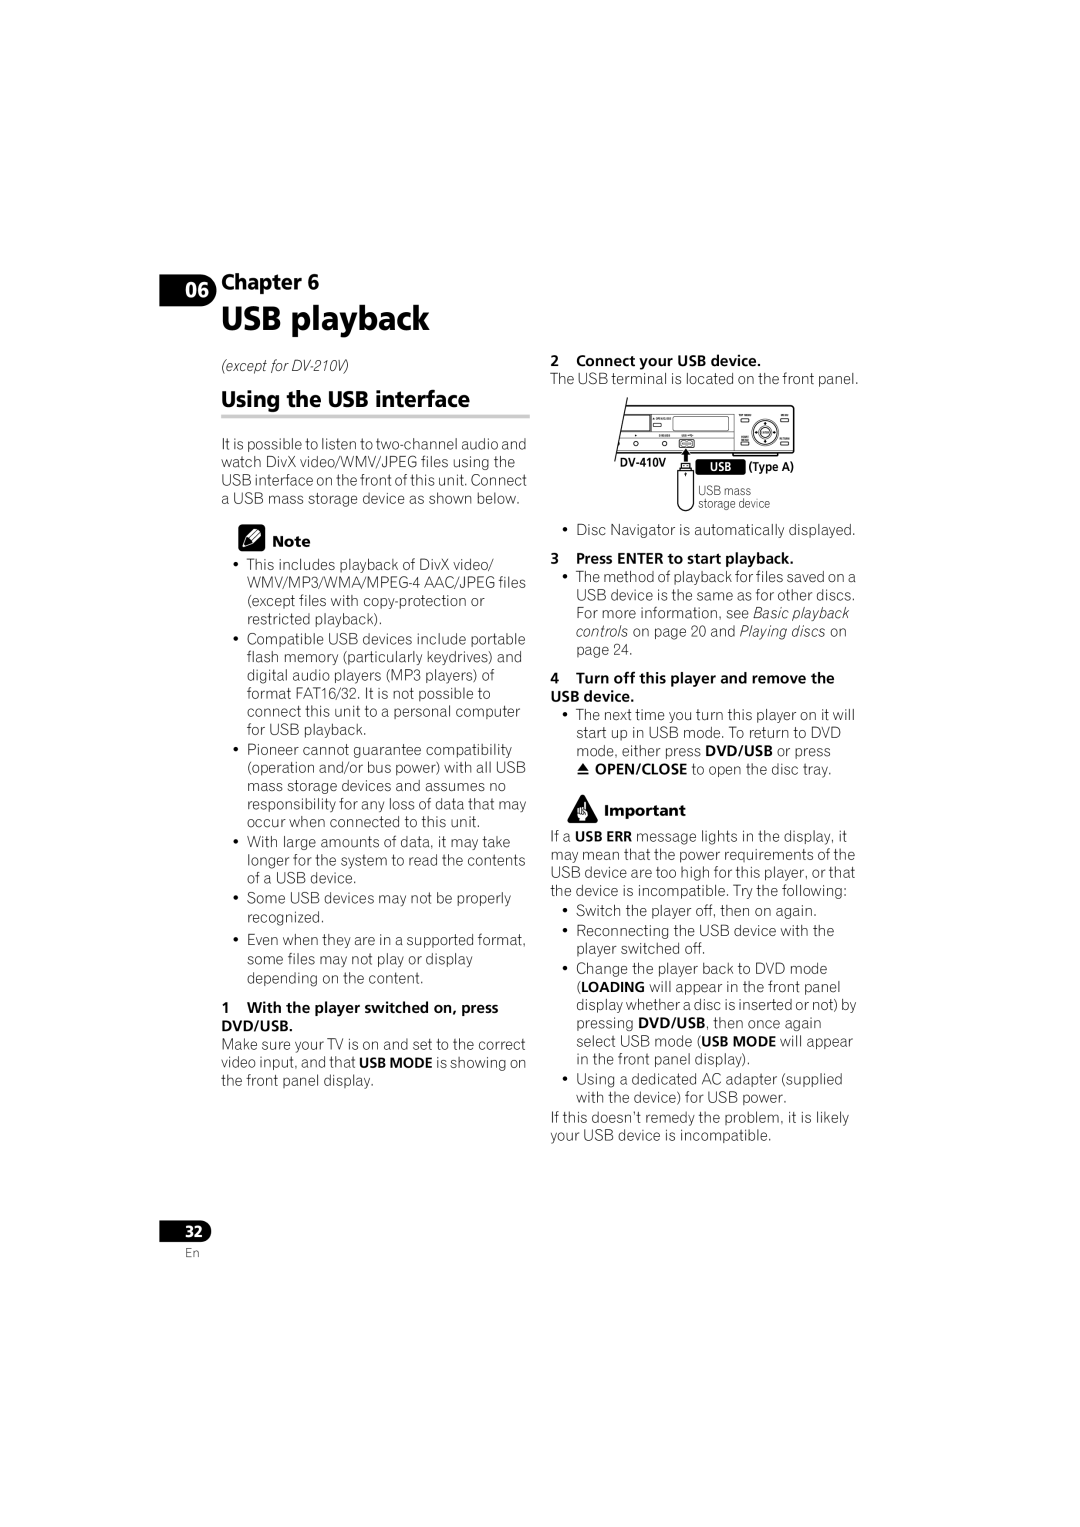
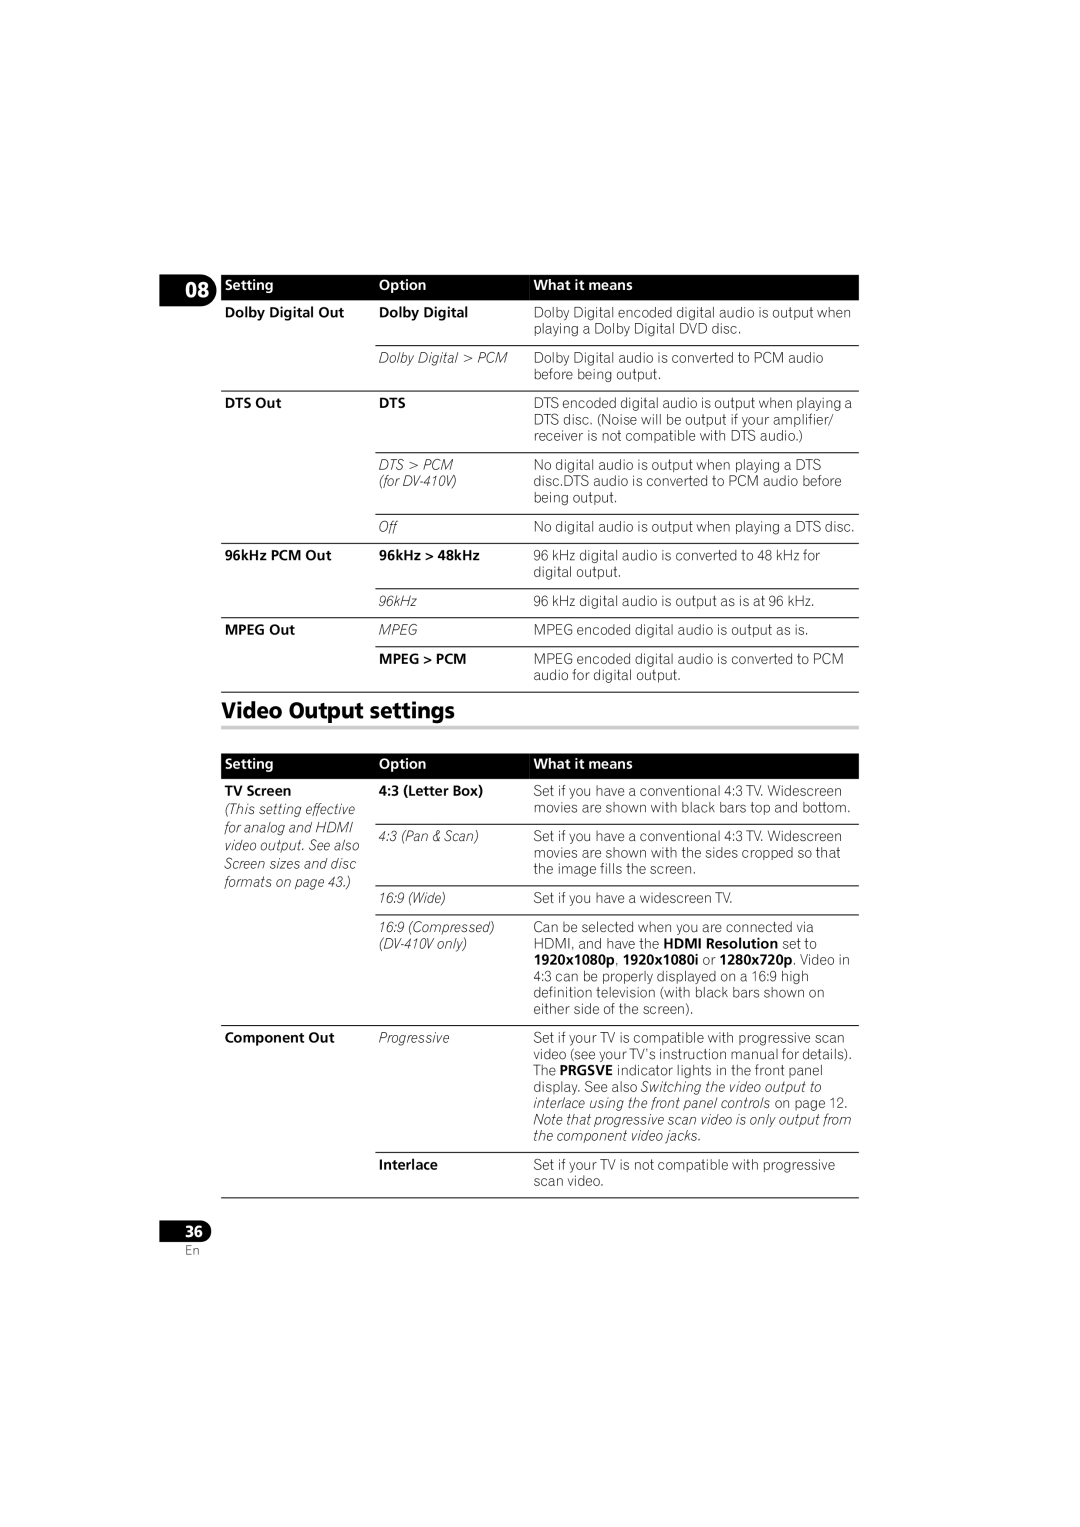
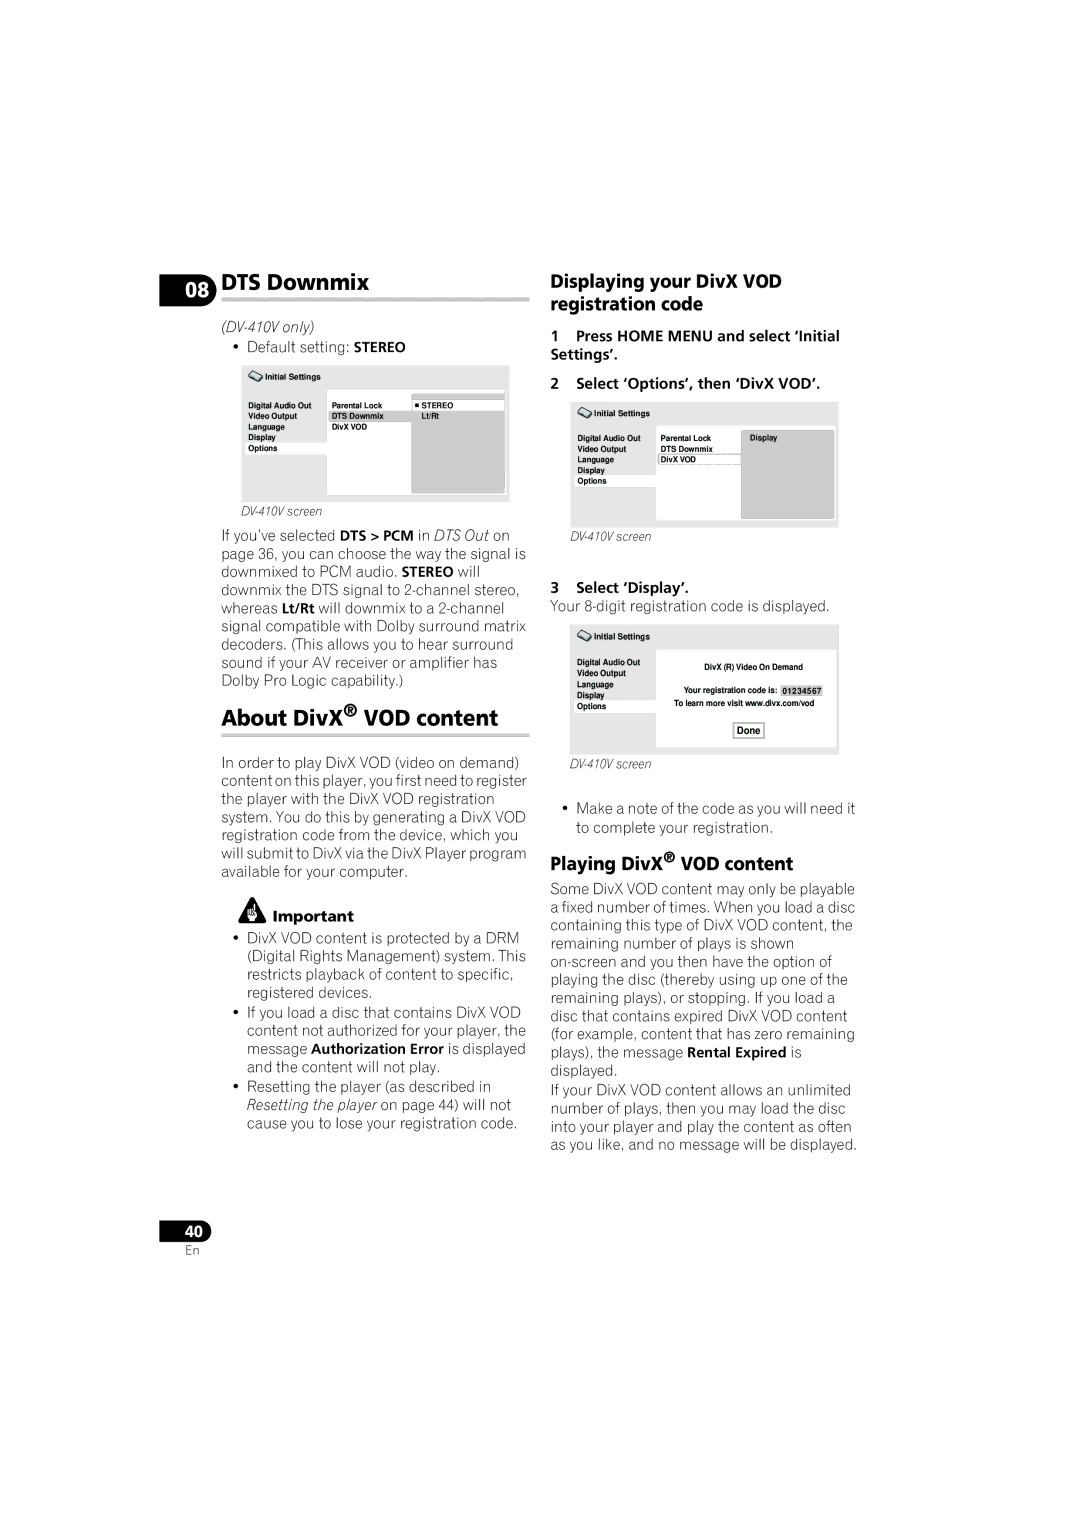
Fingerprints and dust on discs can affect playback performance. Clean using a soft, dry cloth, wiping the disc lightly from the center to the outside edge as shown below.

If necessary, use a cloth soaked in alcohol, or a commercially available CD/DVD cleaning kit to clean a disc more thoroughly. Never use benzine, thinner or other cleaning agents, including products designed for cleaning vinyl records.

Cleaning the unit’s exterior

Unplug the unit before cleaning.

Use a dry cloth to wipe off dust and dirt. If the surfaces are very dirty, wipe with a soft cloth dipped in some neutral cleanser diluted five or six times with water and wrung out well, then wipe again with a dry cloth.

Do not use furniture wax or cleaners. Never use thinners, benzine or insecticide sprays or other chemicals on or near this unit.

If you use a chemical-impregnated cleaning cloth, read the instructions carefully before use. These cloths may leave smear marks on half-mirror finish surfaces; if this happens, finish with a dry cloth.

Cleaning the pickup lens

The DVD player’s lens should not become dirty in normal use, but if for some reason it should malfunction due to dust or dirt, consult your nearest Pioneer-authorized service center. We do not recommend using commercially available lens cleaners for CD players.

42

En

Image 42
Contents DV-510K-SDV-410V-SDV-410V-KDV-310-SDV-310-KDV-210K-K Operating Environment Ventilation CautionPOWER-CORD Caution Information to UserContents What’s in the box FeaturesBefore you start Putting the batteries in the remoteHints on installation Disc/content format playback compatibilityDon’t DVD+R/+RW compatibility About DualDisc playbackCD-R/-RW compatibility DVD-R/-RW compatibilityAbout DivX video About MPEG-4 AACWMA Windows Media Audio WMA compatibility Displaying external subtitle filesPC-created disc compatibility About Windows Media Video WMVJpeg file compatibility DivX video compatibilityConnections Easy connectionsTo audio/video inputs Connecting using the S-Video output Connecting using Component video outputExcept for DV-210K Connecting to an AV receiver TipConnecting using Hdmi Connecting the digital outputAbout Hdmi Controls and displays Front panelRemote control Using the remote controlSwitching on Using the on-screen displaysGetting started Select ‘OSD Language’ from the ‘Display’ settings Press Home Menu and select ‘Initial Settings’Select ‘TV Screen’ from the ‘Video Output’ settings Press Home Menu to exit the menu screenPlaying discs  Play Basic playback controlsResume and Last Memory  StopMenu DVD-Video and DivX disc menusTOP Menu NumbersSetting the volume and echo to the minimum Adjusting the music to suit your voiceDV-510K/DV-210K only When howling occurs Playing discs Scanning discsPlaying in slow motion Frame advance/frame reverse Viewing a Jpeg slideshowZoom Select the thumbnail image for what you want to play Browsing Files with the Disc NavigatorSelect a view option Use the cursor buttons /// Enter to navigateLooping a section of a disc To resume normal playback, select ‘Off’ from the menuUsing repeat play Using random play Select a repeat play optionSelect a random play option Creating a program list Repeat to build up a programClear Press Subtitle repeatedly to select a subtitle option Searching a disc Switching subtitlesSelect a search mode Press Enter to start playbackDisplaying disc information Switching audio language/ channelsSwitching camera angles Zooming the screenUSB playback Using the USB interfaceWith the player switched on, press DVD/USB Connect your USB deviceEqualizer Audio Settings and Video Adjust menusAudio Settings menu Virtual SurroundAudio DRC Video Adjust menuMake settings using the /// Cursor buttons, and Enter DialogInitial Settings menu Using the Initial Settings menuDigital Audio Out settings Video Output settings DTSMpeg PCM Set if your TV supports 720x480 pixel Ntsc ChineseDisplay settings Options settingsStereo Setting/changing the Parental Lock Registering a new password Changing your password Setting/changing the Country/Area codeDTS Downmix About DivX VOD contentPlaying DivX VOD content Displaying your DivX VOD registration codePCM1 DTS About the Hdmi audio output settingsDVD MPEG1Additional information Taking care of your player and discsMoving the player Screen sizes and disc formatsCondensation Widescreen TV usersSelecting languages using the language code list Setting the TV systemResetting the player DVD-Video regionsTroubleshooting Dark Picture disturbance duringPlayback or the picture is No audio, or audio isCan’t hear effect of Virtual Surround Hdmi troubleshootingAlso About the Hdmi audio output settings on No Hdmi video outputUSB troubleshooting Glossary Language code list Country/Area code listCountry/Area, Country/Area code, Country/Area code letter Specifications Pioneer Corporation
Related manuals
Manual 101 pages 5.56 Kb