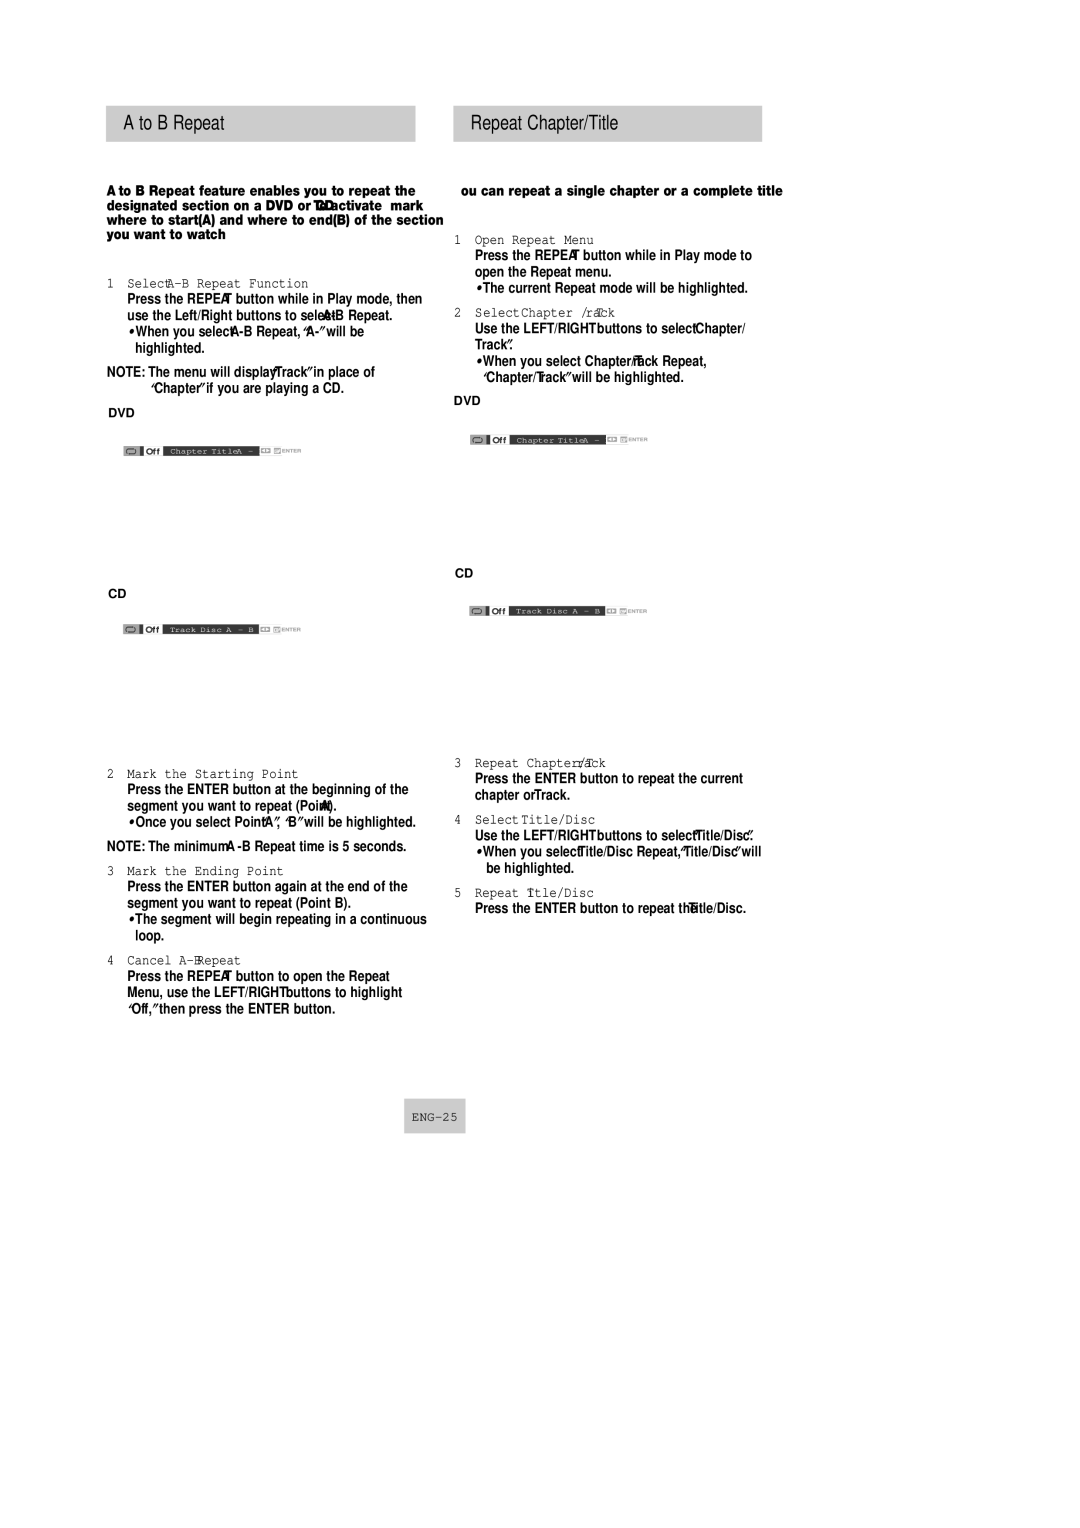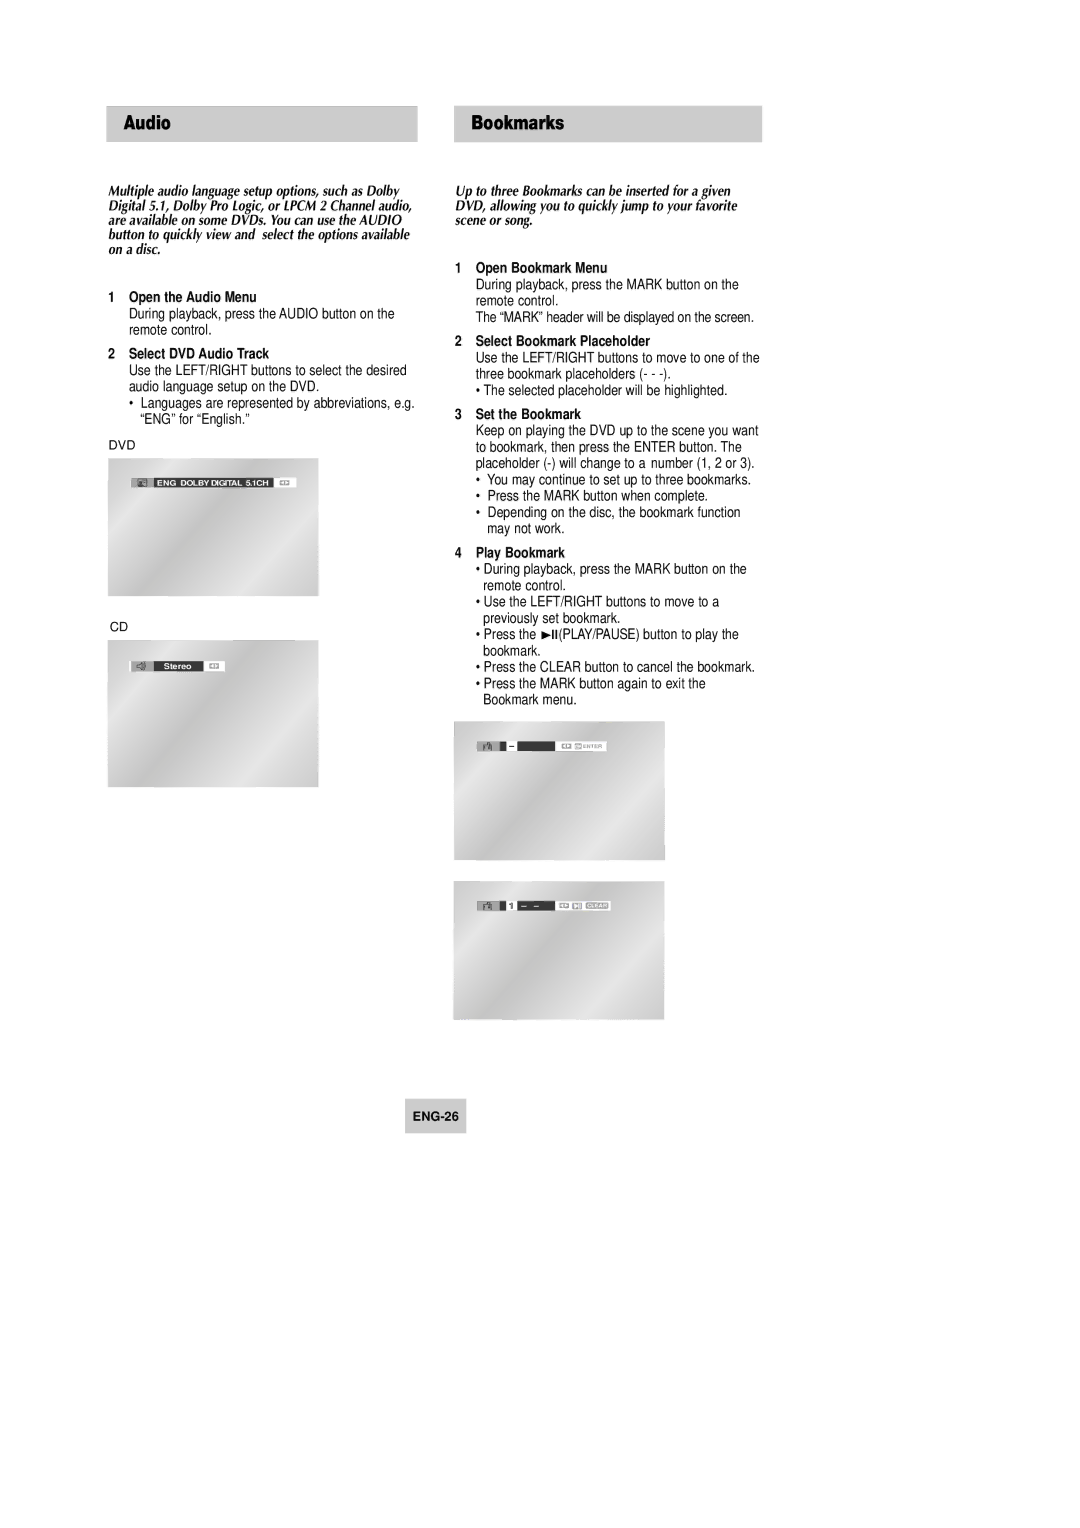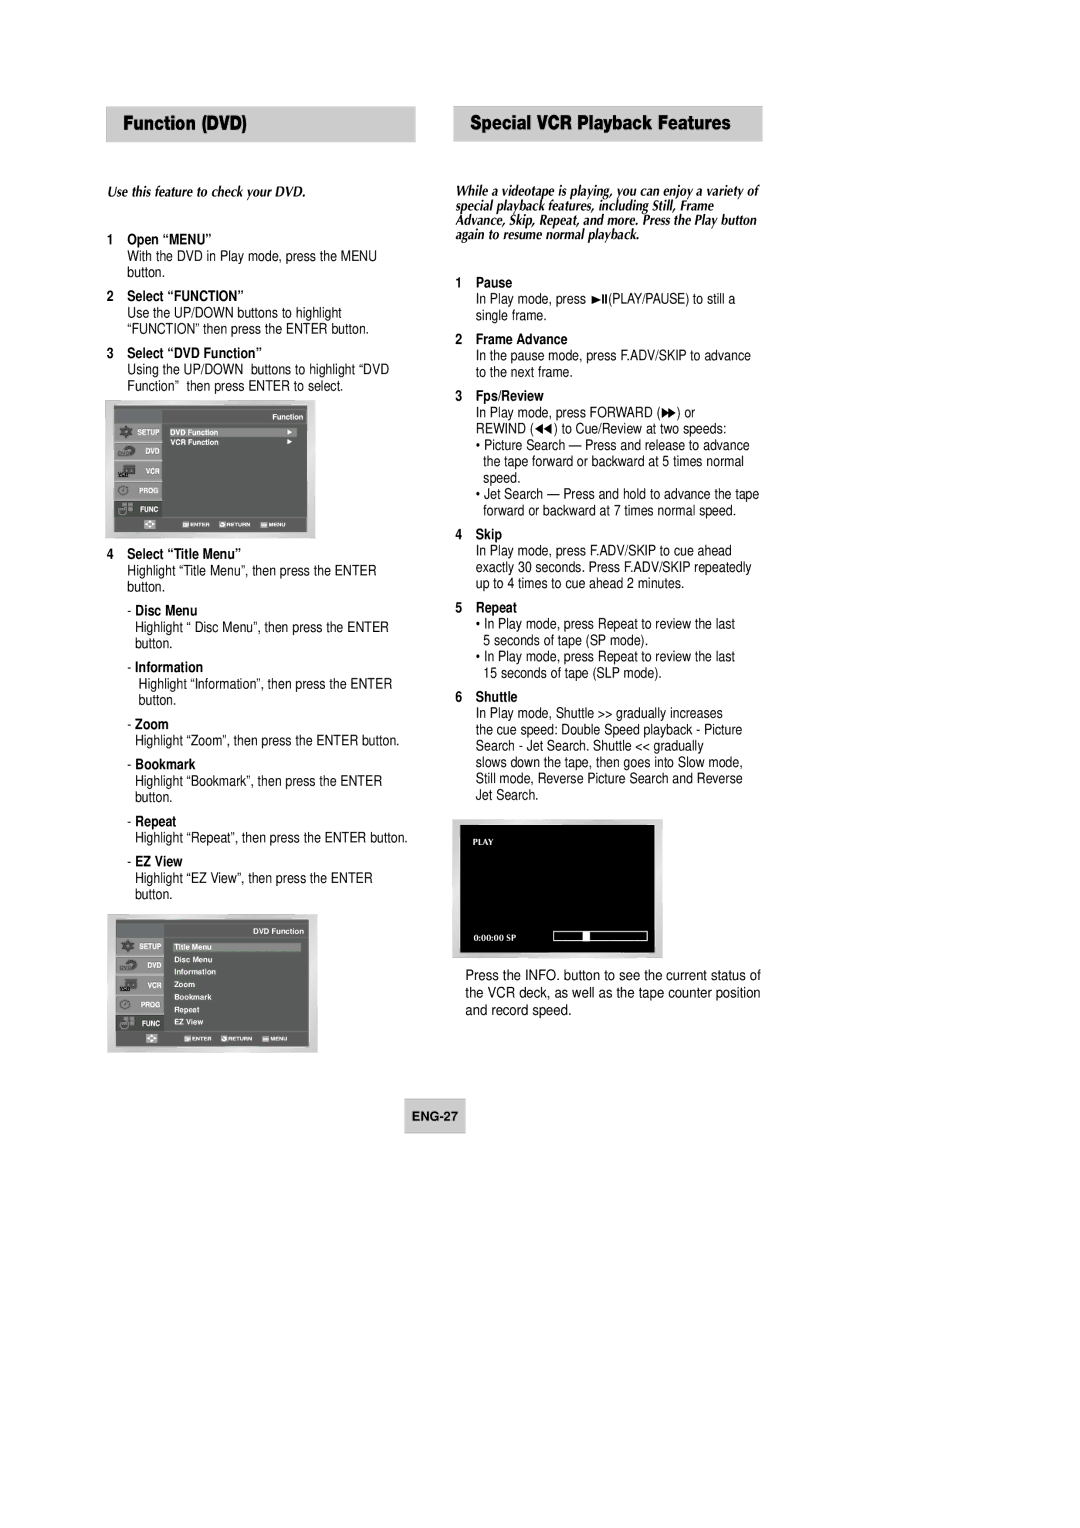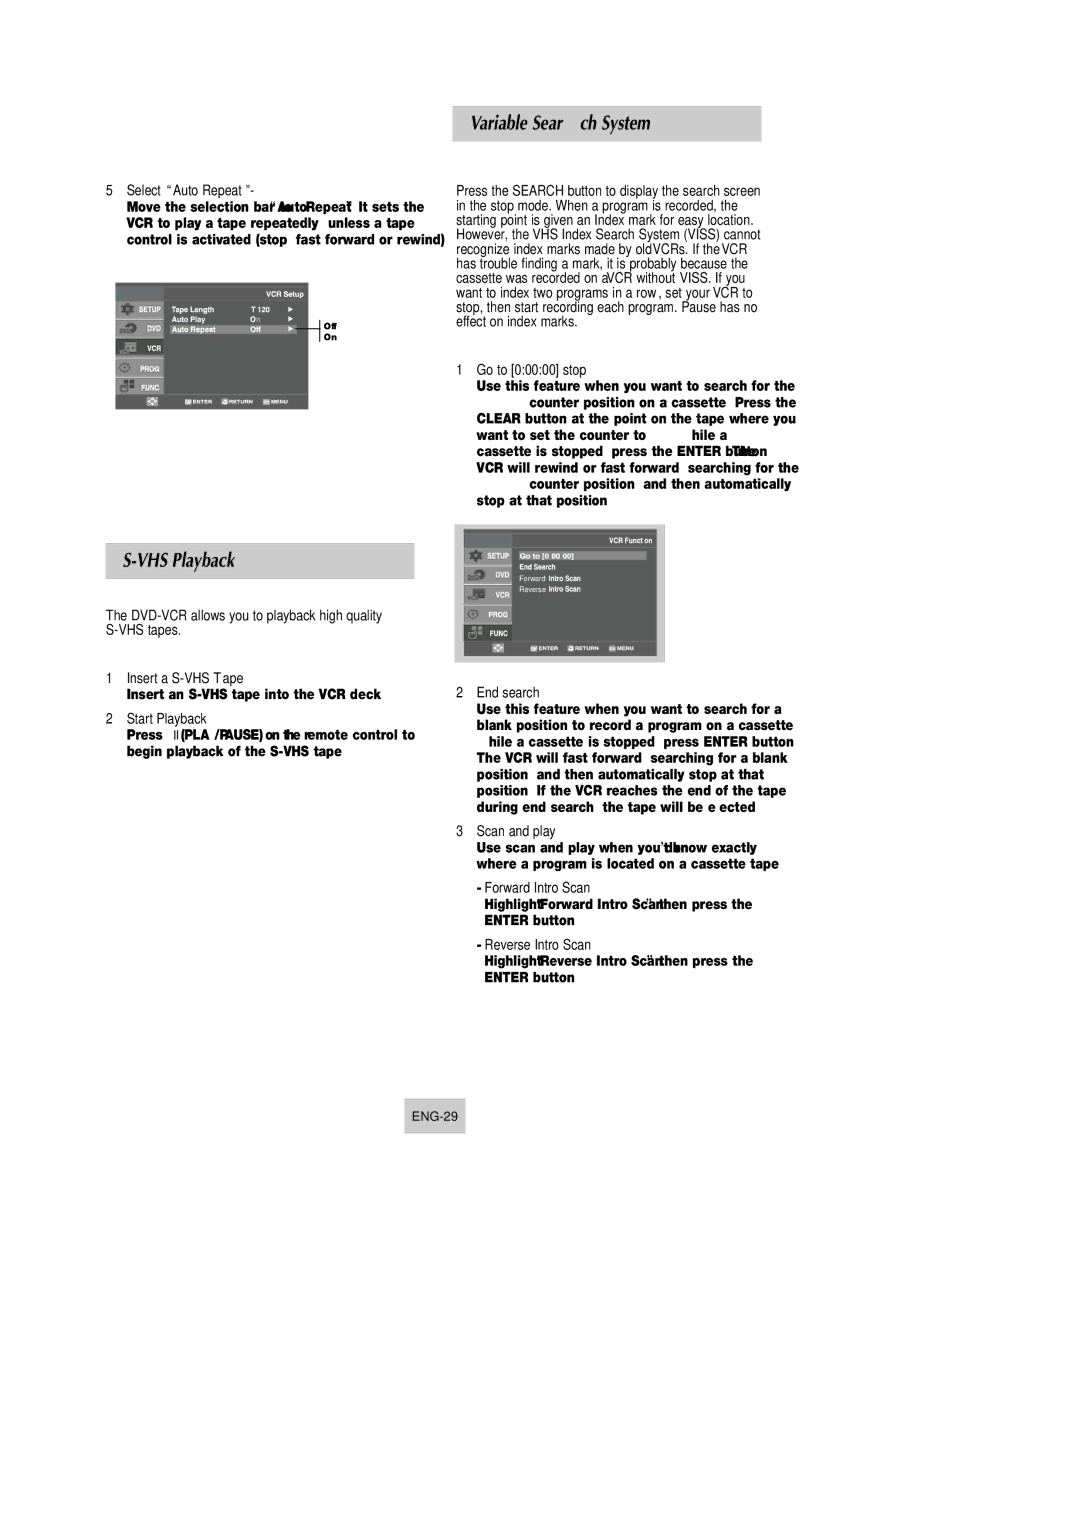
Menu Language |
| Manual Clock Set |
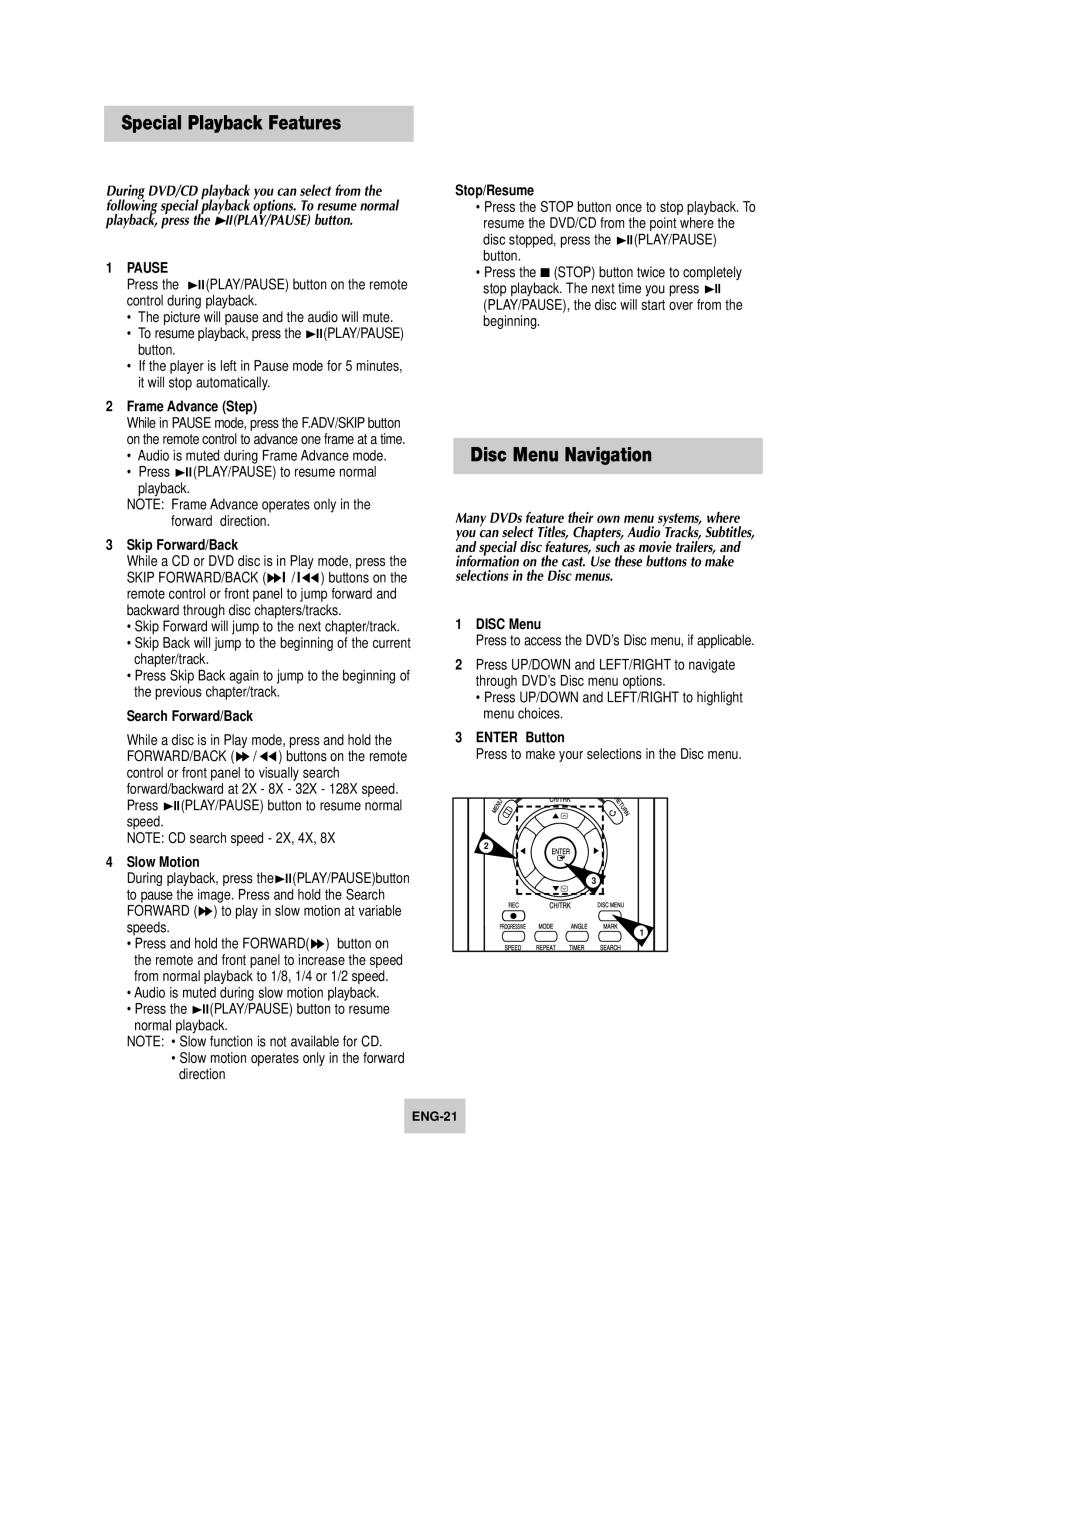
|
|
|
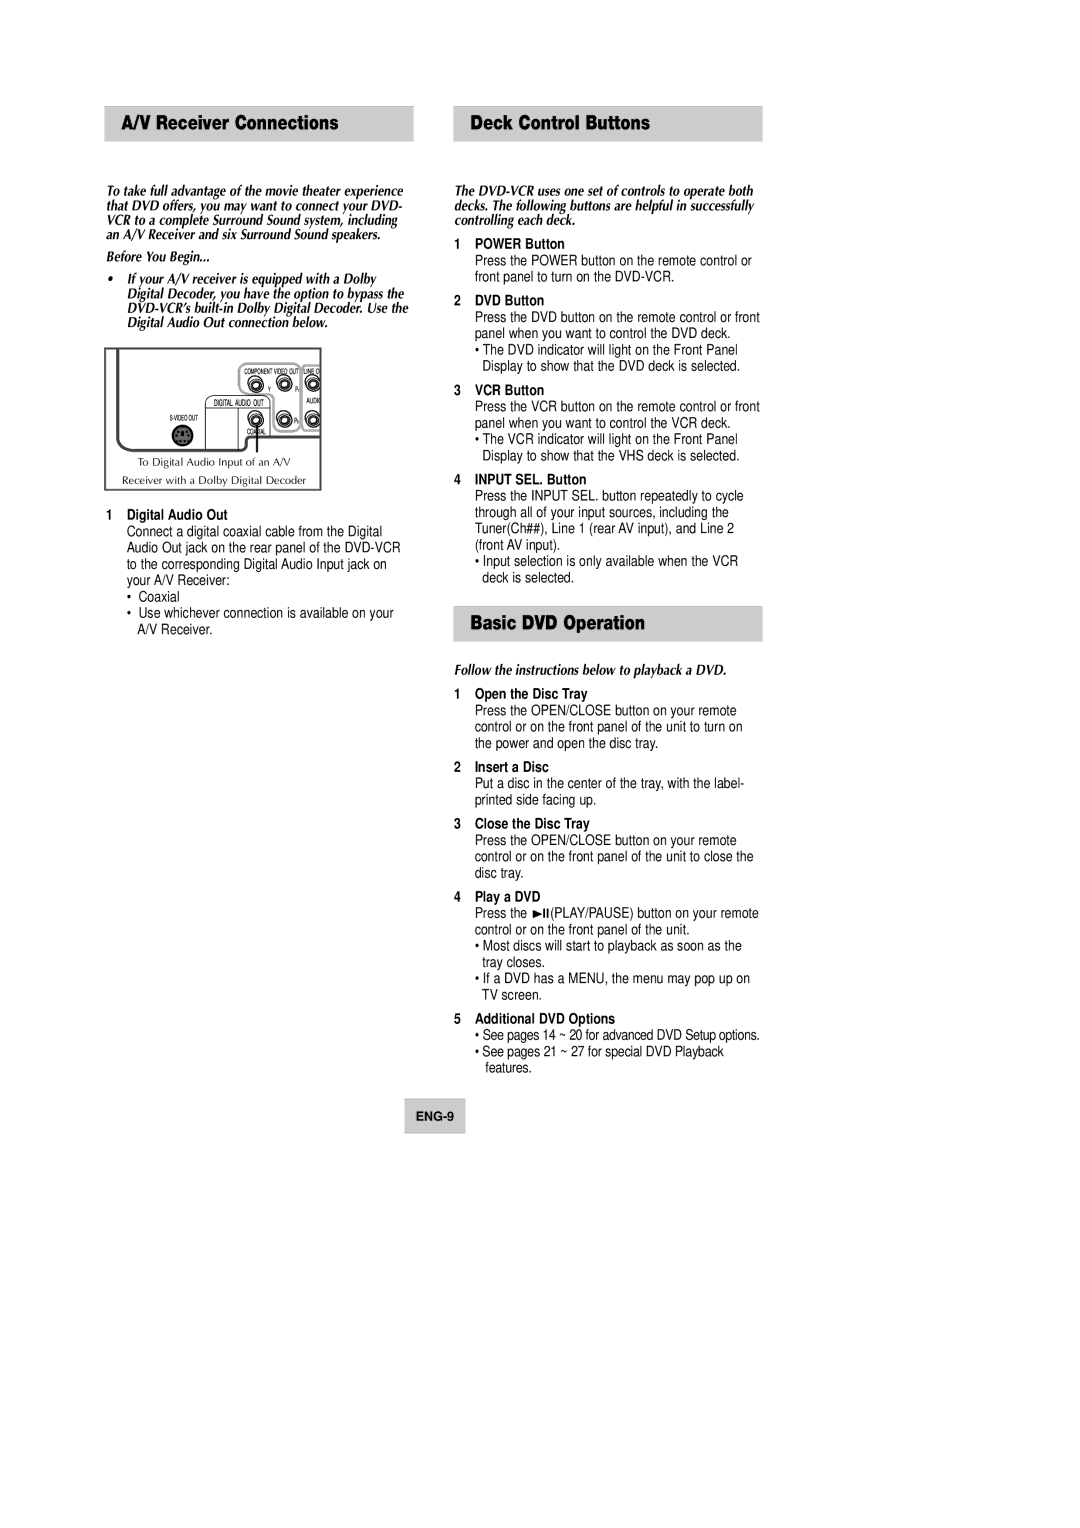
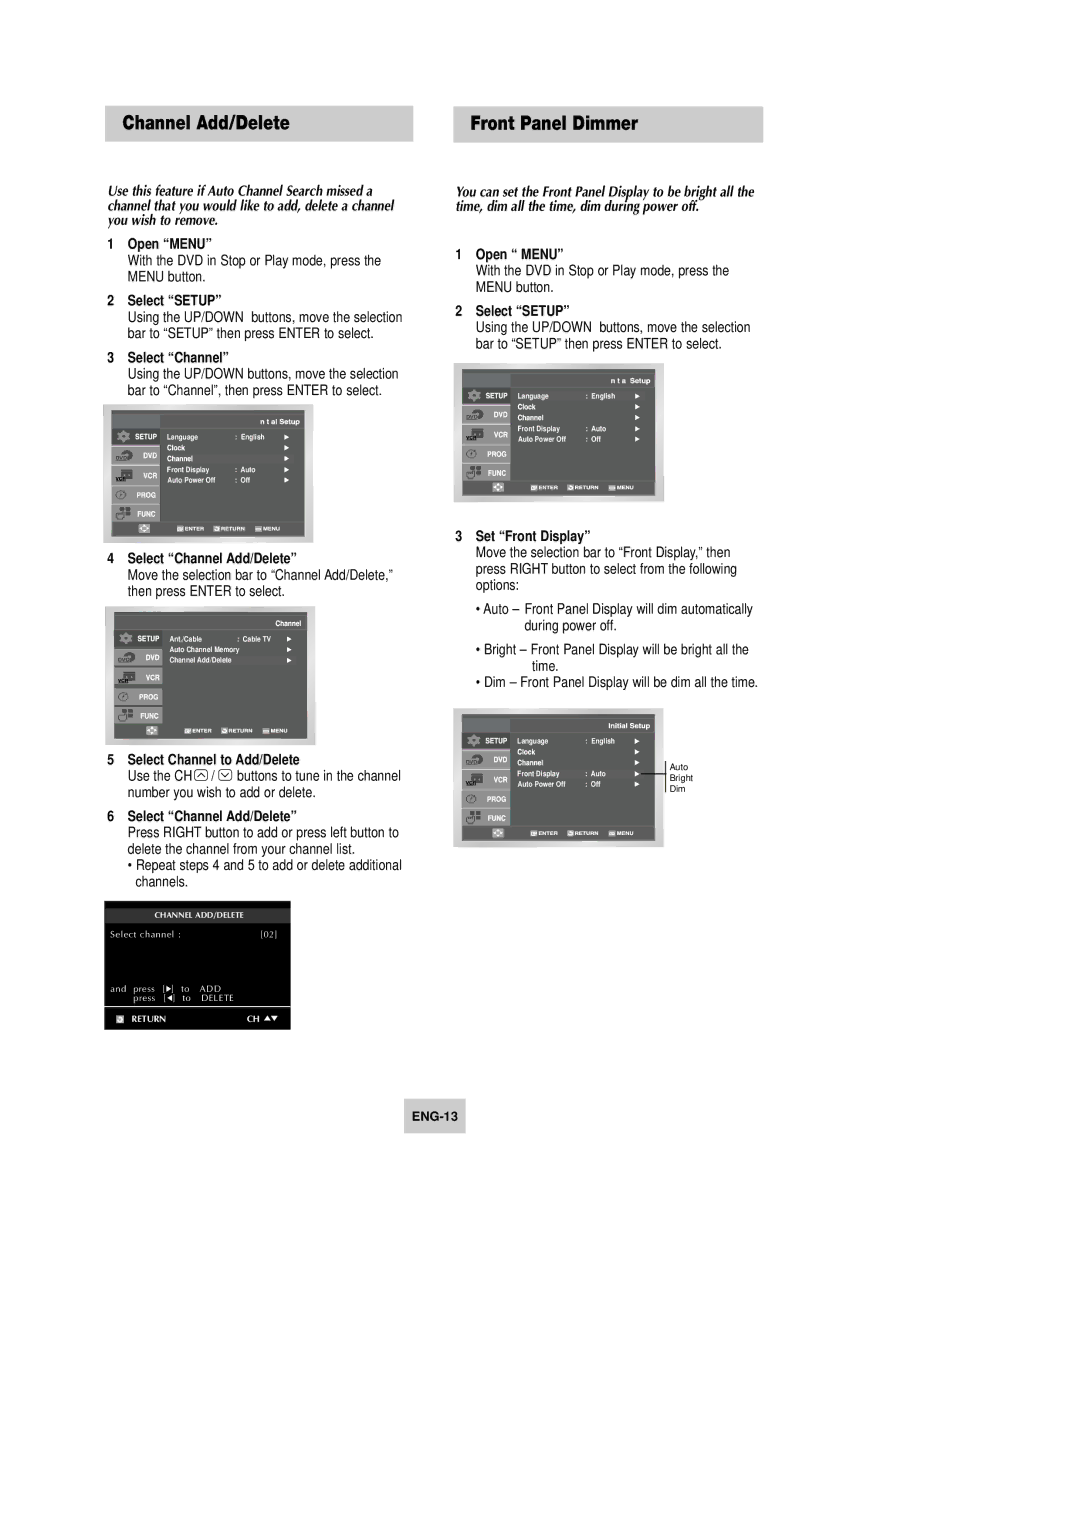
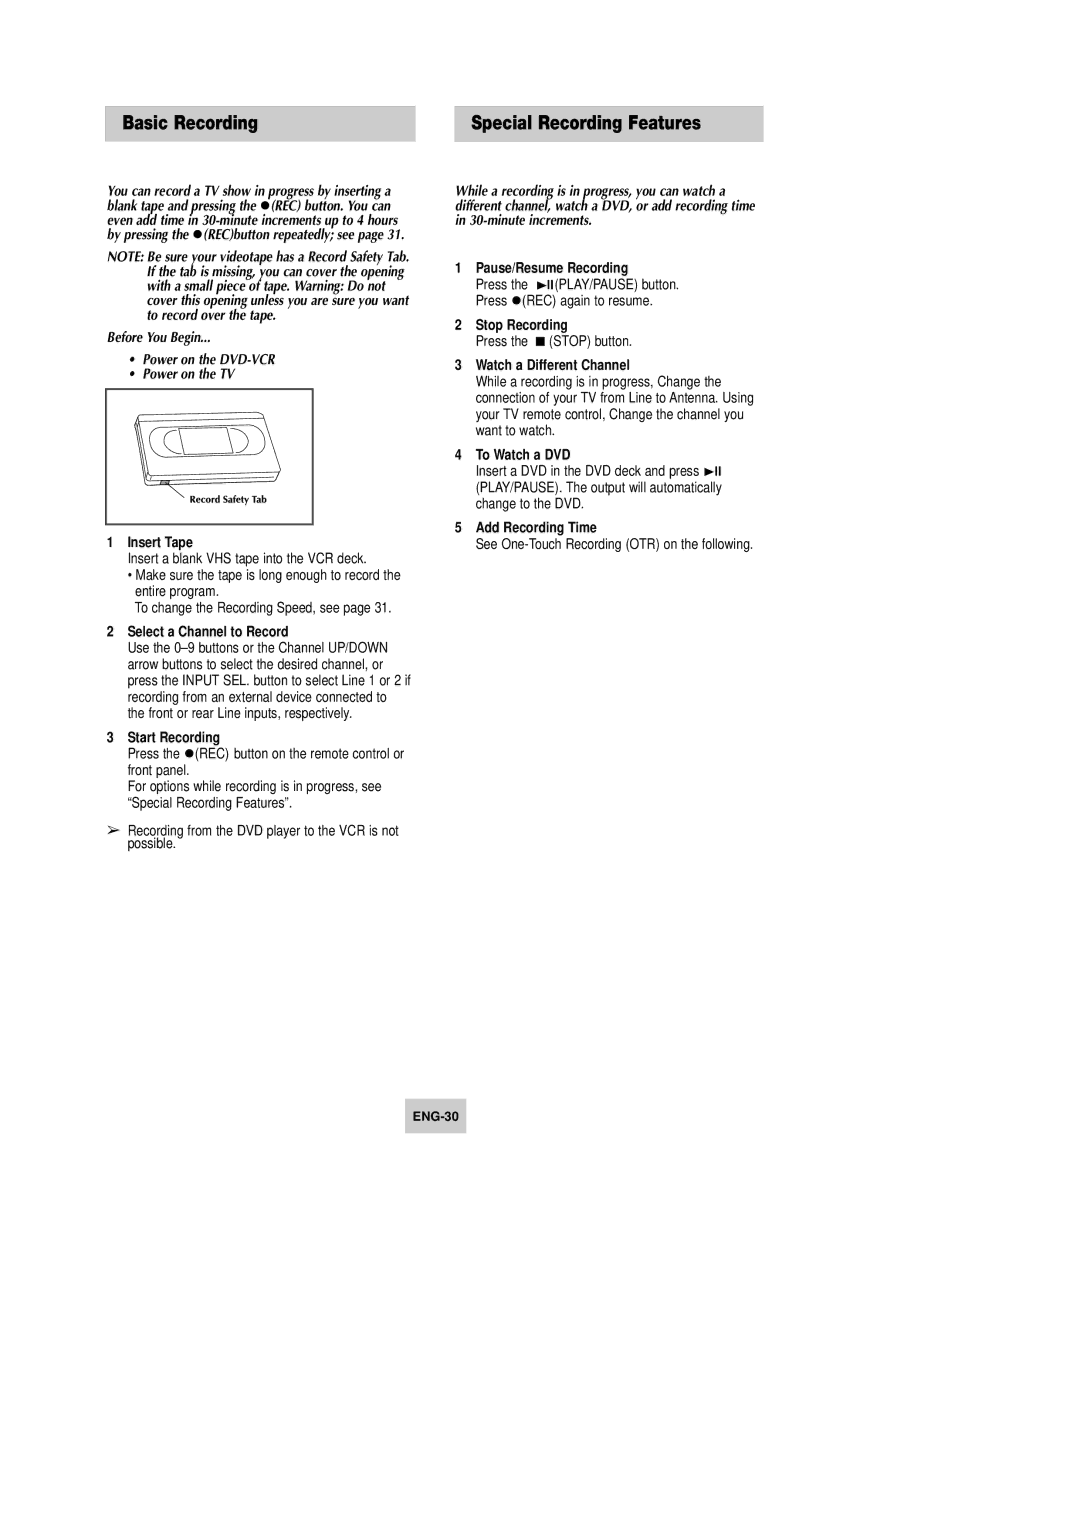
To change the
1Open “MENU”
Press the MENU button while the DVD is in Stop or Play mode.
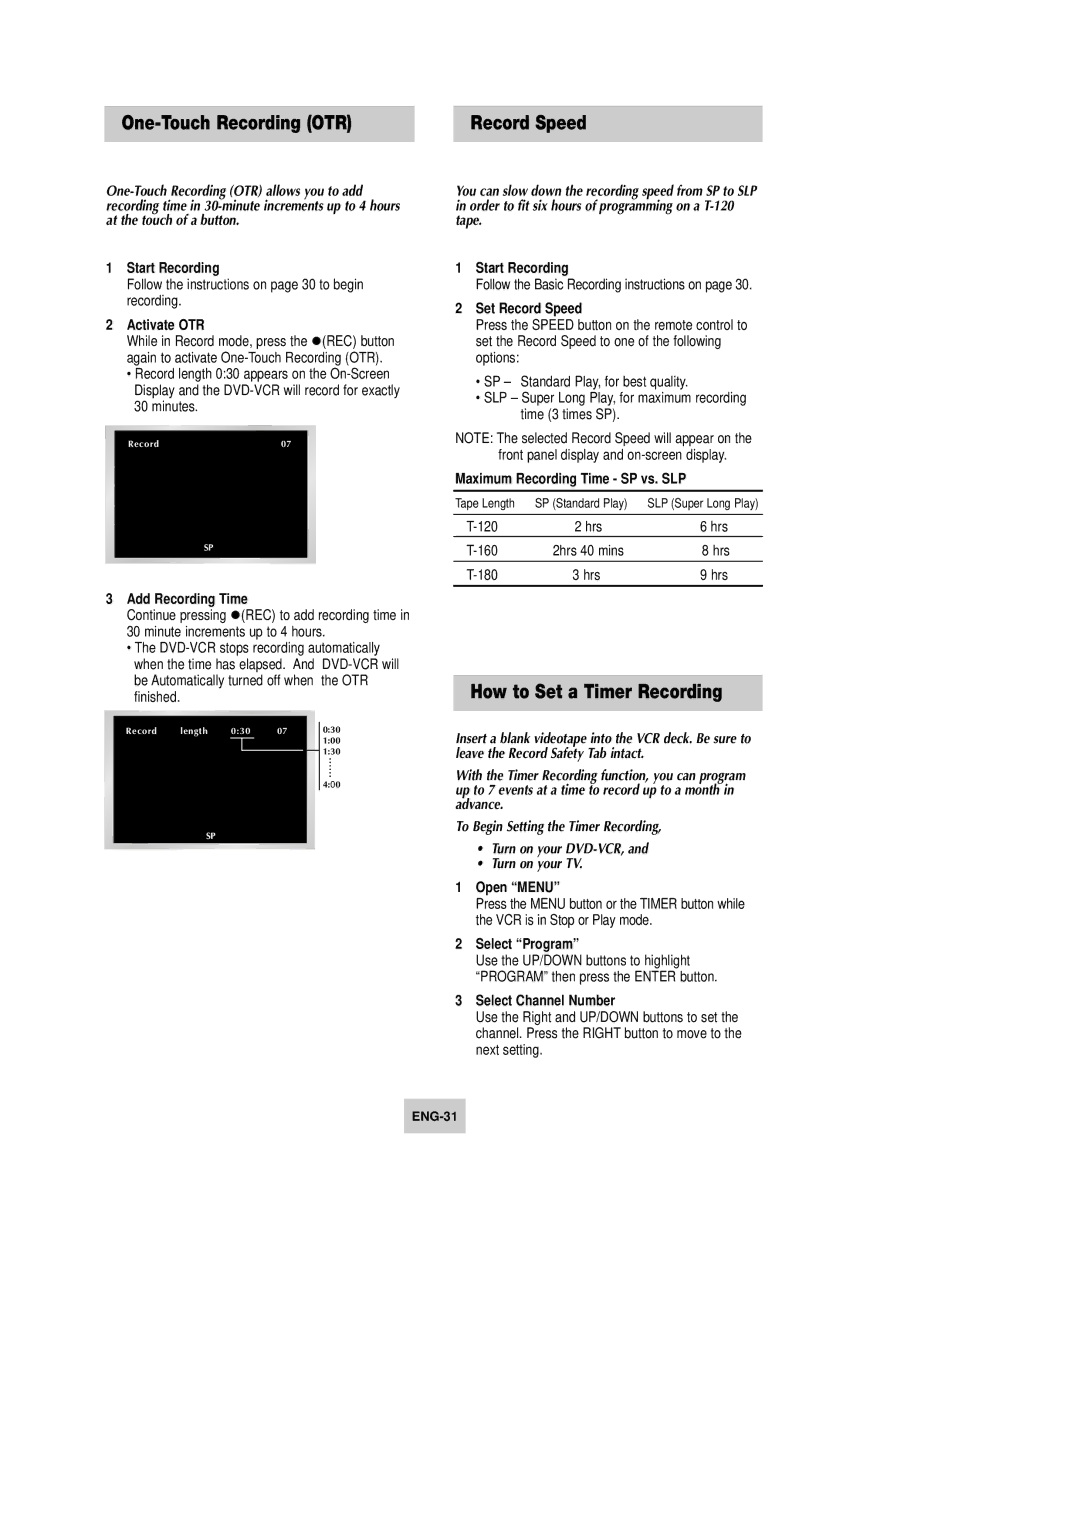
2Select “SETUP”
Using the UP/DOWN buttons, move the selection bar to “SETUP” then press ENTER to select.
|
|
|
|
|
|
|
|
| Language | : English |
|
|
|
| Front Display | : Auto | |
|
|
| |||
|
|
| |||
|
|
| Auto Power Off | : Off | |
|
|
|
|
|
|
|
|
|
|
|
|
|
|
|
|
|
|
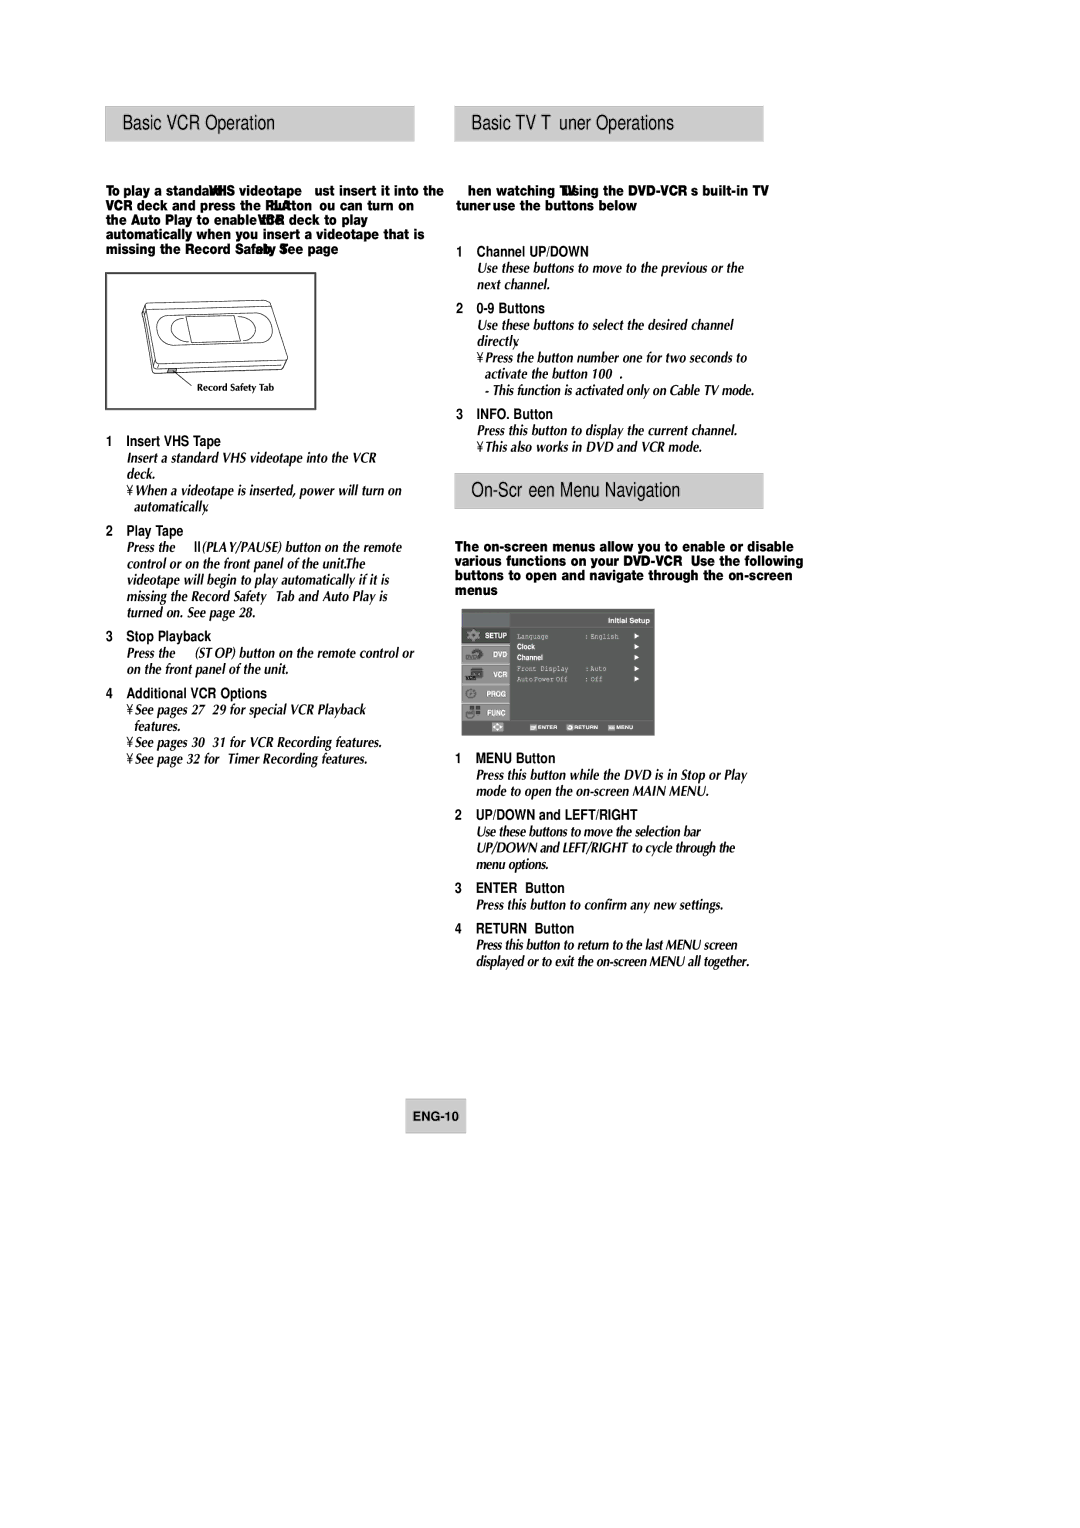
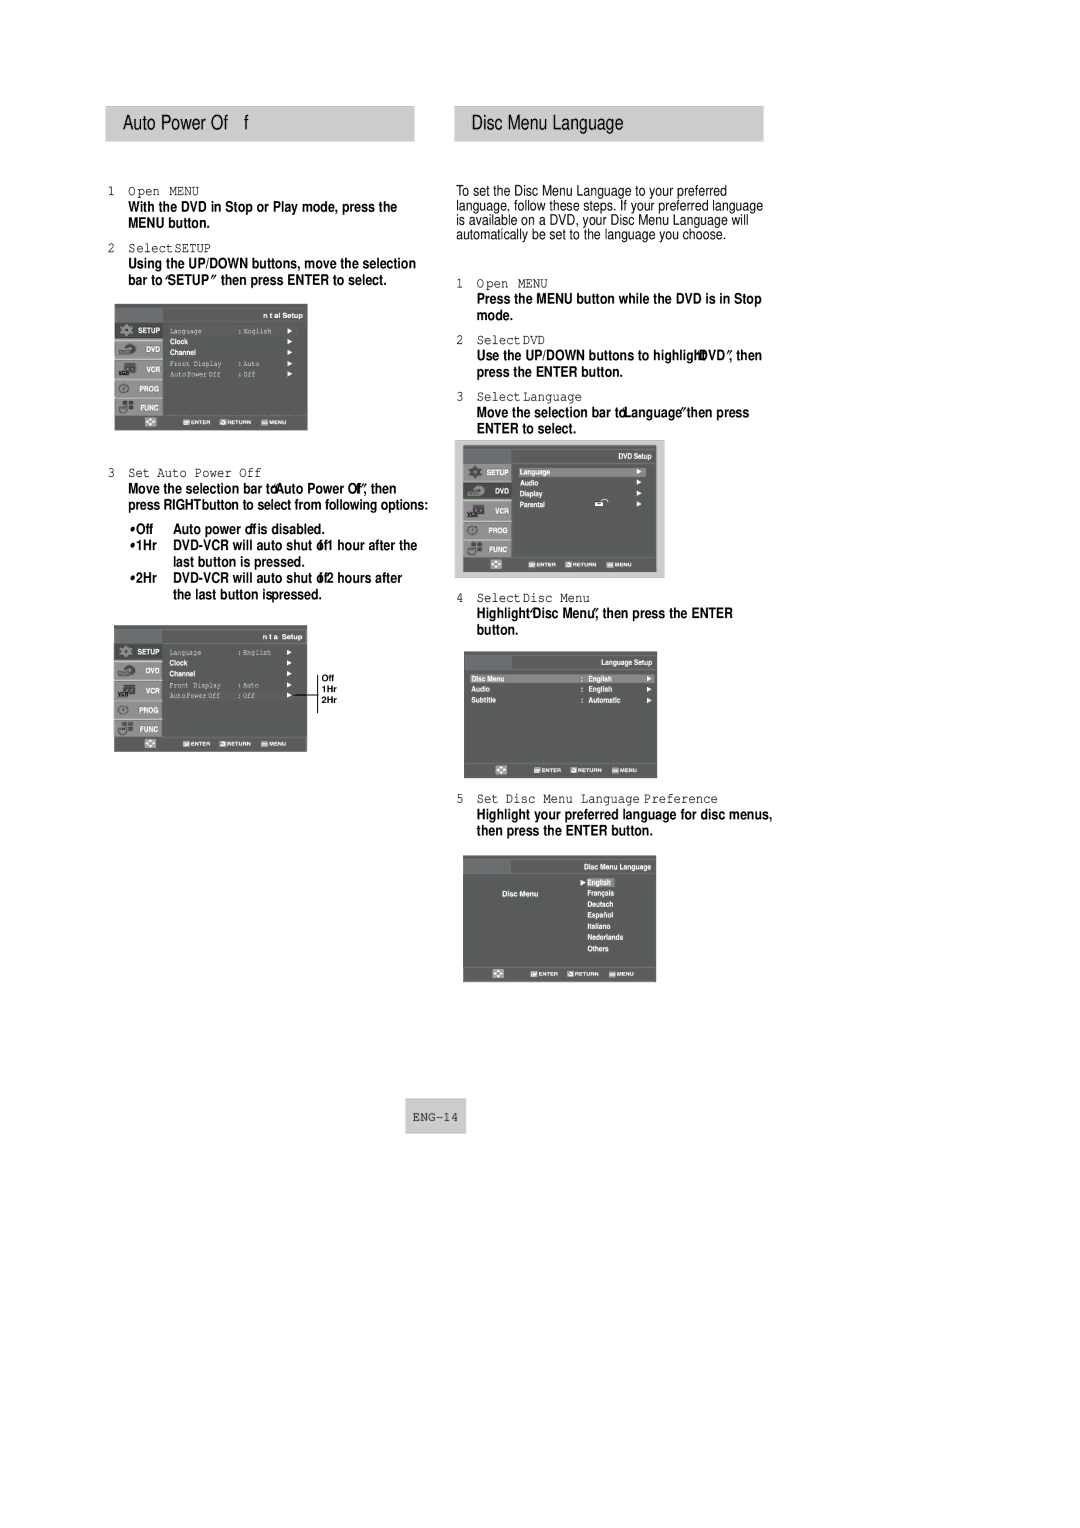
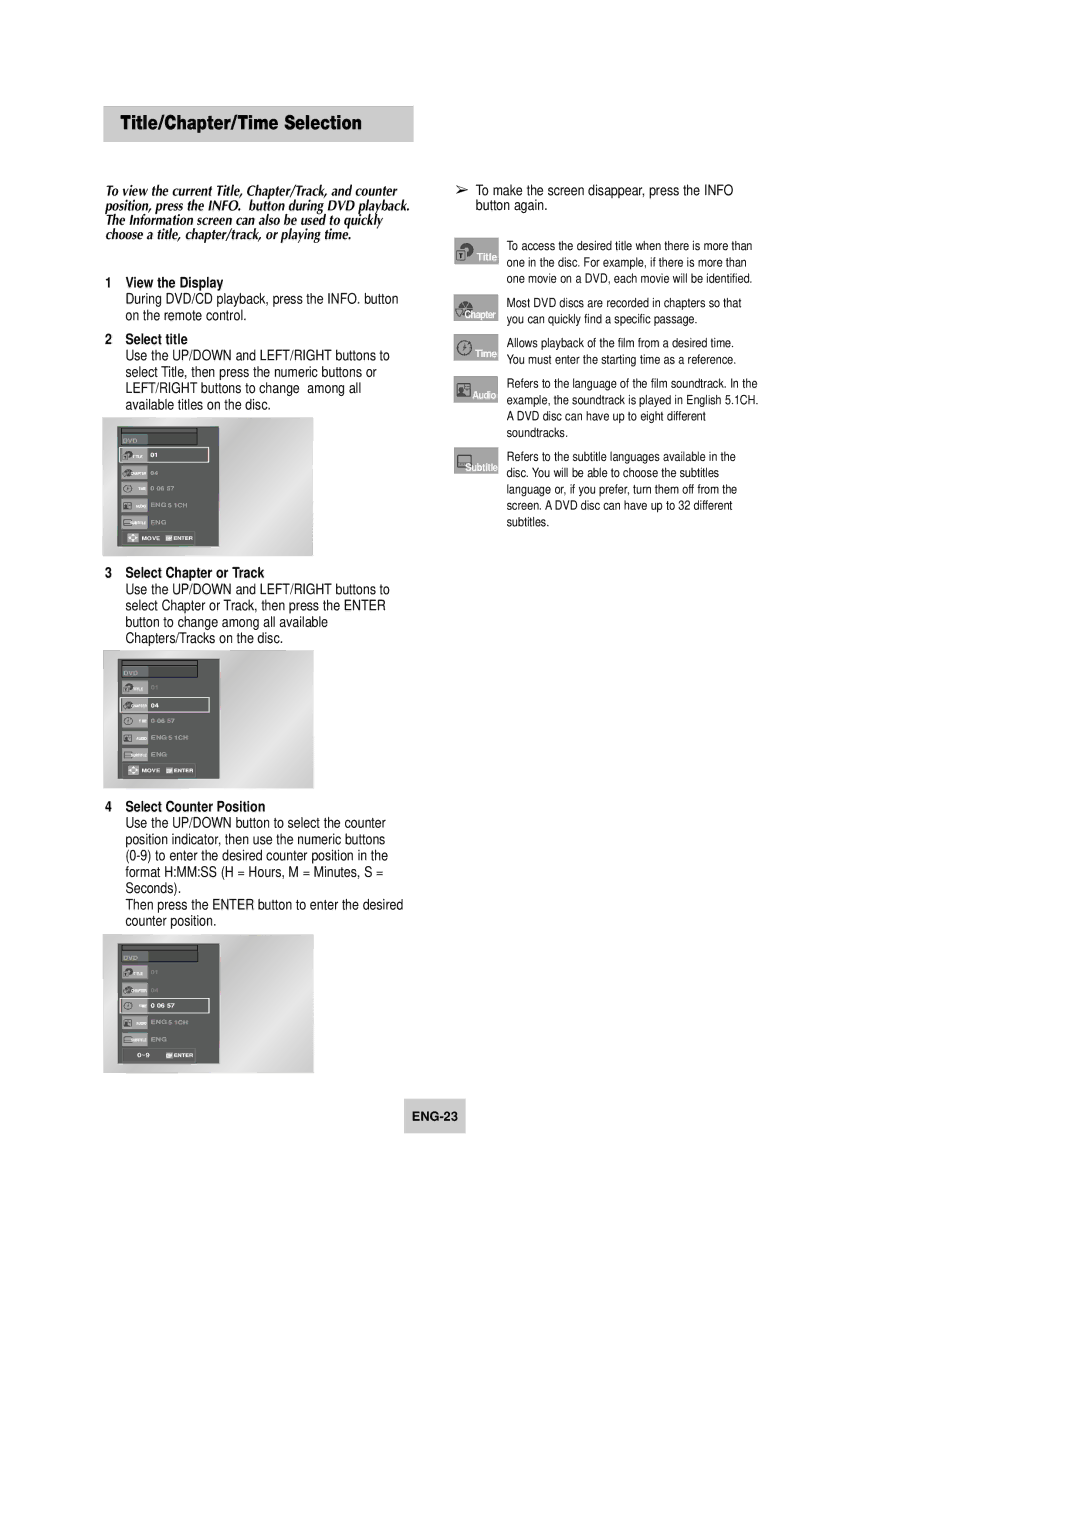
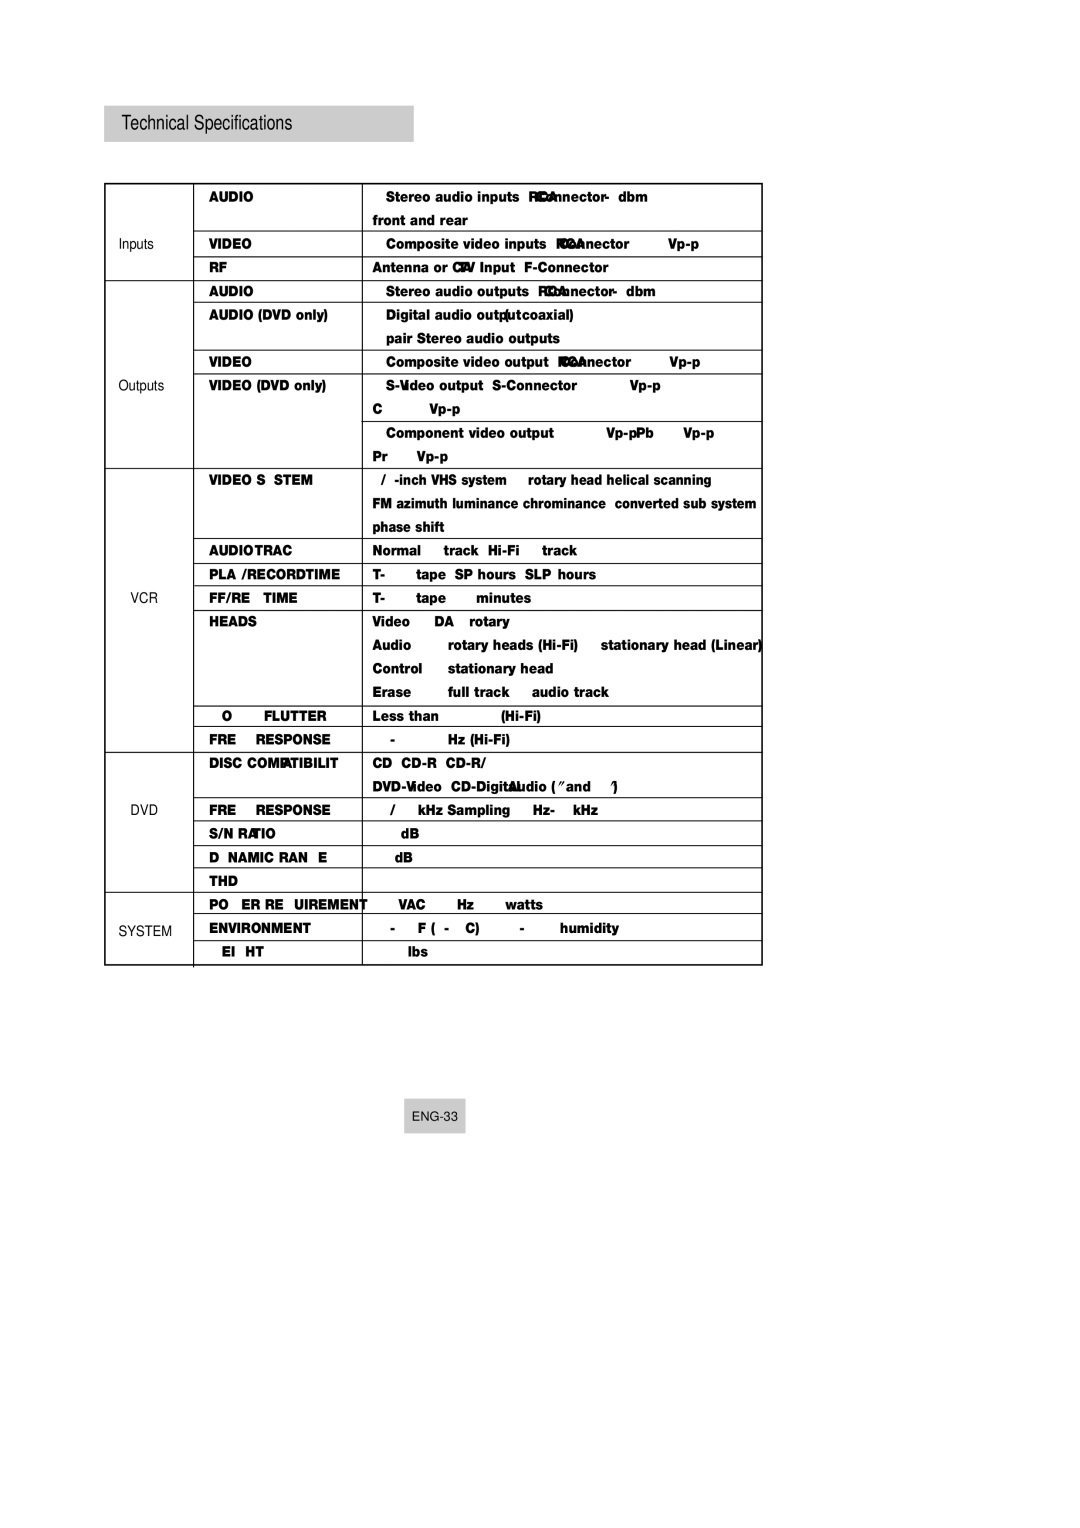
3Select “Language”
Use the UP/DOWN buttons to highlight “Language” then press the ENTER button.
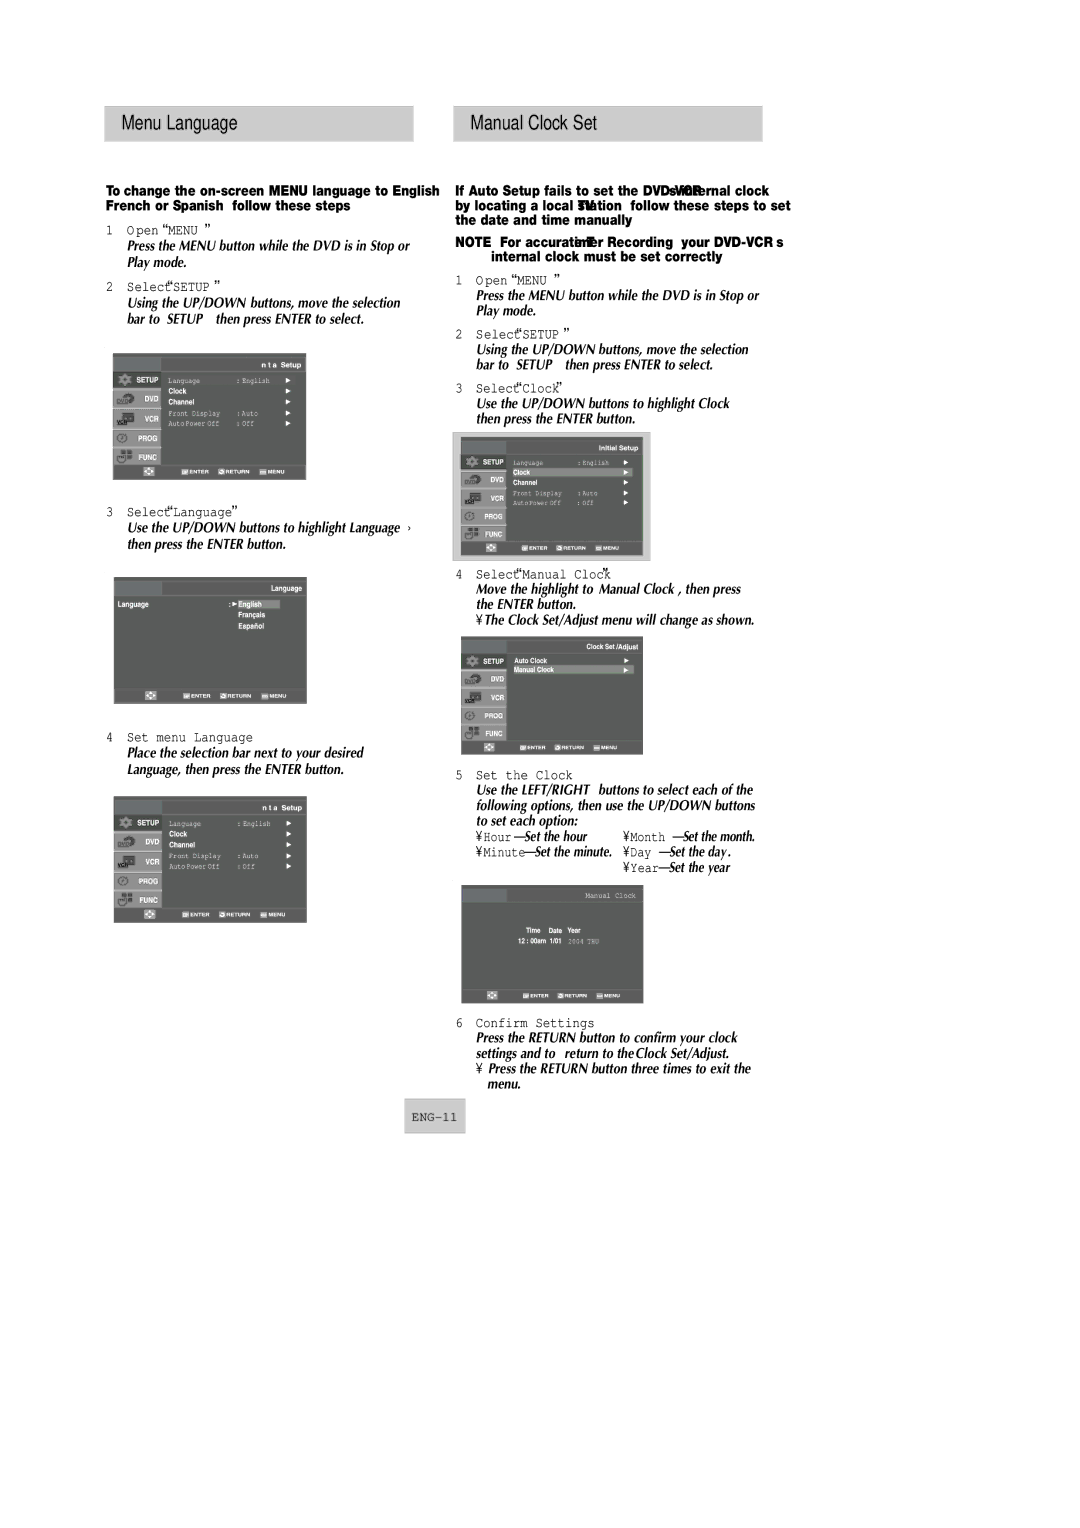
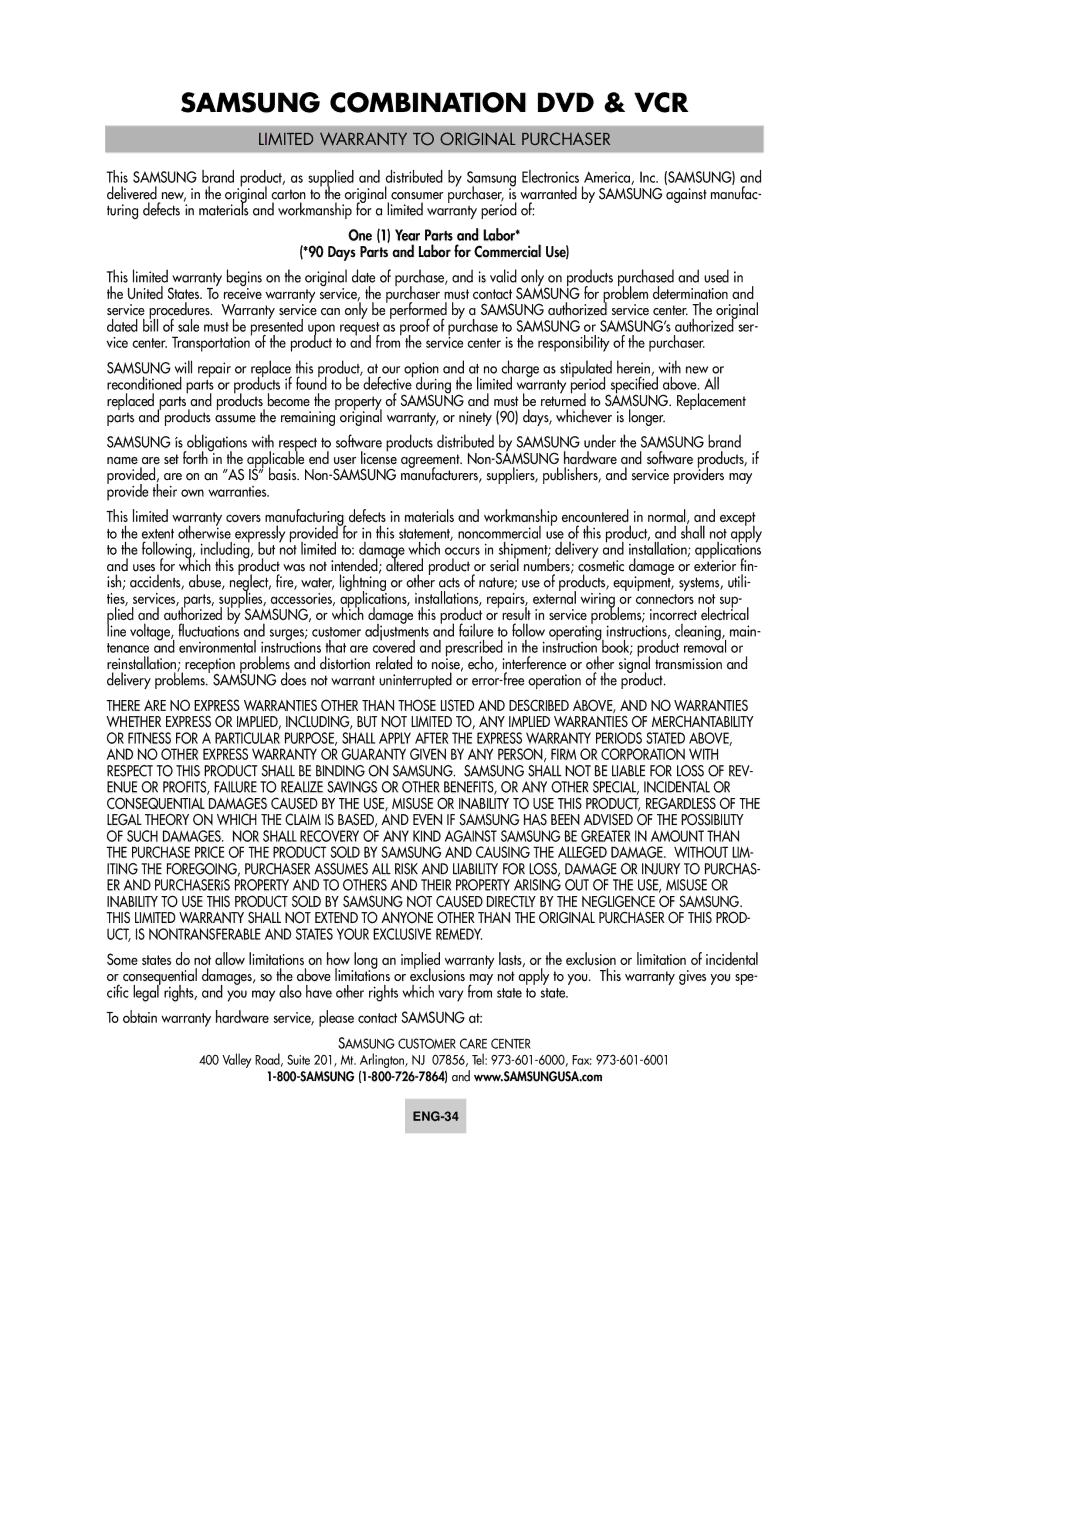
4Set menu Language
Place the selection bar next to your desired Language, then press the ENTER button.
|
|
|
|
|
|
|
| Language | : English |
|
|
| Front Display | : Auto |
|
|
| ||
|
|
| ||
|
|
| Auto Power Off | : Off |
|
|
|
|
|
|
|
|
|
|
|
|
|
|
|
If Auto Setup fails to set the
NOTE: For accurate Timer Recording, your
1Open “MENU”
Press the MENU button while the DVD is in Stop or Play mode.
2Select “SETUP”
Using the UP/DOWN buttons, move the selection bar to “SETUP” then press ENTER to select.
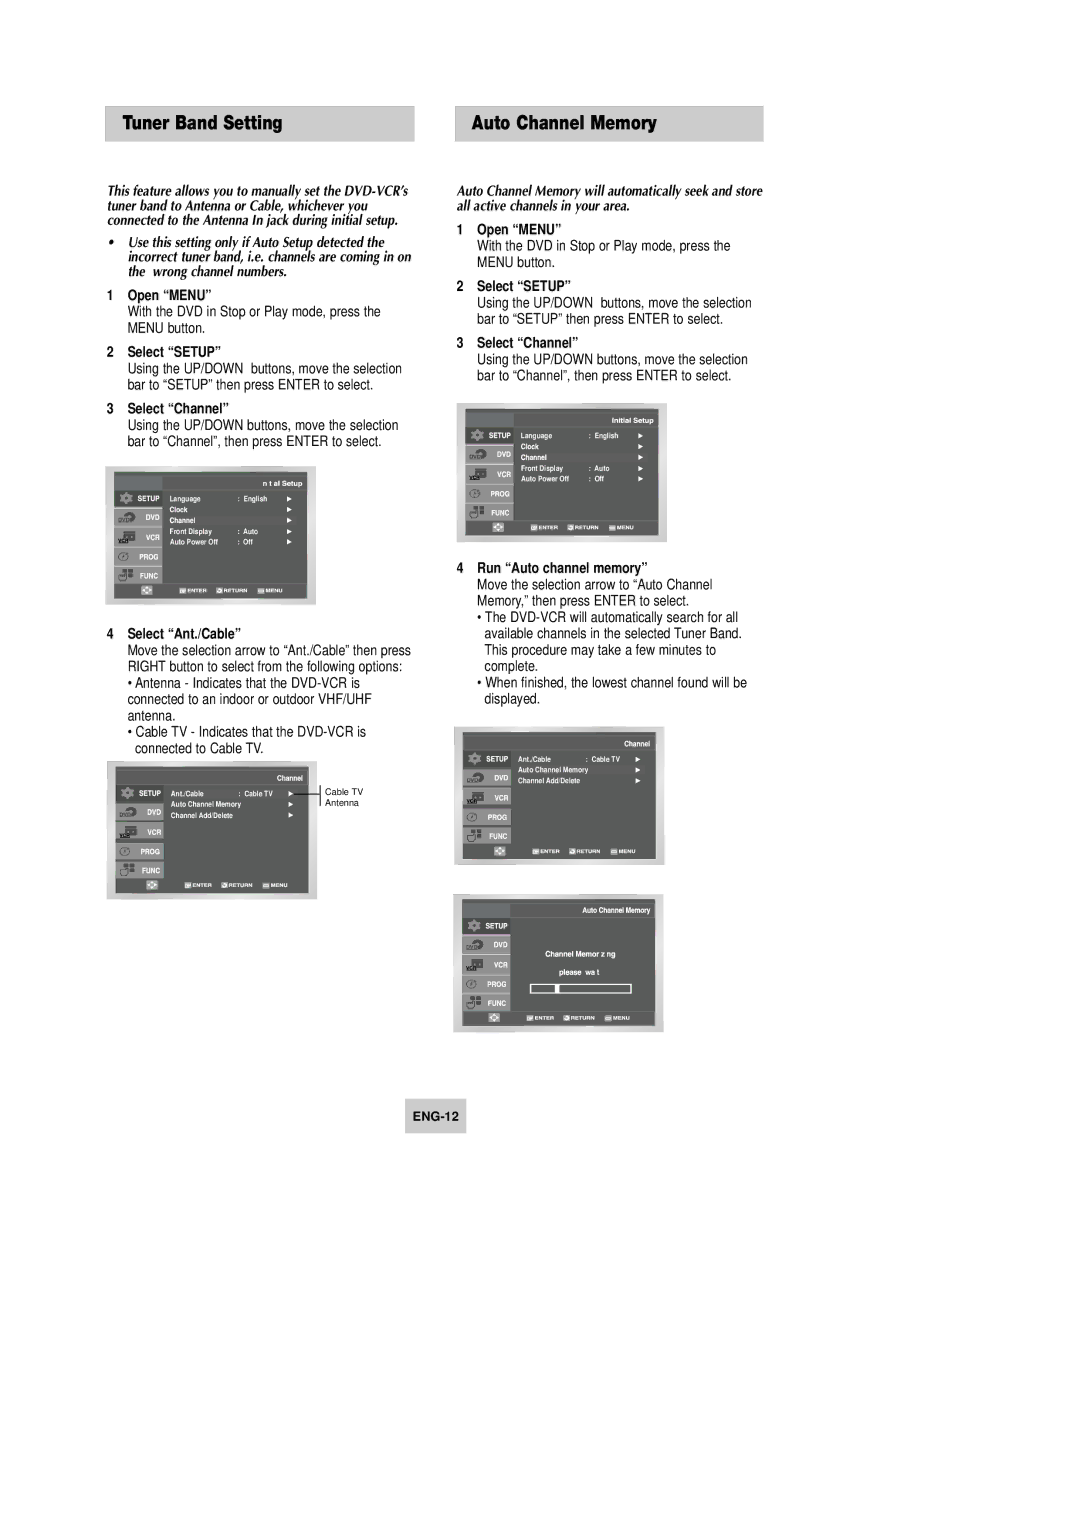
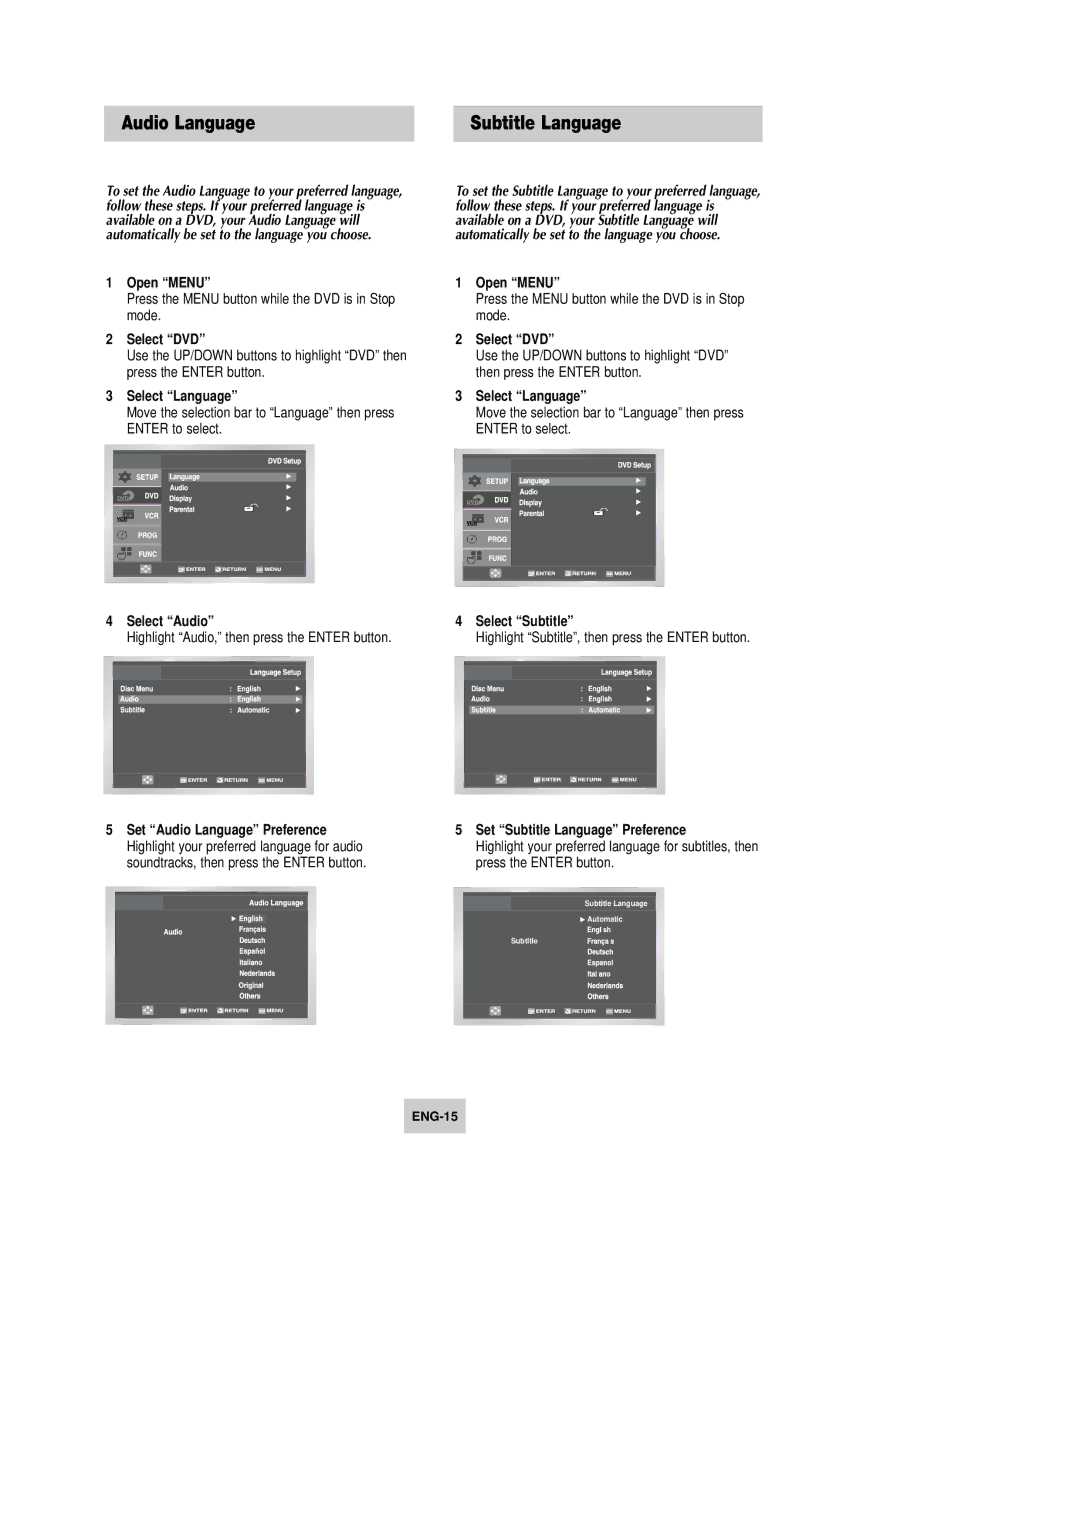
3Select “Clock”
Use the UP/DOWN buttons to highlight “Clock ” then press the ENTER button.
|
|
|
|
|
|
|
|
|
|
|
|
|
|
|
|
| Language | : English |
| |
|
|
|
|
|
|
|
|
|
| Front Display | : Auto |
| |
|
|
|
| |||
|
|
| Auto Power Off | : Off |
| |
|
|
|
|
|
|
|
|
|
|
|
|
|
|
|
|
|
|
|
|
|
|
|
|
|
|
|
|
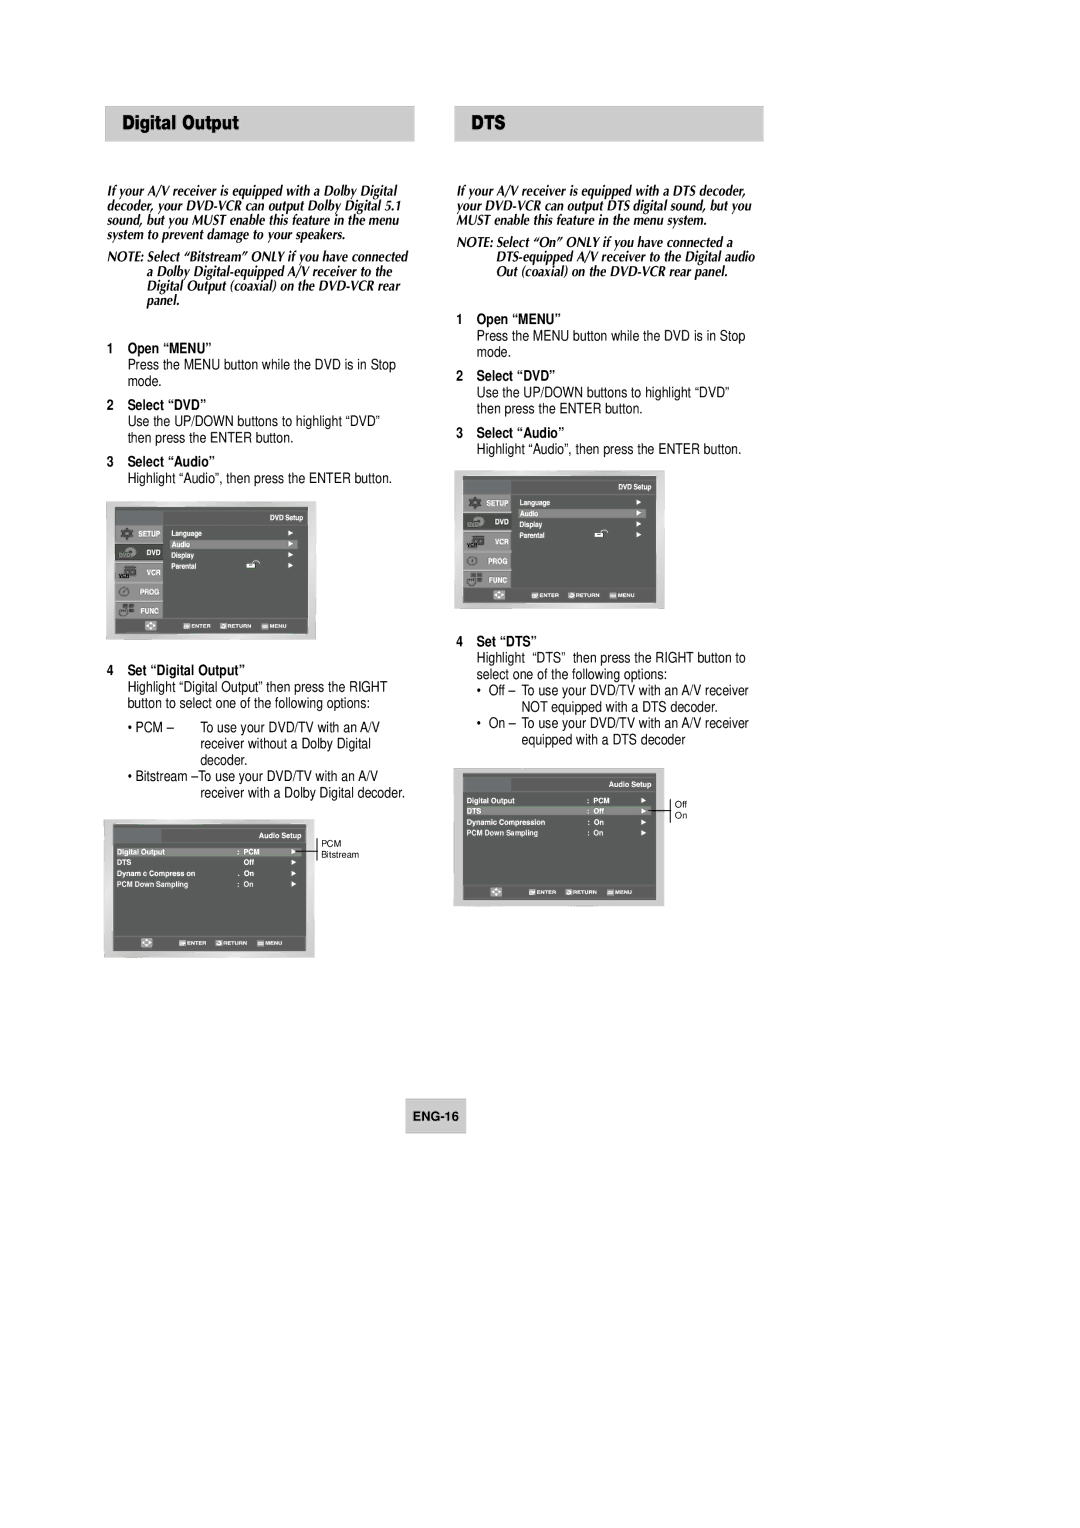
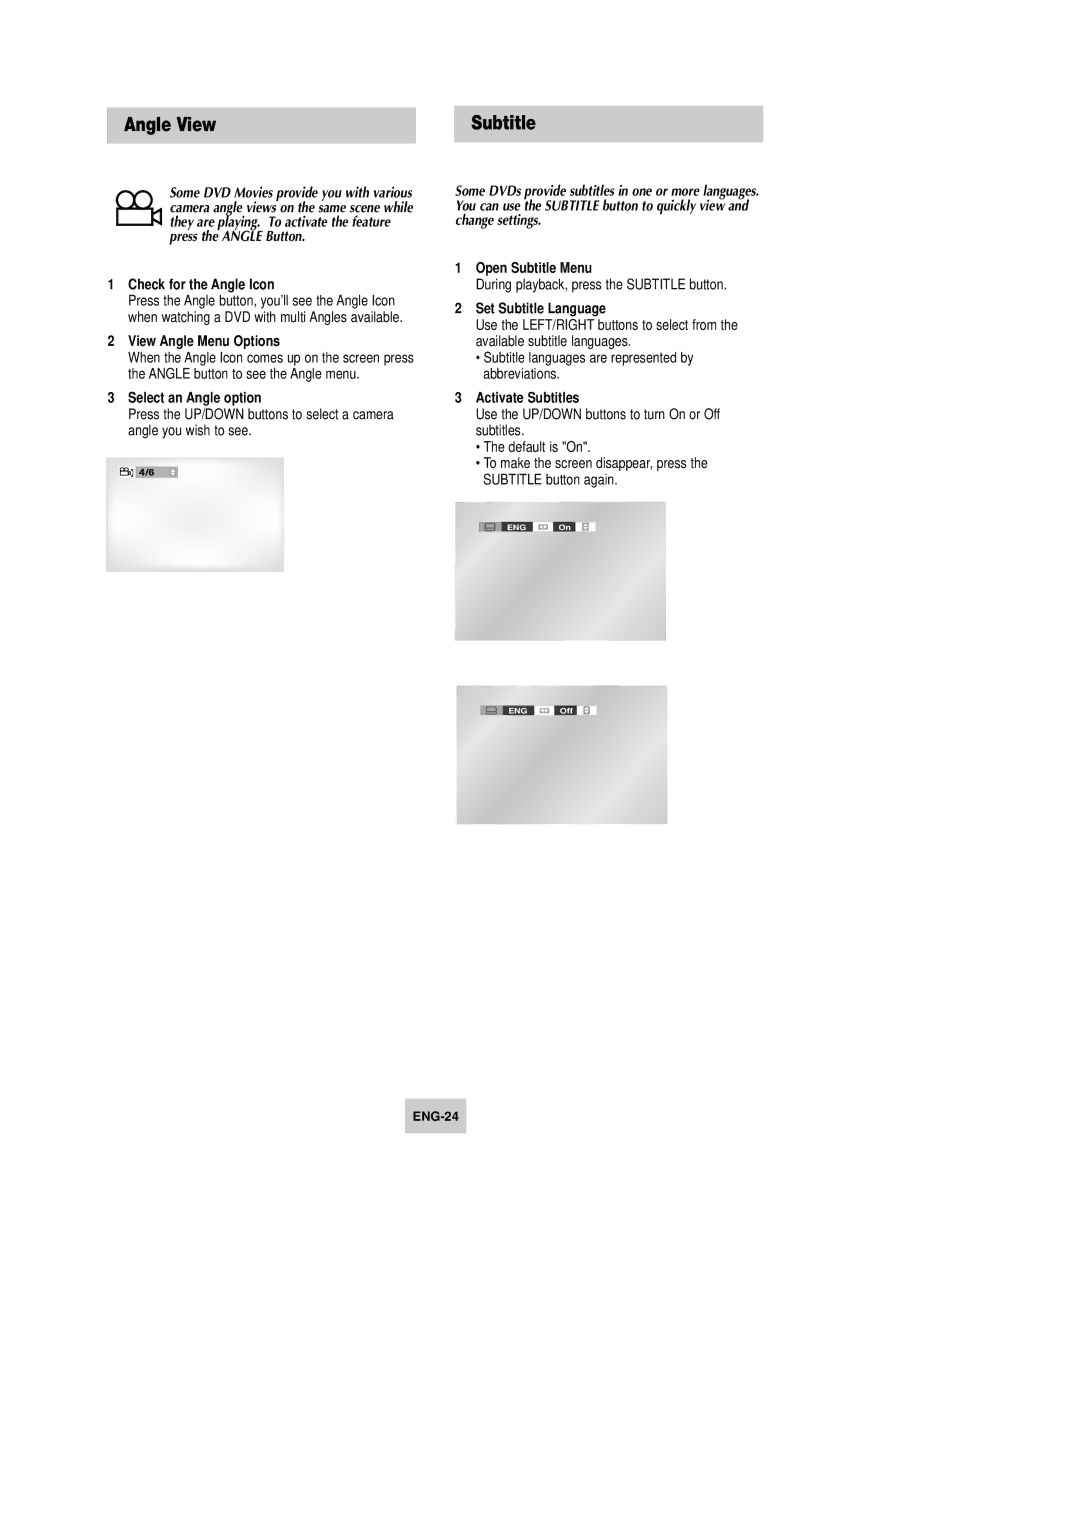
4Select “Manual Clock”
Move the highlight to “Manual Clock”, then press the ENTER button.
• The Clock Set/Adjust menu will change as shown.
5Set the Clock
Use the LEFT/RIGHT buttons to select each of the following options, then use the UP/DOWN buttons
to set each option: |
|
• Hour – Set the hour | • Month – Set the month. |
•Minute – Set the minute. • Day – Set the day.
•Year – Set the year
Manual Clock
2004 THU
6Confirm Settings
Press the RETURN button to confirm your clock settings and to return to the Clock Set/Adjust.
•Press the RETURN button three times to exit the menu.
