Chapter 4. Operating
Figure 3
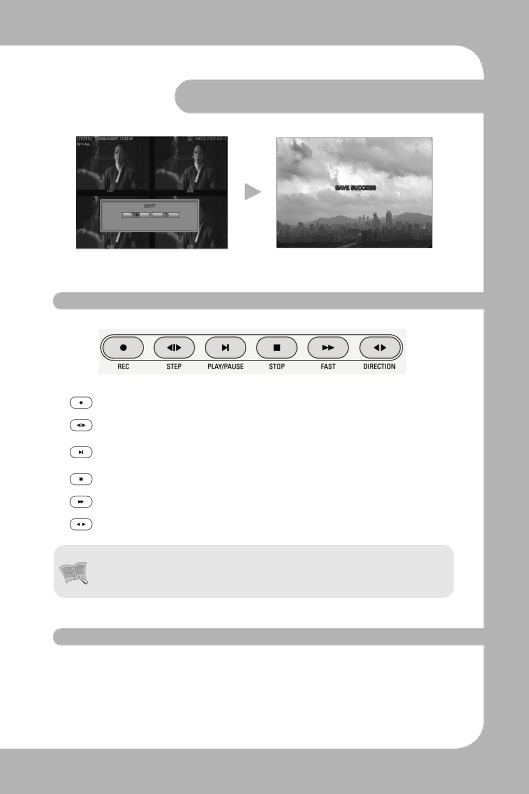
4.6 Playback
|
| REC | Button for manual recording. | |
|
|
|
| |
|
| STEP | Playback position moves 1 frame forward/back during Pause. | |
|
|
|
| |
|
| PLAY/ | Button for playback and pause. | |
|
| PAUSE | ||
|
|
| ||
|
|
|
| |
|
| STOP | Button for stop | |
|
|
|
| |
|
| FAST | Button for fast forward. | |
|
|
|
| |
|
| DIRECTION | Button to select and change the direction of play in playback. | |
|
|
|
| |
Notes | • During playback, a few frames may be missing depending on the image | |||
quality, but this is not a defect of the unit. | ||||
|
| |||
4.7 PTZ
Press the PTZ button on the selected Full Live Screen, and adjust the Pan, Tilt, or Zoom of a camera. The PTZ function can be controlled by the function buttons of the front panel or by the remote controller. The PTZ function can be controlled when a PTZ camera is correctly connected to the
Digital Video Recorder 33 User’s Manual