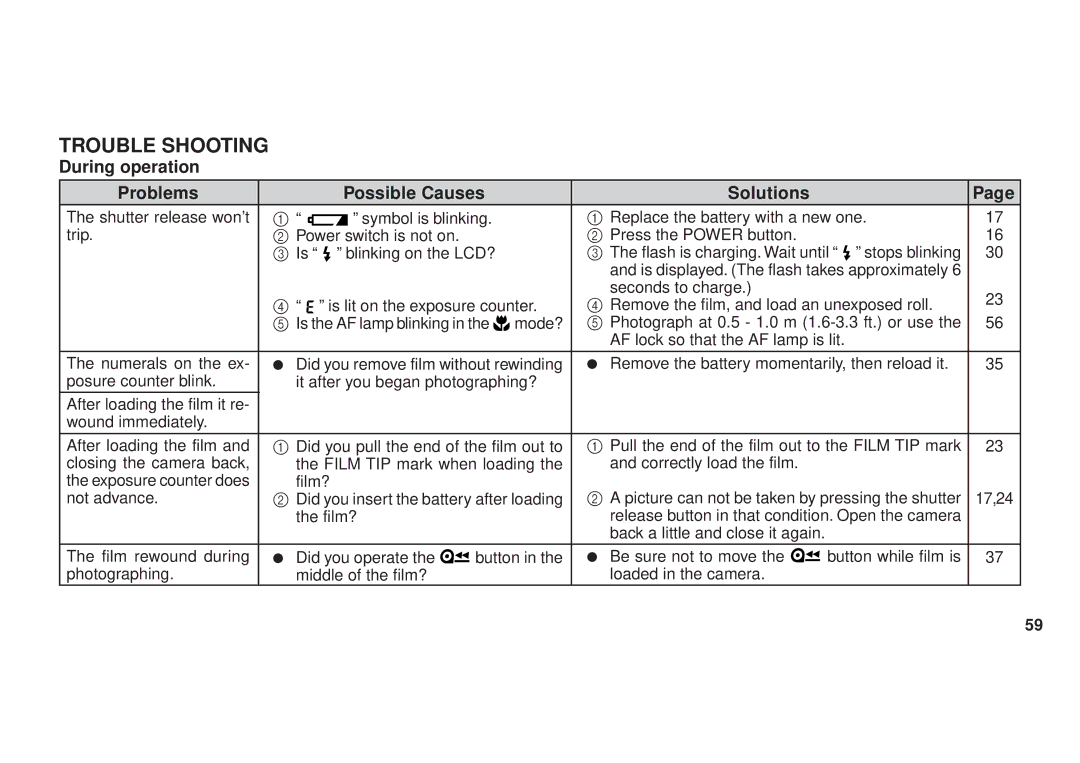
FujiFilm 90, 100 owner manual Printed pictures Problems Possible Causes Solutions

Page 60

Printed pictures

Problems

Possible Causes

Solutions


Page

Picture is not sharp.

1 Was your finger on the AF windows

1 When shooting a picture, hold your camera cor-

28


when shooting?

rectly so that your finger is not on the AF windows.

33


2 Did you aim the subject properly?

2 Compose the picture in the AF frame and shoot,


or shoot using AF Lock.


61


3 Is the lens dirty?

3 Clean the lens.


4 Is the camera moving?

4 Hold the camera firmly and press the shutter re-

28


lease button gently. Use a tripod for slow shutter


speeds.


53


5 You selected

mode when shooting

5 Select a mode other than mode.


at a close distance.


Picture is too dark.

1 Subject was too far from the camera

1 Shoot within specified coverage distance of elec-

41


for flash photography in a dark place.

tronic flash.


28


2 Was your finger over the flash?

2 Do not cover the flash with your finger.


3 Was the subject backlit from being

3 Turn on mode and press the shutter release but-

44


taken next to a window, etc.?

ton.


Printed date/time is incor-

You didn’t set correct date and time af-

Set date and time after replacing battery.

18

rect.

ter replacing battery.


The date is not printed on

1 Wasn’t “

” selected before taking

1 Select a date mode other than “

” before tak-

21

the front.

pictures?


ing pictures.


2 Is there something light-colored (white,

2 Try to arrange that there is nothing light-colored

21


yellow, orange) where the date ap-

where the date appears.


pears?


60

Image 60
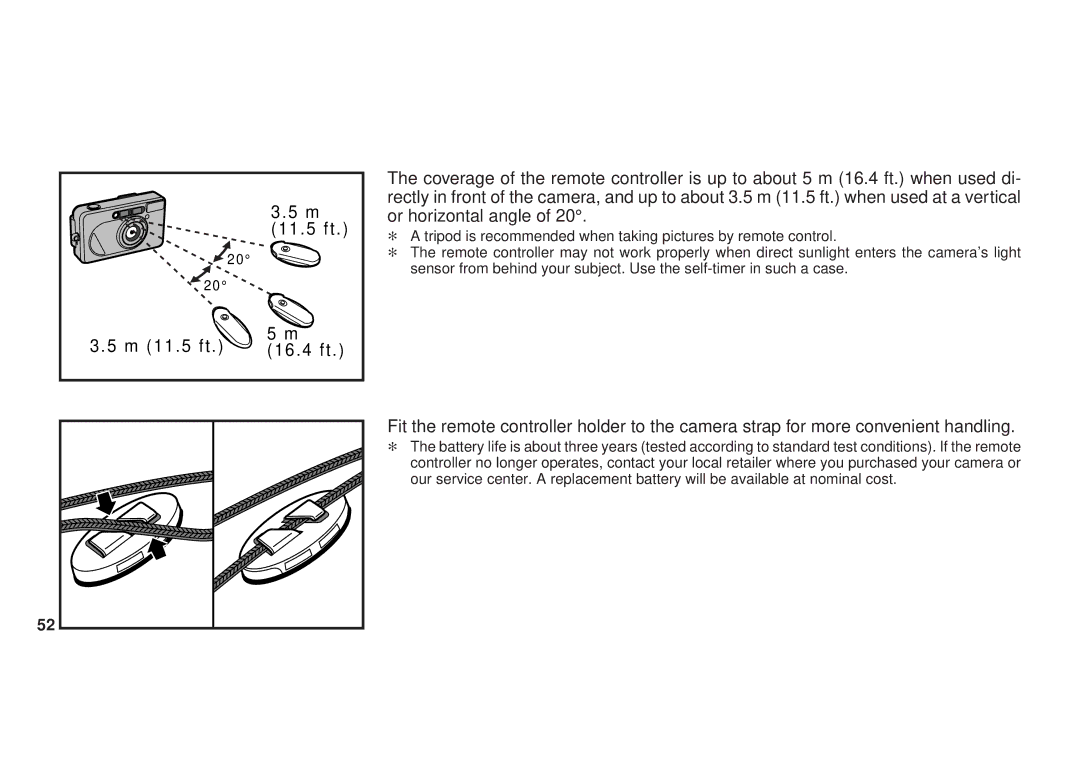
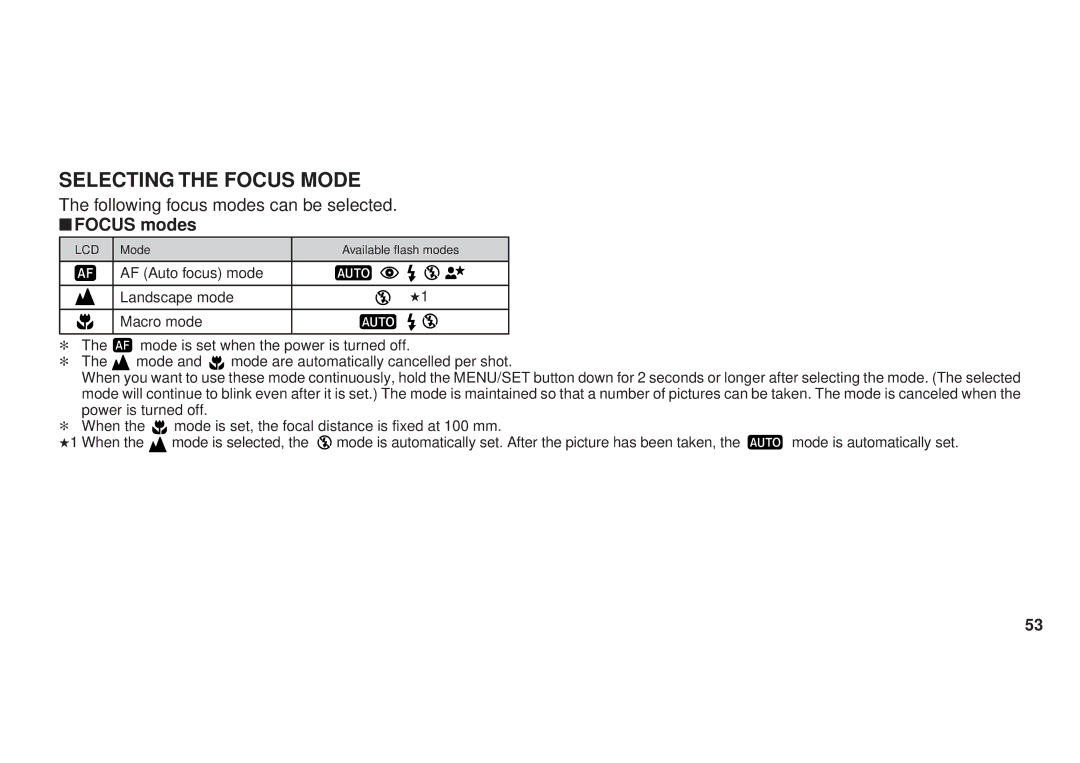
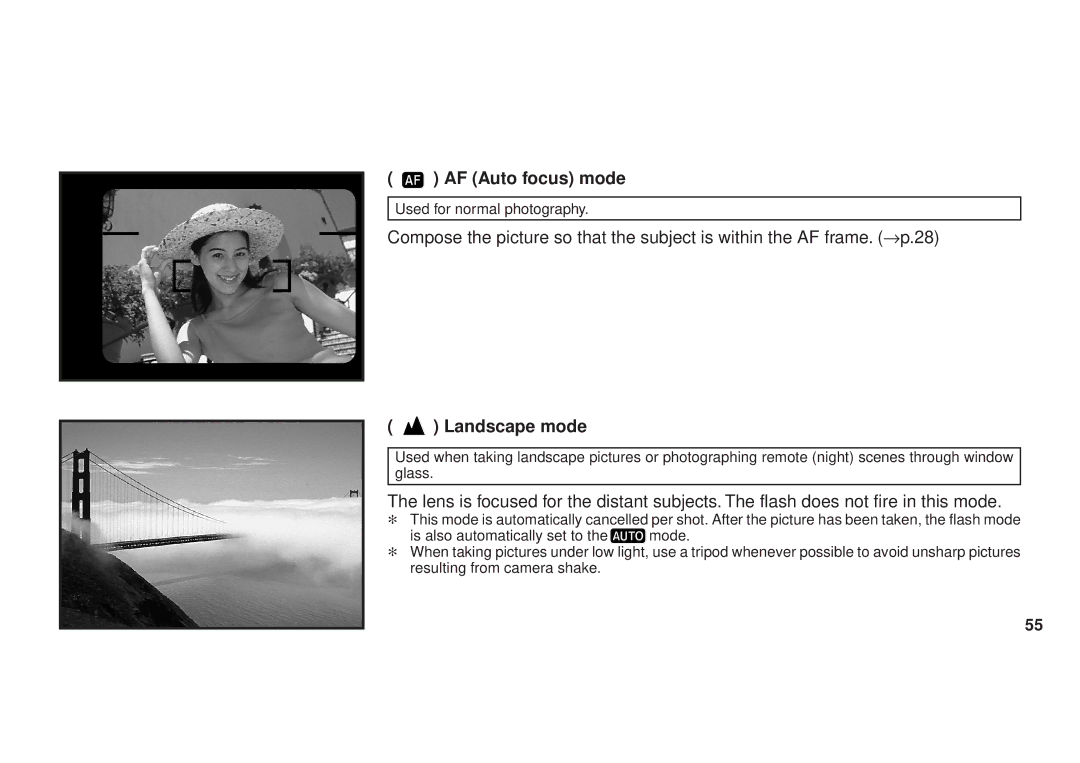
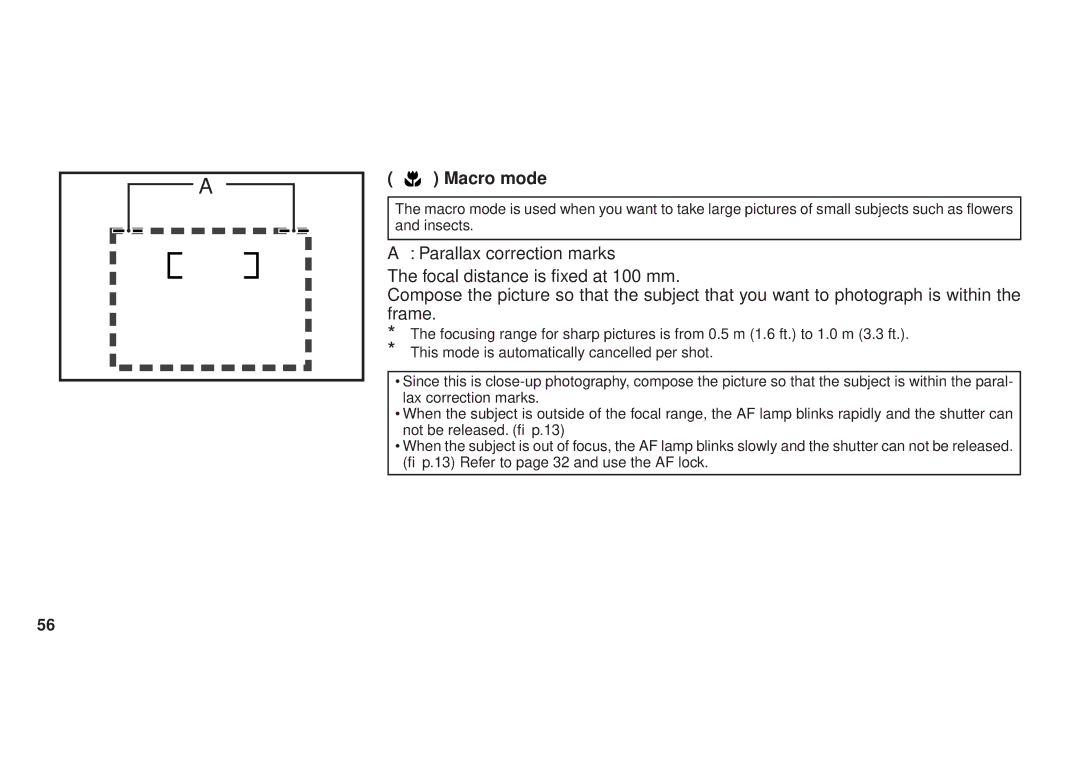
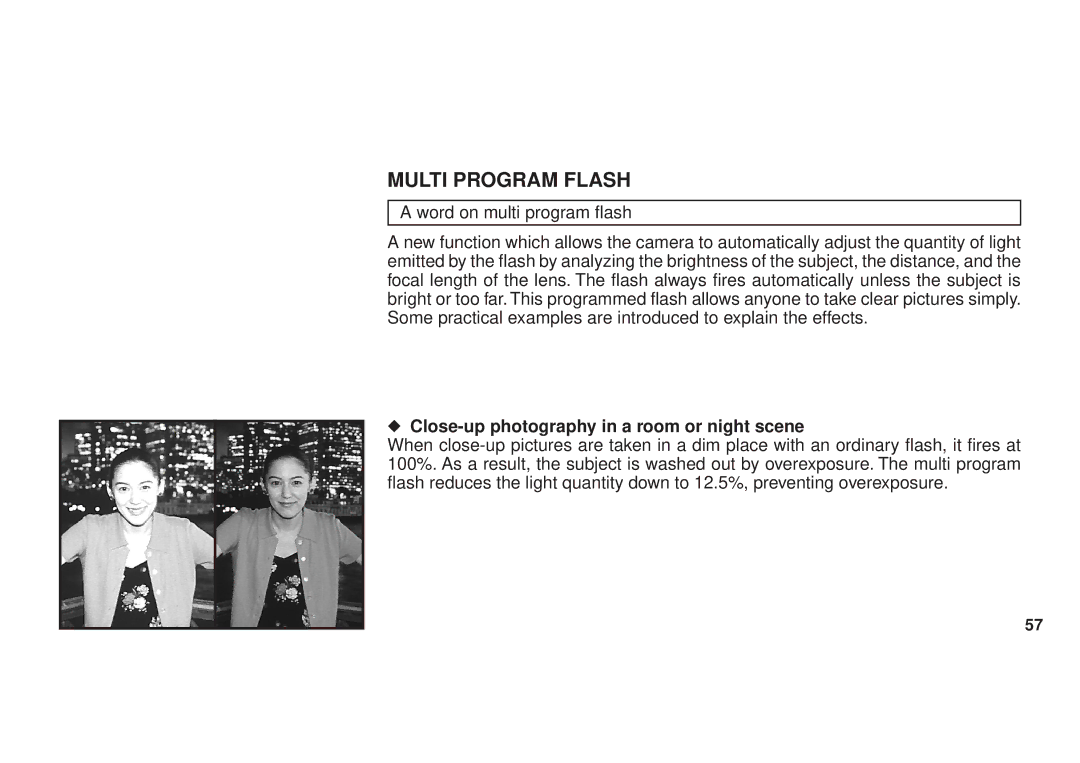
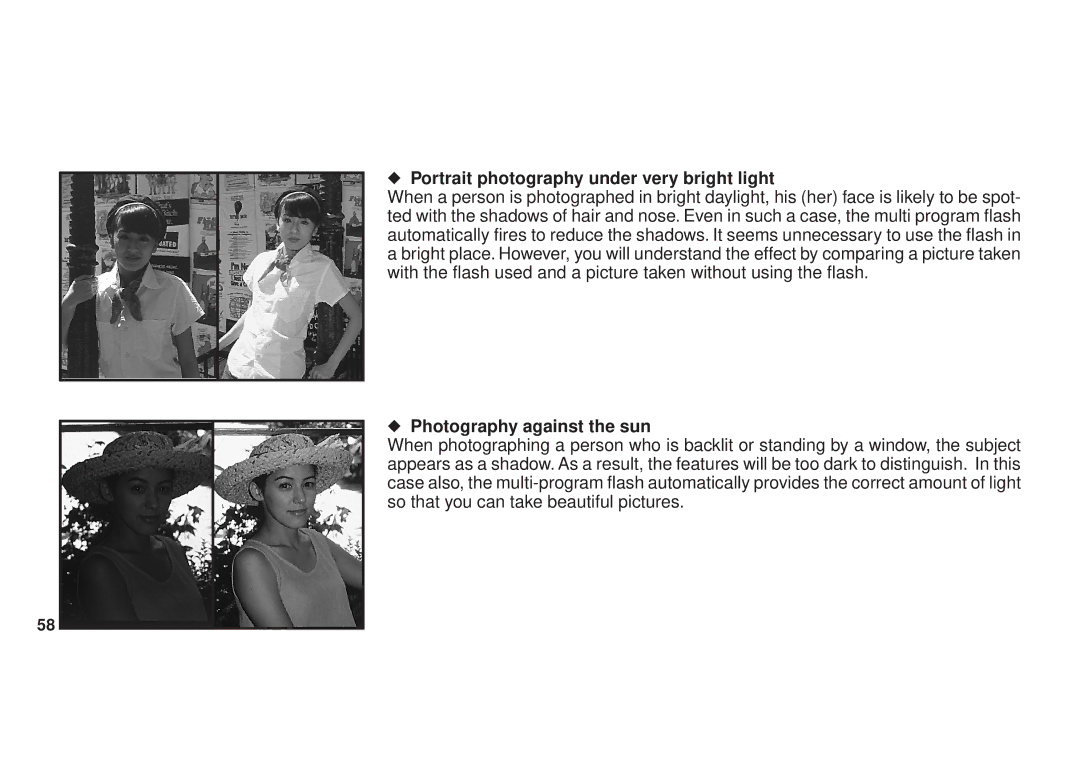
Contents Page Contents FeaturesPart Names →p.37 Page Quick Start Guide Compose the picture Press the shutter button down completely Selecting the mode SELF-TIMER →p.46,49 Flash →p.39Focus → p.53 Finder AF Lamp AF lamp status and meaning Preliminary Steps Attaching the StrapLoading the Battery Your camera uses one 3V lithium battery, type CR2/DL CR2Turning on Your Camera Checking Your Battery Setting the Date YEAR-MONTH-DAY/HOUR-MINUTE You can set Press any Buttons to make the Date menu blink Selecting the Date Mode Date modesPress Buttons and select the Date mode Using Your Camera Loading the CameraPage Insert the roll of film Close the camera back Using Your Camera Page Page Press down the shutter release halfway Page Page Using the AUTO-FOCUS Lock Check that the AF lamp green lights up Unloading the Film or Removing Film in MID-ROLL Remove the film When rewinding is complete, the exposure counter will read Page Selecting the Flash Mode Flash modesPress the buttons and select the Flash mode ISO 19.0 ft 13.1 ft 26.6 ft 18.4 ft 11.6 m 38.1 ft 26.2 ft Multi program flash mode Red-eye reduction flash modeWhen using red-eye reduction mode Dealing with red-eyeBack light compensation flash mode Flash-off modeNight portrait slow sync mode Selecting the SELF-TIMER Mode SELF-TIMER modesPress Buttons to make the SELF-TIMER menu blink/light Compose the picture and press the shutter release button Selecting the Remote Controller Mode Press Buttons and select Mode Page M 11 ft 16 ft Selecting the Focus Mode Focus modesPress any Buttons to make the Focus menu blink AF Auto focus mode Landscape modeMacro mode Multi Program Flash Close-up photography in a room or night scenePortrait photography under very bright light Photography against the sunTrouble Shooting During operation Problems Possible Causes SolutionsPrinted pictures Problems Possible Causes Solutions Common Sense Camera Care Specifications ∙ Viewfinder∙ Power Supply Important Safety Notice Page FGS-103106-Ci-01