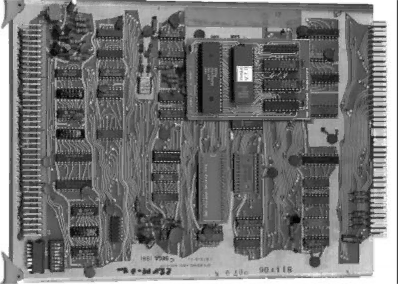
Place the replacement PROM in socket U15 so that the notch is pointed towards the end of the CPU card that the red “test” switch is on. The notch should be facing the same direction as the 7400 at U14 and the 7408 at U13. Press it firmly into the socket. Make sure all the pins line up and go into the socket.
Put it back together and test:
The CPU card is now complete. Plug the CPU card back into the card cage. Note that the CPU card takes up more space with the Daughter card now, so you may want to re-arrange the order of cards in the cardcage to give an empty slot next to the CPU card. Putting the CPU card in the “first” card slot so that there isn’t a neighboring card next to the Daughtercard works well too.
Re-attach the cables and make sure the CPU card is seated properly in the card cage. (It should be flush with the other cards and the removal levers should rest flat against the front of the circuit board.)
Plug the machine back in. You’ll want to be able to get at the red “test” switch for the next step with the power to the machine on. Depending on your cabinet there might be different safety-switches you need to set to allow the machine to run with the door open. Turn the machine on. A game intro-screen should start as normal. If you don’t get a picture after a few moments, turn the game off, remove the CPU card and check your work. Look for bent pins and pins that are out of the sockets. The kit is hand-tested before shipping, so there shouldn’t be any surprises.
Sega G-80 Multigame, Version 1.0 | Copyright © 1998, Clay Cowgill |