3.Unplug the iron and do not allow it to cool.
4.Hold the iron in the ironing position over a sink or basin. Move the Lever to STEAM CLEAN. Rock the iron back and forth for about 30 sec- onds. Be careful because water and lint that will be flushed from the soleplate will be hot. You may hear hissing and spitting while iron is self cleaning. This is normal. It is not necessary to completely empty the reservoir.
5.Plug the iron in. Sit it on its heel rest, move the Lever to the DRY position, and turn the dial to 7 to dry the iron out. Allow to shut off automatically.
STORING THE IRON
1.Allow the iron to shut off automatically or press the ON/OFF button to turn it off manually. The light will go out.
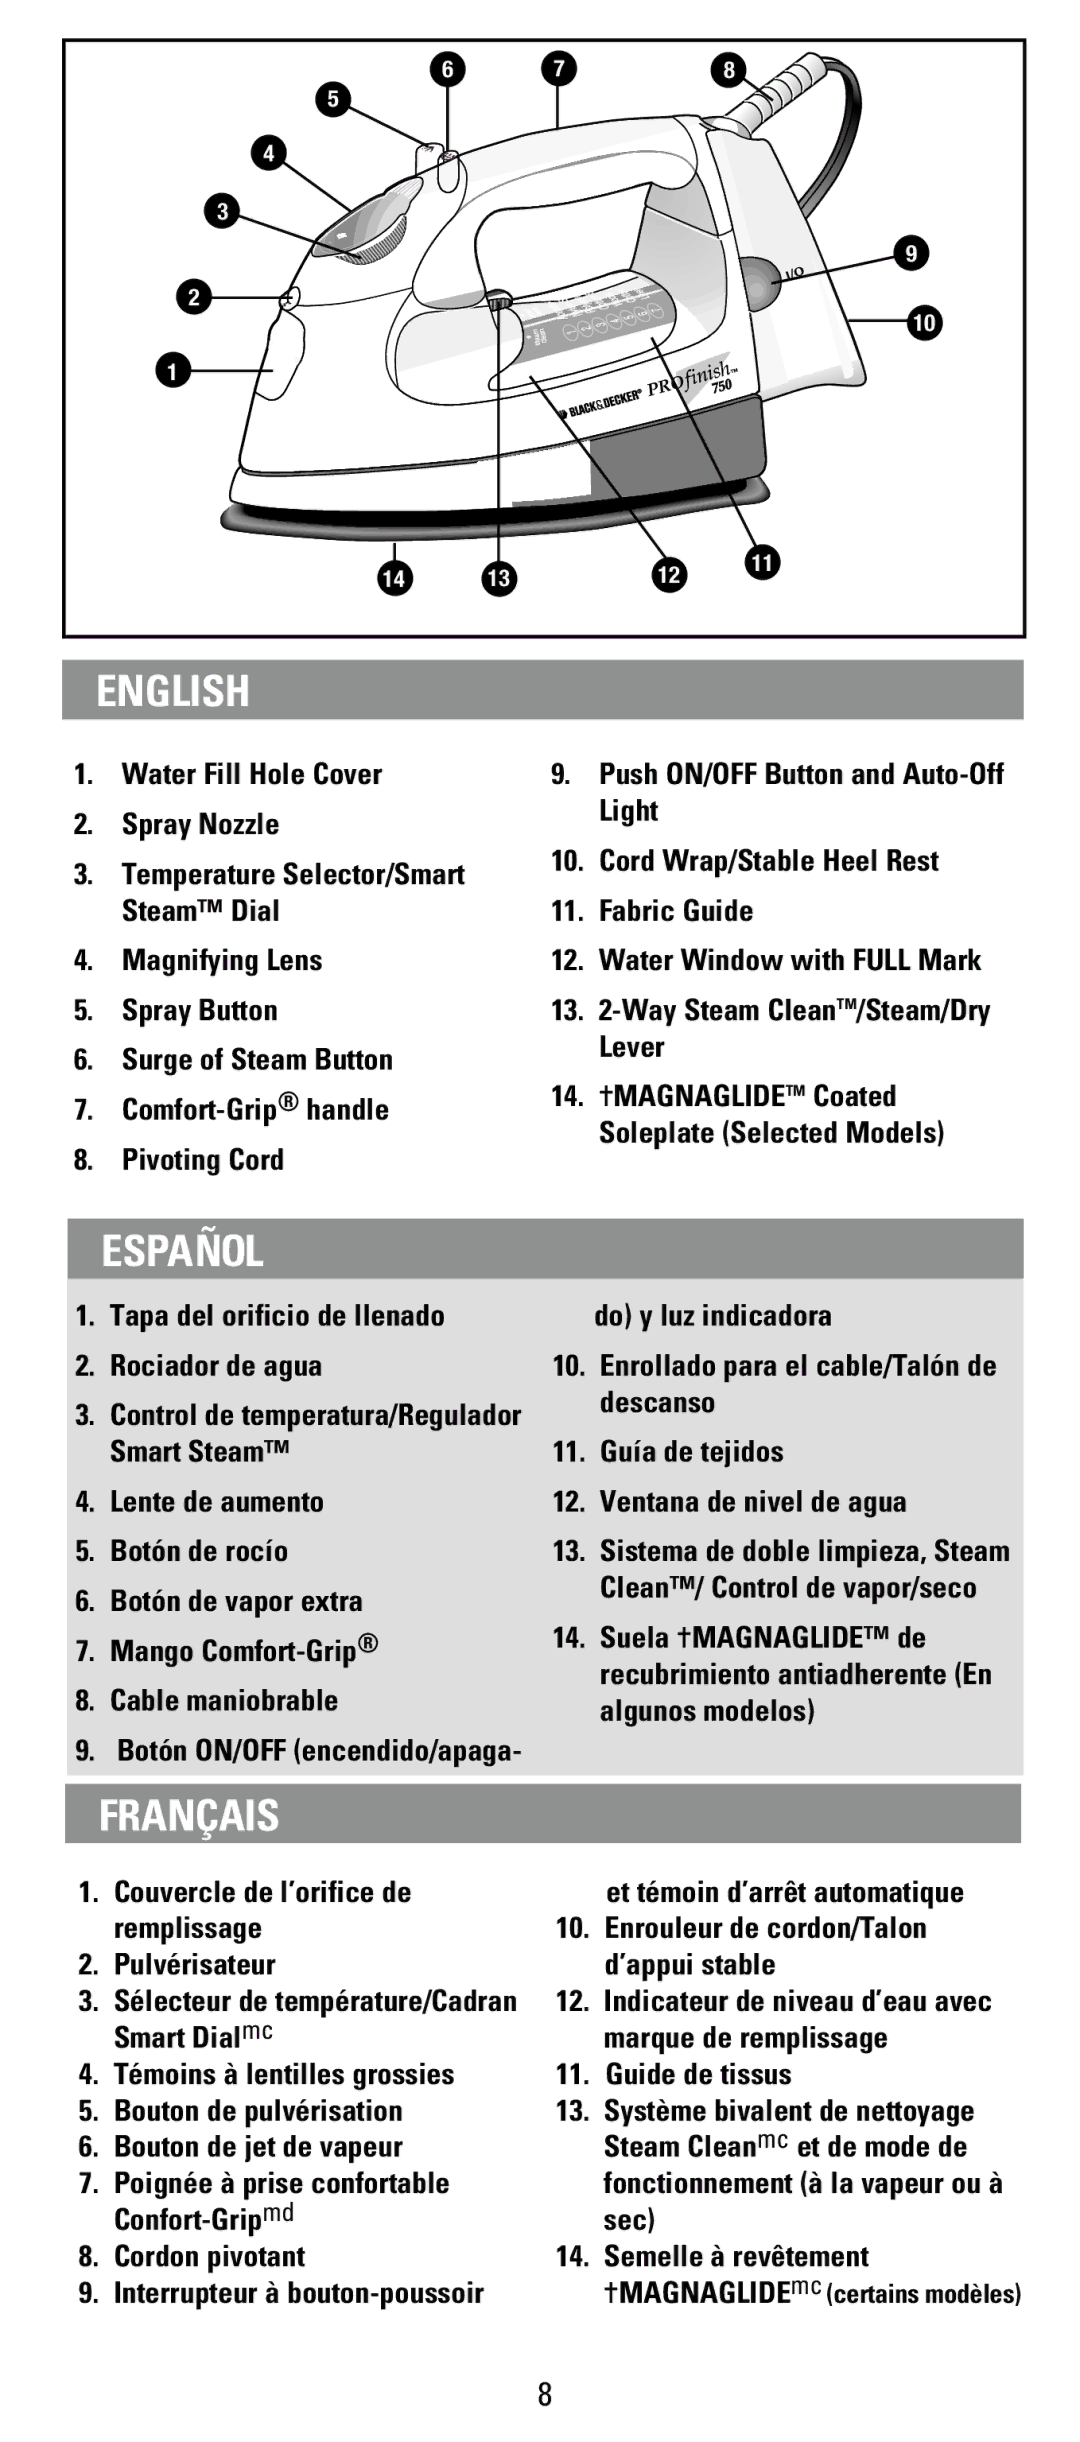
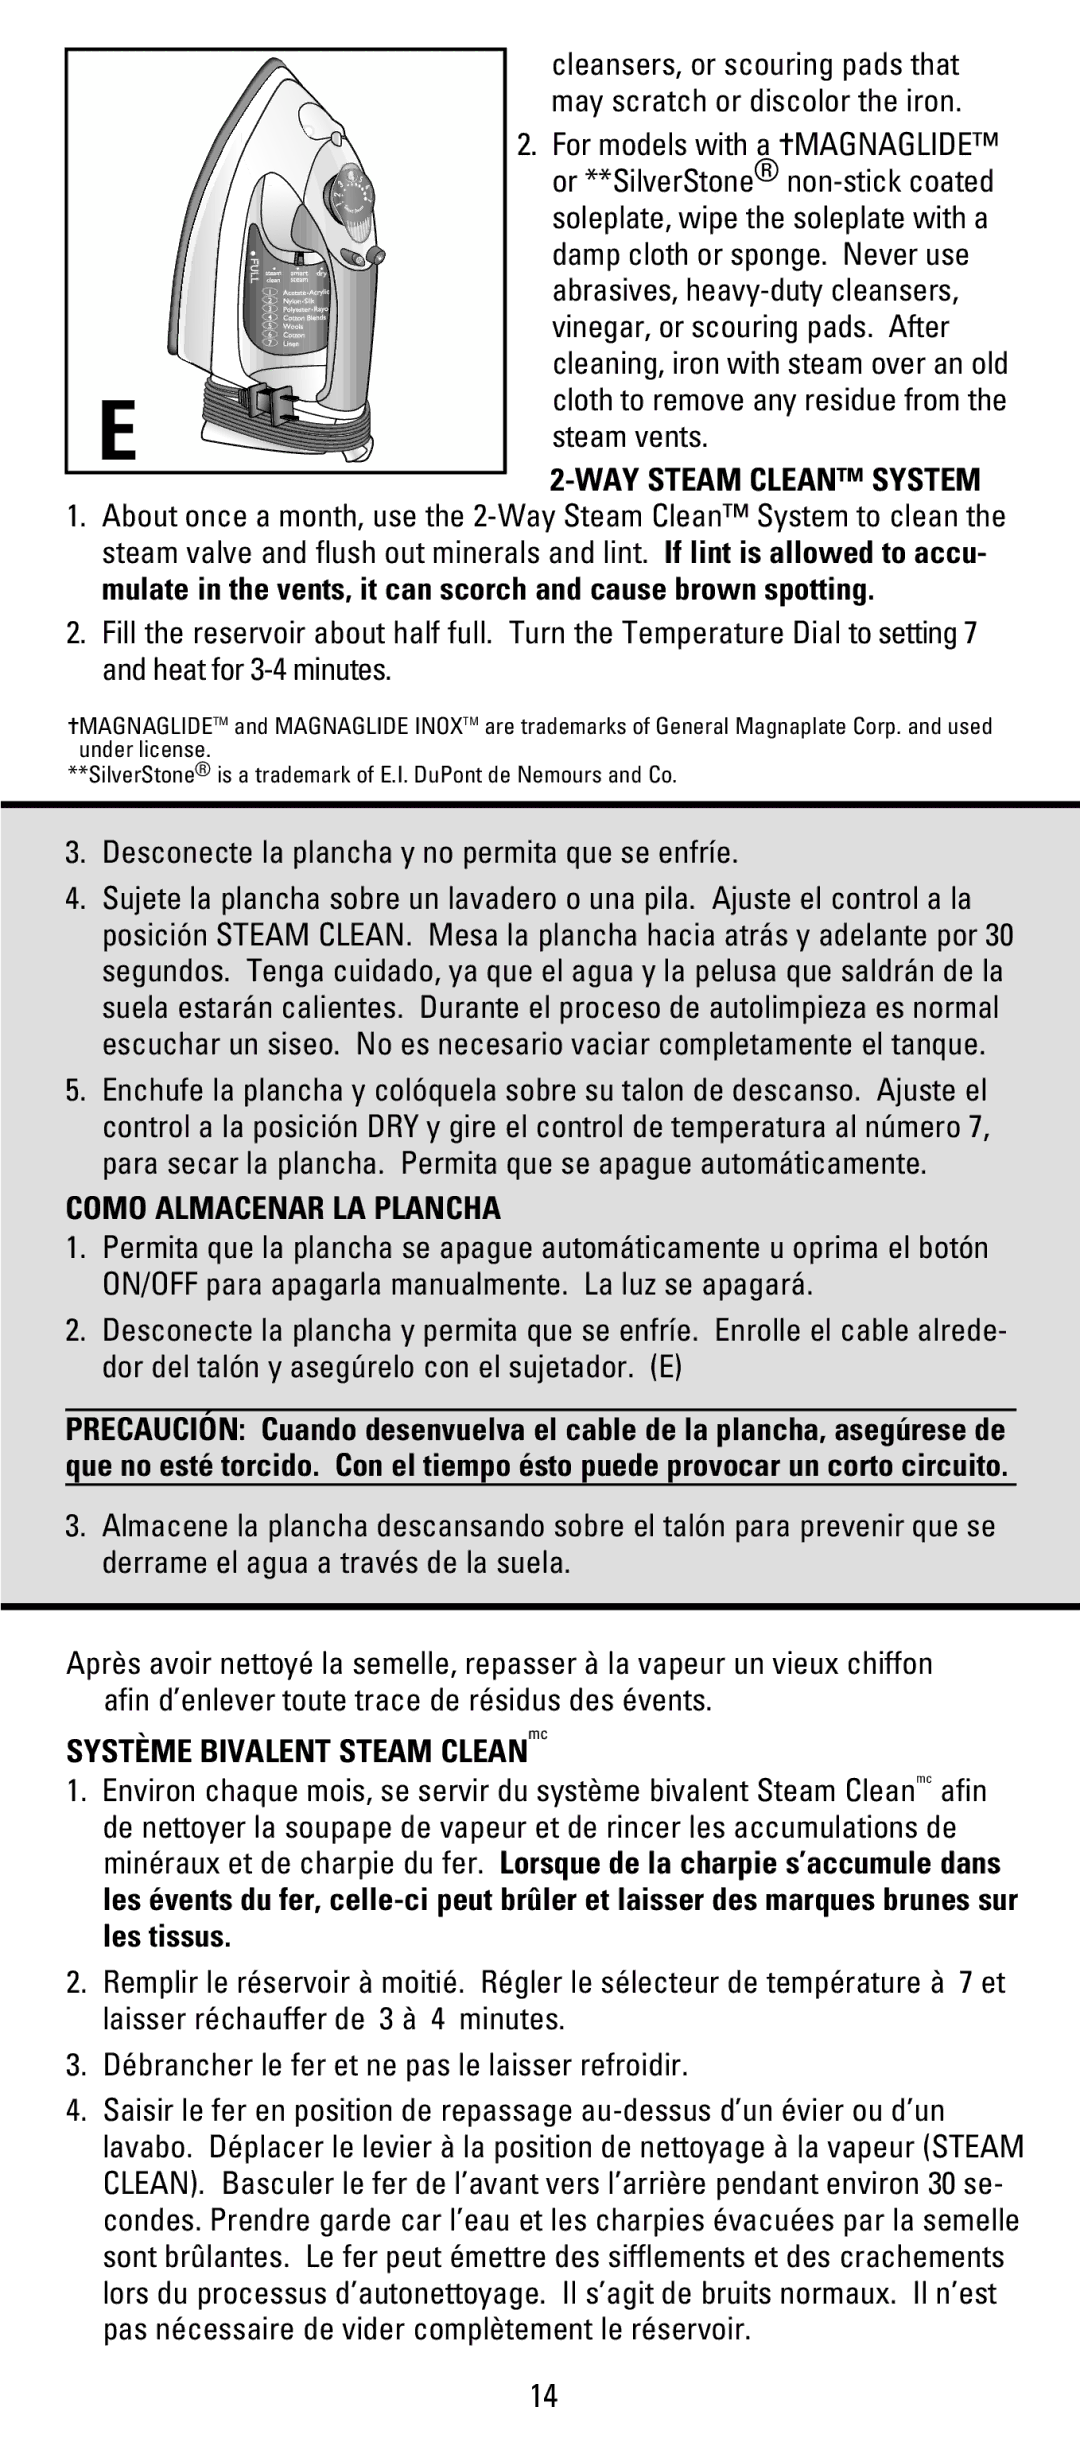
2.Unplug the iron and allow it to cool. Wrap the cord around the heel rest and secure it with the cord clip. (E)
CAUTION: When unwrapping the cord for iron use, be sure there are no twists or kinks in the wire. Over time, twists or kinks may result in an electrical short.
3. Store the iron on its heel rest to prevent leaking from the Soleplate.
¿Necesita ayuda?
¿LA PLANCHA NO CALIENTA?
1.¿Está conectada la plancha? ¿Está encendida la luz del botón de encendido? Oprima el botón ON/OFF.
2.Si la luz no se enciende, ¿funciona una lámpara al conectarla al mismo tomacorriente?
¿LA PLANCHA NO PRODUCE VAPOR?
1.Asegúrese de que haya suficiente agua en el tanque.
2.¿Está la guía ajustada a la posición SMART STEAM? Si no, ajústela.
3.Si no comienza a producir vapor, dé un leve toque a la suela contra la tabla de plancha una o dos veces. NOTA: Si el vapor sale continuamente sin parar, coloque la guía en la posición DRY.
¿EMITEN AGUA LAS SALIDAS DE VAPOR?
1.¿Está la guía en la posición STEAM CLEAN? Si lo está, ajústela a la posición DRY para planchar sin vapor.
2.Permita que la plancha se caliente de 2 a 3 minutos antes de planchar.
5.Brancher le fer. Le déposer sur son talon d’appui. Déplacer le levier à la position DRY et remettre le cadran à la position 7 afin d’assécher le fer. Attendre l’arrêt automatique du fer.
RANGEMENT DU FER
1.Laisser le fer s’arrêter automatiquement ou l’arrêter manuellement en enfonçant l’interrupteur. Le témoin s’éteint.
2Débrancher le fer et le laisser refroidir. Enrouler le cordon autour du talon d’appui et le fixer à la pince prévue à cet effet (E).
MISE EN GARDE : Lorsqu’on déroule le fil pour se servir du fer, s’assurer que le fil n’est pas mêlé ni noué. Le cas échéant, il y a risque de
3.Ranger le fer sur son talon d’appui afin d’éviter l’égouttement d’eau par la semelle.
Besoin d’aide?
LE FER NE CHAUFFE PAS?
1.Le fer
15
