Listening to tracks recorded on the HDD
Switching the display information
Each press of the COUNTER button on the remote controller switches the information displayed in the display area. While the text information is displayed using the DISPLAY button, the information below will not be displayed.
During stopped | During paused or playing | ||||
Playing time for the first track in the current group | The elapsed time for the currently played track | ||||
|
|
|
|
|
|
|
|
|
|
|
|
The total track number and the total playing time for the current group | The remaining time for the currently played track | ||
|
|
|
|
|
|
|
|
When the disc title is longer than the display area
Press the SCROLL button on the remote controller to display the whole title sequentially.
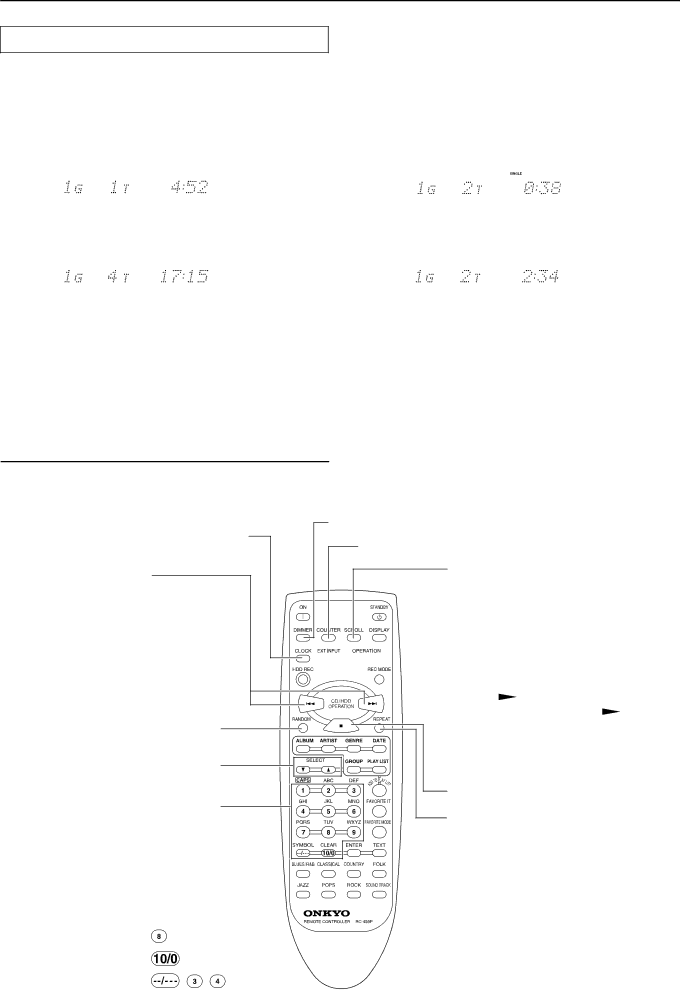
Using the remote controller
Switches to the clock display.
Selects the track you want to listen to.
While playing or paused, press the ![]() button once to locate the beginning of the current track. Press this button twice to locate the beginning of the previous track and additional press of the button locates the beginning of another previous track.
button once to locate the beginning of the current track. Press this button twice to locate the beginning of the previous track and additional press of the button locates the beginning of another previous track.
While playing or paused, press the ![]() button to locate the beginning of the next track. Then, each press of this button locates the beginning of another next track.
button to locate the beginning of the next track. Then, each press of this button locates the beginning of another next track.
Plays tracks in random order.
Selects a group.
Plays a track by directly entering the track number.
Pressing the ![]() button selects the digit you are entering.
button selects the digit you are entering.
The ![]() button enters 10 or 0.
button enters 10 or 0.
Example: |
|
|
Track Number | The button to be pressed | |
8 |
|
|
10 |
|
|
34 | , | , |
Changes the brightness of the display area*.
Switches the displayed information in the display area.
Scrolls the whole disc title longer than the display area.
![]()
![]()
![]() Activates the HDD section.
Activates the HDD section.
![]() Starts playing or pauses.
Starts playing or pauses.
Press the | / |
|
|
| button to start playing a | |||
|
| |||||||
track. While playing, press the | / |
|
| |||||
|
| |||||||
|
| |||||||
button to pause. |
|
|
| |||||
Stops playback.
Plays tracks repeatedly. (see page 30)
* Changing the brightness of the display area
Each press of the DIMMER button changes the brightness of the display area in the following order from the above:
The display area is slightly dimmed. → The display area is dimmed. → The display area is dimmed and indicators other than the ON indicator on the front panel are turned off. → The display area is turned on and all indicators light.
26