IV. UNPACKING
Carefully remove the items packed in the car- ton. It may be a good idea to save the carton and packing material in case it might be need- ed in the future. Upon removal of all items from the package, you should have:
1.Nail Gun
2.Allen Head Wrench
3.Oil Bottle
4.Safety Goggles
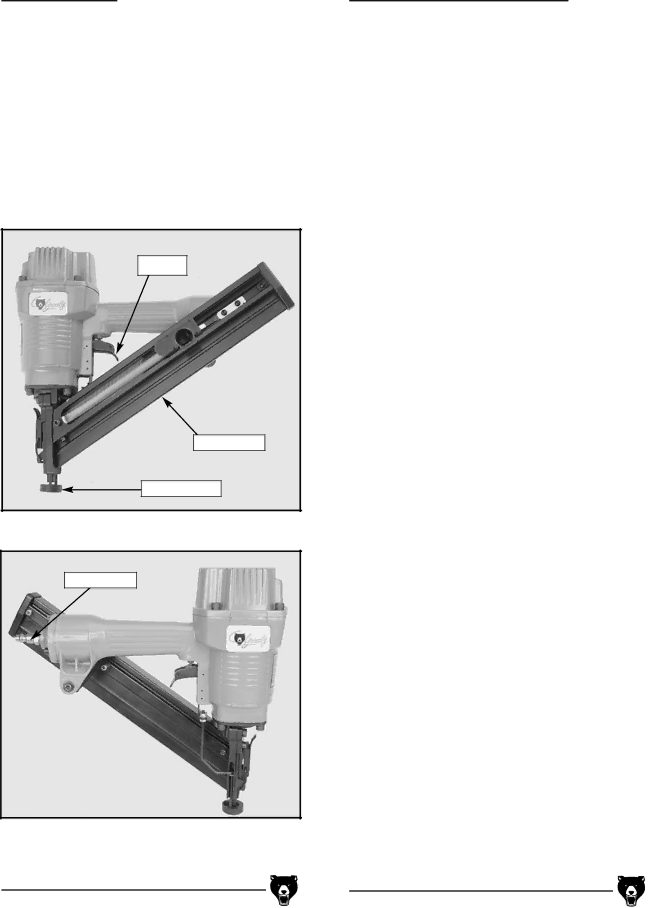
Trigger
Magazine
Safety nose
Figure 1 shows the front side of the nail gun.
Air Nozzle
Figure 2 shows the back side of the nail gun.
V. AIR
A. AIR PRESSURE
Air pressure should be set at the minimum required to set the fastener and must not exceed 120 p.s.i. Follow all safety items above and see Section V.B. Consistently operating at unnecessarily high pressures will put excessive stress on internal parts which will lead to premature gun failure.
B. AIR QUALITY
This air gun must be regularly oiled and oper- ated with treated or clean air. It is a precision tool with close internal tolerances designed for repetitious use. Wet and dirty air will negative- ly affect the gun’s performance as well as pre- maturely destroy internal parts.
To ensure that the best quality air enters your nail gun:
1.Use an
2.The intake air filter on your compressor must be clean and operational. Periodically clean or replace this filter. It is your primary line of defense.
3.Drain the compressor air storage tank(s) often. If conditions are humid, drain up to several times daily. Water vapor will con- dense and accumulate in the bottom of the storage tank(s). The internal metal parts of the nail gun will be corroded by the moisture that is passed through the air supply hose.
4.Keep air hoses as clean as possible inter- nally. Inspect nipples and couplers for any dirt and moisture. Blow out prior to connecting the gun.
G3690 Grizzly Imports, Inc. - 3 -