Hobart Welding Products OM-240 438B Compressed Air Hazards, Hydraulic Fluid can injure or kill

Page 8

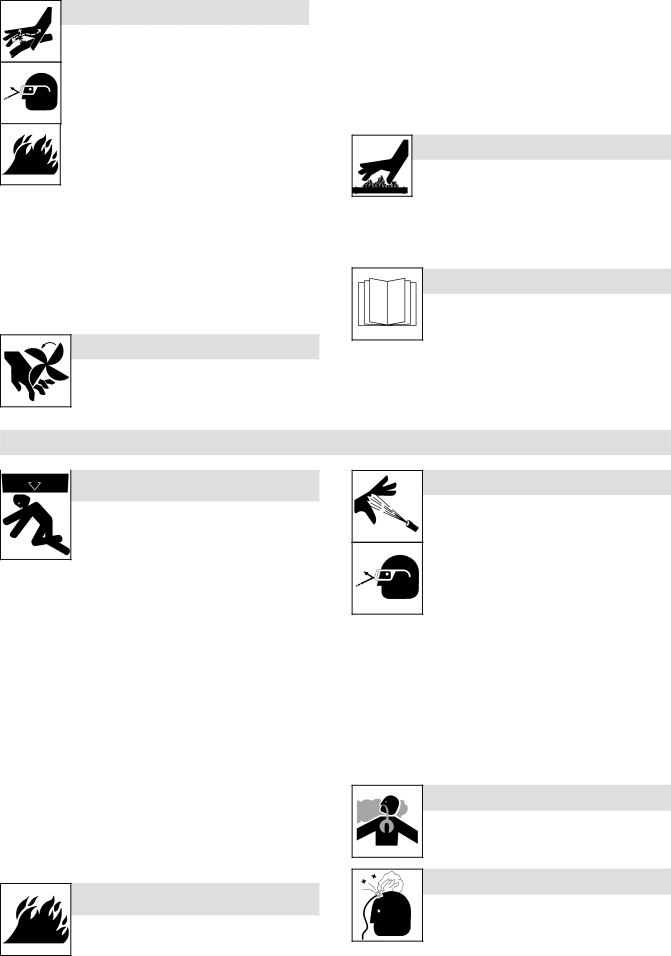
HYDRAULIC FLUID can injure or kill.

D Before working on hydraulic system, turn off and lockout/tagout unit, release pressure, and be sure hydraulic pressure cannot be accidentally applied.

DRelieve pressure before disconnecting or con- necting hydraulic lines.

DCheck hydraulic system components and all con- nections and hoses for damage, leaks, and wear before operating unit.

D Wear protective equipment such as safety glasses, leather gloves, heavy shirt and trousers, high shoes, and a cap when working on hydraulic system.

DUse a piece of paper or cardboard to search for leaks−−never use bare hands. Do not use equipment if leaks are found.

DHYDRAULIC FLUID is FLAMMABLE−−do not work on hydraulics near sparks or flames; do not smoke near hydraulic fluid.

DReinstall doors, panels, covers, or guards when servicing is finished and before starting unit.

DIf ANY fluid is injected into the skin, it must be surgically removed within a few hours by a doctor familiar with this type of injury or gan- grene may result.

MOVING PARTS can injure.

DKeep away from moving parts such as fans,

belts and rotors.

DKeep all doors, panels, covers, and guards closed and securely in place.

DKeep hands, hair, loose clothing, and tools away from moving parts.

DBefore working on hydraulic system, turn off and lockout/tagout unit, release pressure, and be sure hydraulic pressure cannot be accidentally applied.

DHave only qualified people remove guards or covers for maint- enance and troubleshooting as necessary.

DReinstall doors, panels, covers, or guards when servicing is finished and before starting engine.

HOT PARTS AND FLUID can burn.

DDo not touch hot parts bare handed or allow hot fluid to contact skin.

DAllow cooling period before working on equip- ment.

DTo handle hot parts, use proper tools and/or wear heavy, insu- lated welding gloves and clothing to prevent burns.

READ INSTRUCTIONS.

DRead and follow all labels and the Owner’s Manual carefully before installing, operating, or servicing unit. Read the safety information at the beginning of the manual and in each section.

DUse only genuine replacement parts from the manufacturer.

DPerform maintenance and service according to the Owner’s Manuals, industry standards, and national, state, and local codes.

1-5. Compressed Air Hazards

COMPRESSED AIR EQUIPMENT can injure or kill.

DIncorrect installation or operation of this unit could result in equipment failure and personal injury. Only qualified persons should install, op- erate, and service this unit according to its Owner’s Manual, industry standards, and na- tional, state, and local codes.

DDo not exceed the rated output or capacity of the compressor or any equipment in the compressed air system. Design com- pressed air system so failure of any component will not put people or property at risk.

DBefore working on compressed air system, turn off and lockout/ tagout unit, release pressure, and be sure air pressure cannot be accidentally applied.

DDo not work on compressed air system with unit running unless you are a qualified person and following the manufacturer’s in- structions.

DDo not modify or alter compressor or manufacturer-supplied equipment. Do not disconnect, disable, or override any safety equipment in the compressed air system.

DUse only components and accessories approved by the manu- facturer.

DKeep away from potential pinch points or crush points created by equipment connected to the compressed air system.

DDo not work under or around any equipment that is supported only by air pressure. Properly support equipment by mechanical means.

COMPRESSED AIR can injure or kill.

DBefore working on compressed air system,

turn off and lockout/tagout unit, release pres- sure, and be sure air pressure cannot be acci- dentally applied.

DRelieve pressure before disconnecting or con- necting air lines.

DCheck compressed air system components and all connections and hoses for damage, leaks, and wear before operating unit.

DDo not direct air stream toward self or others.

DWear protective equipment such as safety glasses, hearing pro- tection, leather gloves, heavy shirt and trousers, high shoes, and a cap when working on compressed air system.

DUse soapy water or an ultrasonic detector to search for leaks−− never use bare hands. Do not use equipment if leaks are found.

DReinstall doors, panels, covers, or guards when servicing is finished and before starting unit.

DIf ANY air is injected into the skin or body seek medical help im- mediately.

BREATHING COMPRESSED AIR can in- jure or kill.

DDo not use compressed air for breathing.

DUse only for cutting, gouging, and tools.

HOT METAL from air arc cutting and gouging can cause fire or explosion.

DDo not cut or gouge near flammables.

DWatch for fire; keep extinguisher nearby.

OM-240 438 Page 4

TRAPPED AIR PRESSURE AND WHIPPING HOSES can injure.

DRelease air pressure from tools and system be- fore servicing, adding or changing attach- ments, or opening compressor oil drain or oil fill cap.

Image 8
Contents Description OM-240 438BProcesses From Hobart to You Protect Your InvestmentTable of Contents 10-1 10-210-3 11-1Symbol Usage Arc Welding HazardsElectric Shock can kill HOT Parts can burnFumes and Gases can be hazardous Buildup of GAS can injure or killARC Rays can burn eyes and skin Welding can cause fire or explosionEngine Hazards Hydraulic HazardsUse only genuine replacement parts from the manufacturer Compressed Air HazardsHydraulic Fluid can injure or kill Compressed AIR Equipment can injure or killWelding Wire can injure Fire or Explosion hazardFalling Equipment can injure Overheating can damage motorsPrincipal Safety Standards EMF Information California Proposition 65 WarningsRadiation can cause interference ARC Welding can cause interferenceSignification des symboles − Consignes DE Sécurité − Lire Avant UtilisationUN Choc Électrique peut tuer Indique des instructions spécifiquesLES Pièces Chaudes peuvent provoquer des brûlures LES Fumées ET LES GAZ peu- vent être dangereuxLE Soudage peut provoquer un incendie ou une explosion LE Bruit peut affecter l’ouïe’EXPLOSION DE LA Batterie peut provoquer des blessures Les Pièces Mobiles peuvent causer des blessuresLA Chaleur DU Moteur peut pro- voquer un incendie Les Pièces Mobiles peuvent causer des blessuresLire LES Instructions Risque D’INCENDIE OU LES Fils DE Soudage peuvent provoquer des blessuresLA Chute DE L’ÉQUIPEMENT peut provoquer des blessures LE Surchauffement peut endommager le moteur électriqueLE Soudage À L’ARC risque de provoquer des interférences Proposition californienne 65 AvertissementsPrincipales normes de sécurité Informations relatives aux CEM En ce qui concerne les implants médicaux− Specifications Symbol DefinitionsWeld, Power, and Engine Specifications − DefinitionsWeight 562 lb 254 kg Dimensions, Weights, And Operating AnglesComplete Parts List is available at wwwHobartWelders.com Dimensions For Units With Optional Running Gear DimensionsDuty Cycle Welding AmperesFuel Consumption Subaru-Powered Units Fuel Consumption Kohler-Powered UnitsGenerator Power Curve For CC/AC ModeFor CC/DC Mode Volt-Ampere CurvesSerial Number And Rating Label Location − InstallationInstalling Welding Generator Grounding Generator To Truck Or Trailer Frame Oil Engine Prestart Checks Subaru-Powered UnitsOil Check To improve cold weather starting Engine Prestart Checks Kohler-Powered UnitsFull Installing Exhaust Pipe Connecting Or Replacing the BatteryConnect negative − battery cable last + − + −Tools Needed 3/4 Connecting To Weld Output TerminalsStop engine Failure to properly connect Selecting Weld Cable Sizes 150 ft 200 ft 250 ft350 ft 400 ft 45 m 60 m 70 m 90 m 105 m 120 m 100 150 200 250Engine Control Switch − Operating the Welding GeneratorFront Panel Controls Fine ControlCold Weather Engine Operation InfrequentlyLoaded FrequentlyElectrode Typical Stick Welding Connections And Control SettingsStop engine − Operating Auxiliary Equipment Standard ReceptaclesSimultaneous Weld And Power Wiring Optional 240 Volt PlugCurrent Available in Amperes 240 Receptacle− Maintenance SUBARU-POWERED Units Maintenance Label Subaru-Powered UnitsRoutine Maintenance Subaru-Powered Units Stop engine before maintaining100 200Stop engine and let cool Servicing Air Cleaner Subaru-Powered UnitsServicing Optional Spark Arrestor Subaru-Powered Units Oil Fill Oil Check Oil Drain Valve Oil FilterAdjusting Engine Speed Subaru-Powered Units Idle Speed AdjustmentFuse F1 See Section Overload Protection Subaru-Powered UnitsStop engine. Disconnect negative − battery cable − Maintenance − KOHLER-POWERED Units Maintenance Label Kohler-Powered UnitsRoutine Maintenance Kohler-Powered Units Hours Nl Weld Cables ~ Slip Rings Nl Brushes OM-240 438Servicing Air Cleaner Kohler−Powered Units Stop engine and let cool Oil Drain Valve 2 ID x 7 in Hose Oil FilterClose valve and valve cap Full Before adding oil Running engineAdjusting Engine Speed Kohler-Powered Units Adjustment NutLoosen lock nut. Turn adjustment Turn idle speed screw for fine ad- justmentsIf a fuse opens, it usually indi Overload Protection Kohler-Powered UnitsServicing Optional Spark Arrestor Kohler-Powered Units − Troubleshooting Welding TroubleshootingGenerator Power Troubleshooting Trouble RemedyCheck fuel level Engine TroubleshootingCheck receptacle wiring and connections − Parts List Control switch S2, and throttle solenoid TS1Recommended Spare Parts Recommended Spare PartsSOCKET/WRENCH Selection Table Standard Metric − Electrical Diagrams Circuit Diagram For Welding Generator240 424-A − Generator Power Guidelines Selecting EquipmentGrounding When Supplying Building Systems How Much Power Does Equipment Require?Use ground device as stated Electrical codesApproximate Power Requirements For Industrial Motors Approximate Power Requirements For Farm/Home EquipmentIndustrial Motors Rating Starting Watts Running Watts Farm/Home Equipment Rating Starting Watts Running WattsApproximate Power Requirements For Contractor Equipment Contractor Rating Starting Watts Running WattsPower Required To Start Motor How Much Power Can Generator Supply?Single-Phase Induction Motor Starting Requirements KVA/HP x HP x 1000 / Volts = Starting AmperageTypical Connections To Supply Standby Power Tional, state, and local codesSelecting Extension Cord Use Shortest Cord Possible Stick Welding Procedure − Stick Welding Smaw GuidelinesElectrode touches work Tools Needed Equipment Needed Piece Weld current can damageElectrode and Amperage Selection Chart Striking an ArcScratch Technique Tapping TechniquePoor Weld Bead Characteristics Good Weld Bead CharacteristicsPositioning Electrode Holder Groove Welds Fillet WeldsElectrode Angle Conditions That Affect Weld Bead ShapeElectrode Movement During Welding Tee Joint Butt JointsLap Joint Troubleshooting Weld TestTo 3 51-76 mm .4 mm Possible Causes Corrective ActionsMetal remains Lack of Penetration Good PenetrationGood Penetration Excessive Penetration OM-240 438 OM-240 438 OM-240 438 Assistance ServiceSupport Contact your Distributor for Hobart Welding Products