Grizzly G1032 instruction manual Beginning Assembly Base

Page 10

SECTION 4: ASSEMBLY

Beginning Assembly


Base


Assembly of the G1032 is straightforward. We have organized the assembly process into steps. Please follow them in sequence.

Caution: All die-cut metal parts have a sharp edge (called “flashing”) on them after they are formed. This is removed at the factory. Sometimes though, a bit of flashing might escape inspection. Please examine the edges of all die- cut metal parts before handling them.

Tools Required: 10/12mm open end wrench, regular and Phillips head screwdriver.

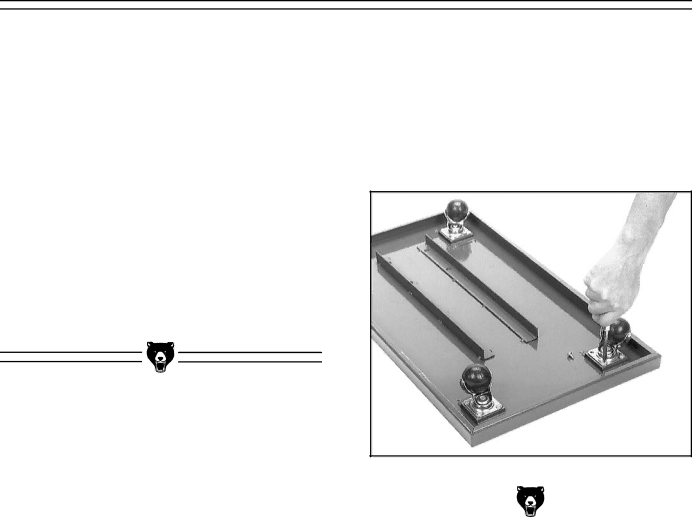
Position the base plate upside down and locate the casters so they are within easy reach. Mount the casters to the base plate using sixteen 10 - 24 x 12" Phillips Head Screws provided. Figure 2.

Figure 2.


-8-


G1032 Dust Collector


Image 10
Contents Dust Collector G1032 Dust Collector Table Of Contents Safety Safety Instructions For Power ToolsAdditional Safety Instructions For Dust Collectors Circuit Requirements 110V WiringGrounding General Information Unpacking Piece Inventory Site Considerations Assembly Beginning Assembly BaseSupport Column Fan / Motor CollectorBags Test Run Set Up OperationsMobileStationary System Grounding Maintenance GeneralLubricationClosure Castor Grizzly Model G1032 Dust Collector Warranty and Returns Warranty Card Grizzly INDUSTRIAL, INC