Changing Planing
Knives
Planing knives are razor sharp! Always han- dle the planing knives with the magnets included with this machine. Failure to heed this warning can result in serious injury!
Tools Needed: | Qty |
Wrench 10mm | 1 |
Hex Wrench 4mm | 1 |
The Model G0477 features
To change the planing knives:
1.UNPLUG THE PLANER/MOULDER FROM THE POWER SOURCE!
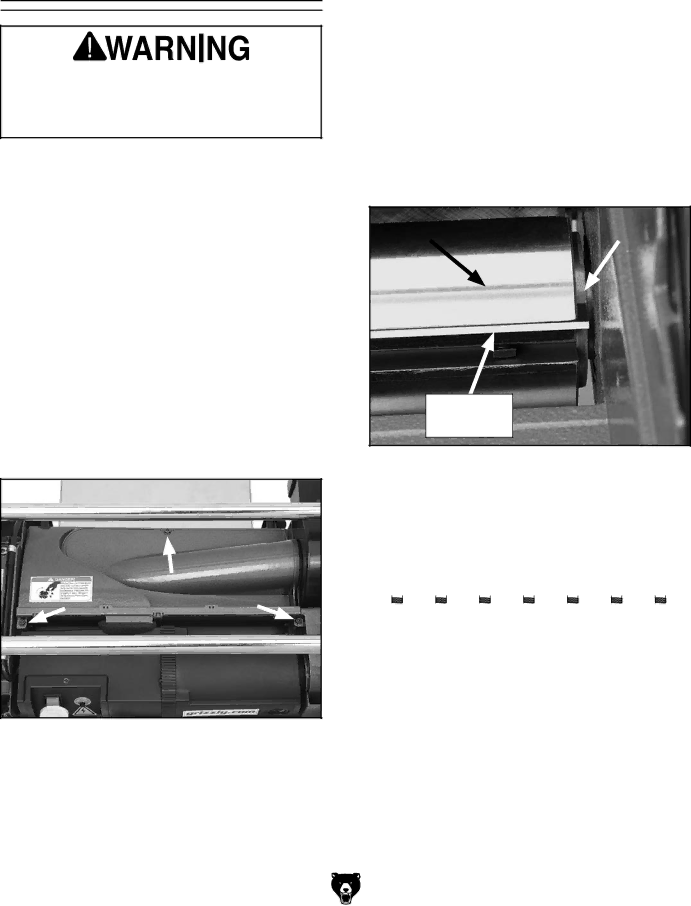
2.Remove the three cap screws that hold the cutterhead cover in place, as shown in Figure 23, and remove the cutterhead cover.
Figure 23. Cutterhead cover screws.
2.Push the cutterhead lock down, and rotate the cutterhead until a planing knife is visible, then release the cutterhead lock and slightly rotate the cutterhead in either direction until it locks.
5.Loosen the gib that holds the planing knife in place by turning the gib bolts clockwise. Start with the center bolt and alternate back and forth until the gib is completely looseened.
6.Using the magnets supplied with the planer/ moulder, carefully lift the planing knife out of the cutterhead slot.
7.Pick up the new planing knife with the mag- nets and place it in the cutterhead slot.
8.Align the planing knife so that is rests evenly on both knife location collars, as shown in Figure 24.
|
| Knife Location |
Cutterhead |
| |
| Collar | |
|
| |
|
|
|
Planing
Knife
Figure 24. Knife location collar.
9.Tighten the gib bolts in the order indicated in Figure 25.
| 7 |
| 5 |
|
| 3 |
| 1 |
| 2 |
| 4 |
| 6 |
|
| ||||||||||||
|
|
|
|
|
|
|
|
|
|
|
|
|
|
|
|
|
|
|
|
|
|
|
|
|
|
|
|
|
|
|
|
|
|
|
|
|
|
|
|
|
|
|
|
|
|
|
|
|
|
|
|
|
|
|
|
|
|
|
|
|
|
|
|
|
|
|
|
|
|
|
|
|
|
|
|
|
|
|
|
|
|
|
|
|
|
|
|
|
|
|
|
|
|
|
|
|
|
|
|
|
|
|
|
|
|
|
|
|
|
|
|
|
|
|
|
|
|
|
|
|
|
|
|
|
|
|
|
|
|
|
|
|
|
|
|
|
|
|
|
|
|
|
|
|
|
|
|
|
|
|
|
|
|
|
|
|
|
|
|
|
|
|
|
|
|
|
|
|
|
|
|
|
|