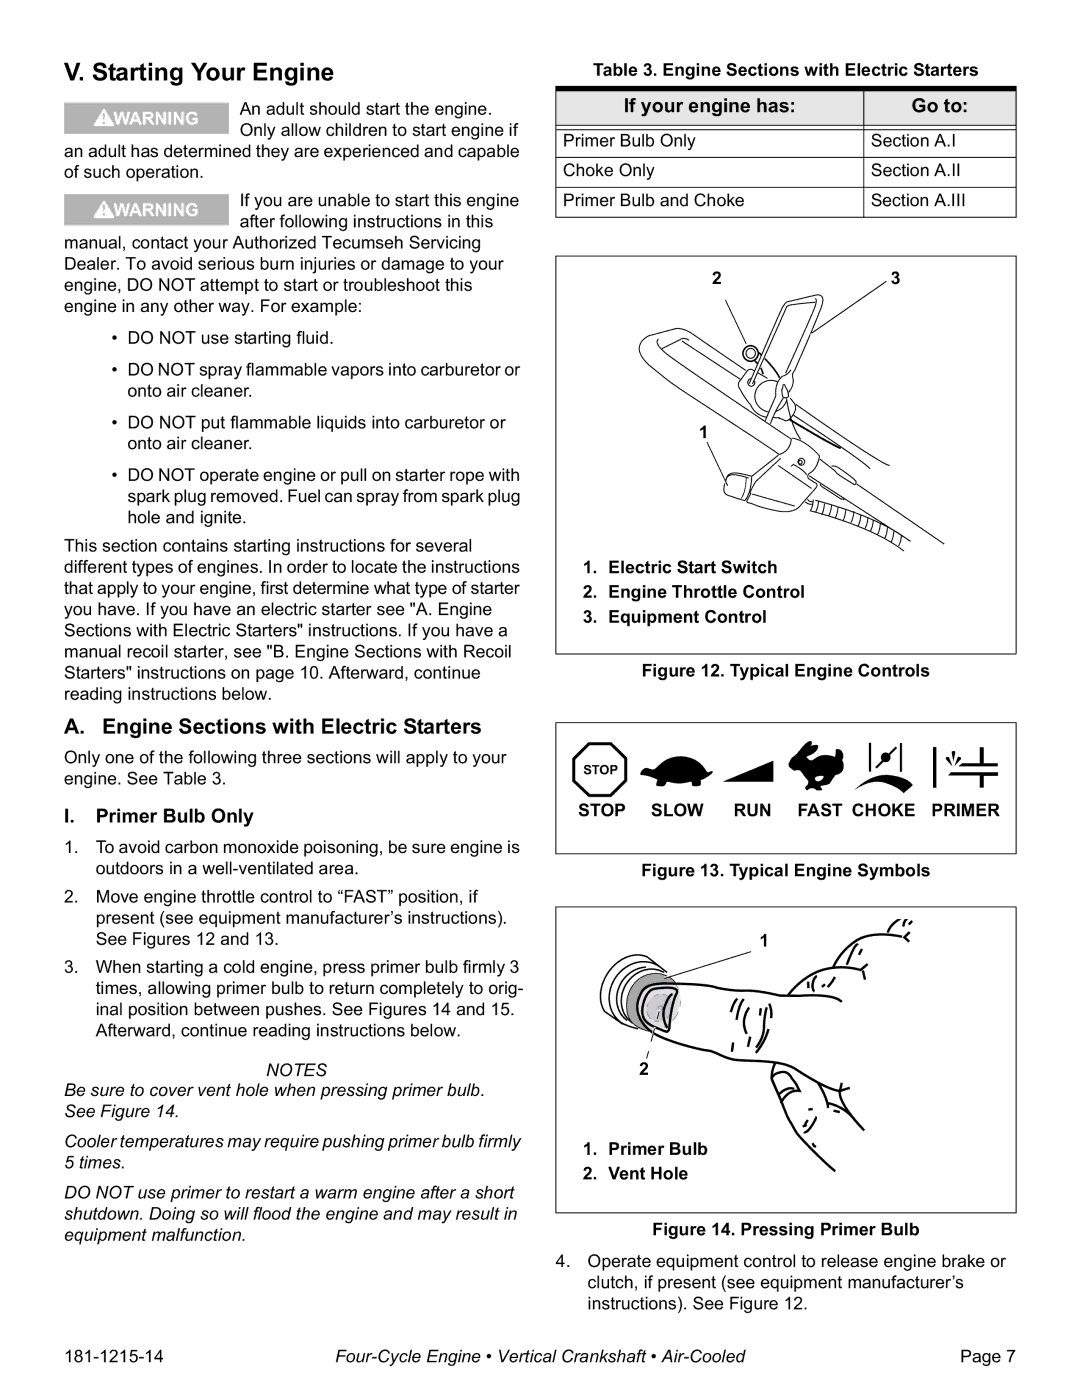
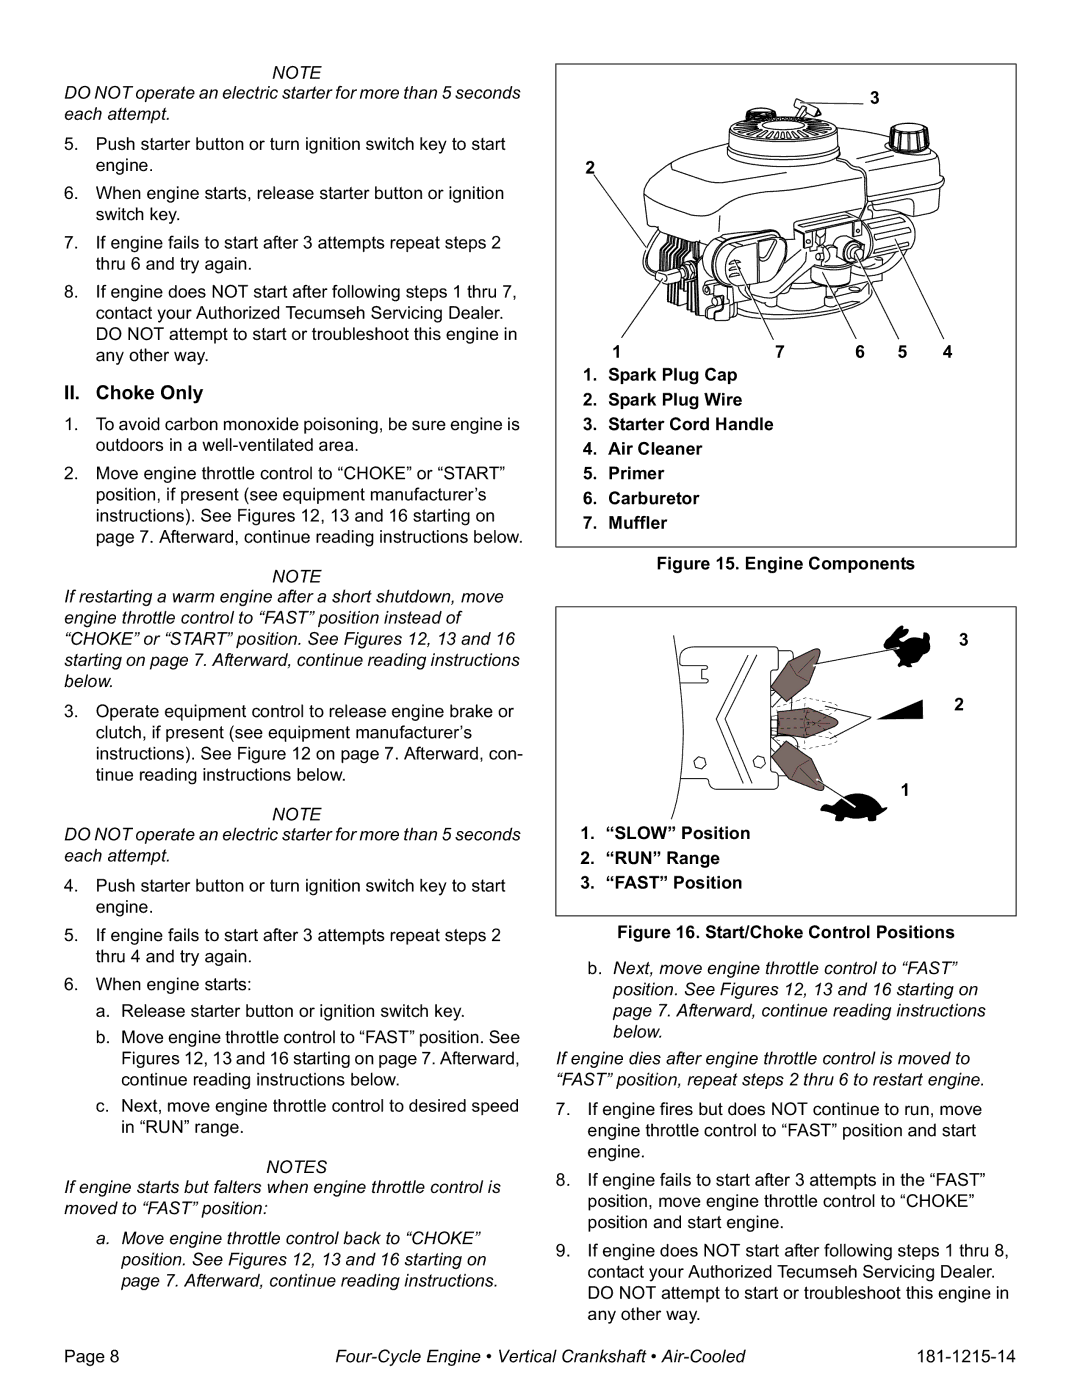
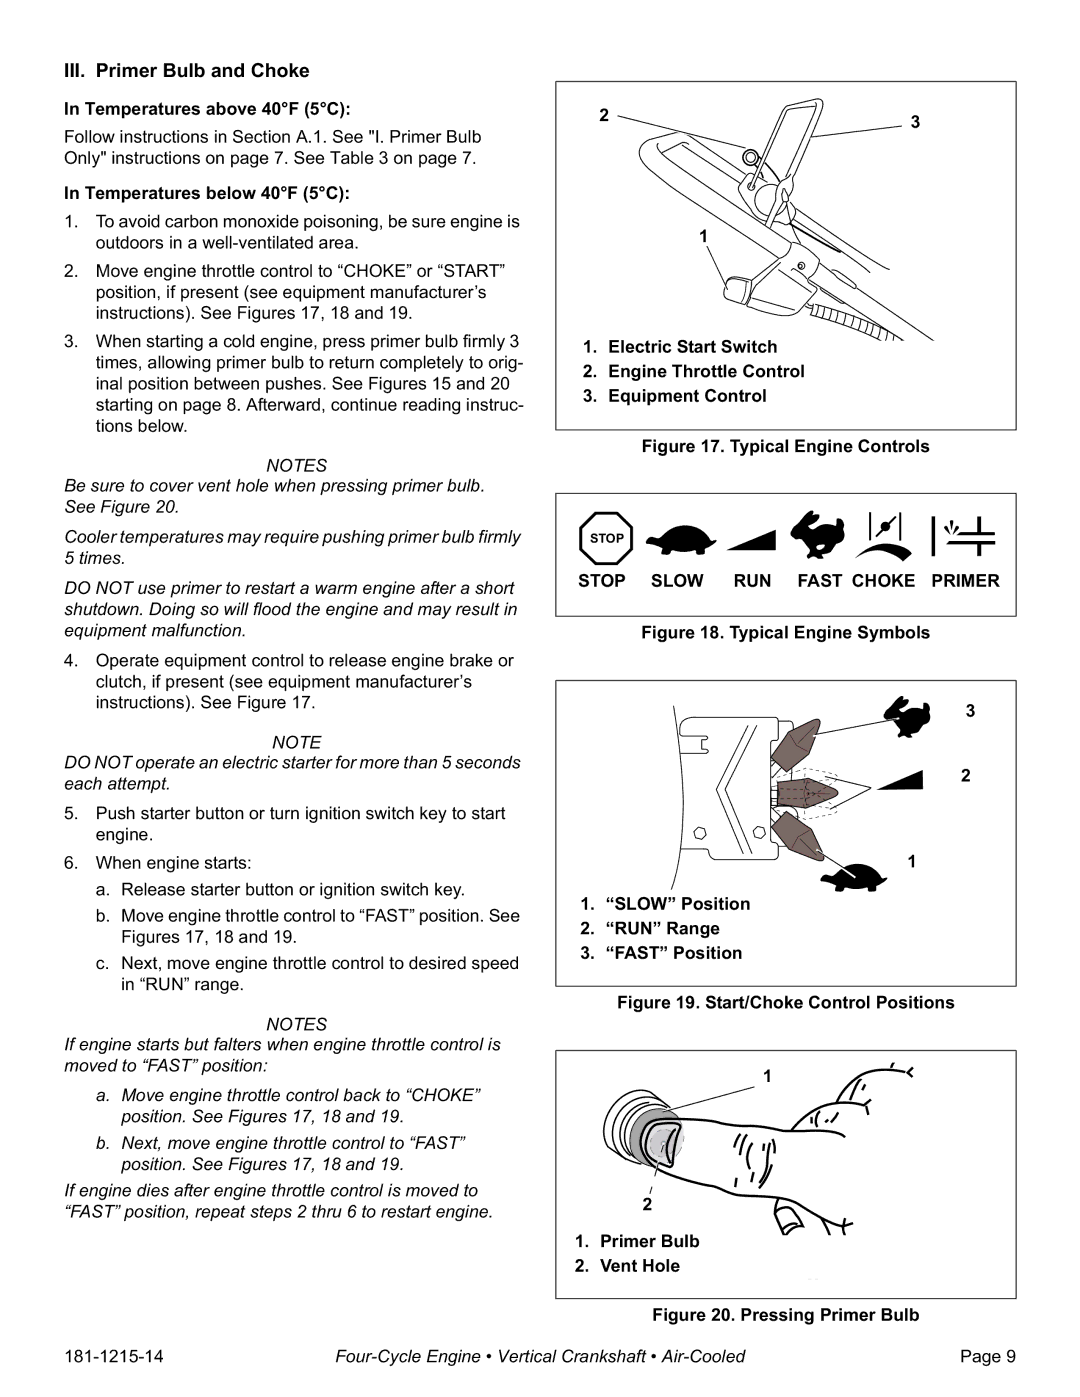
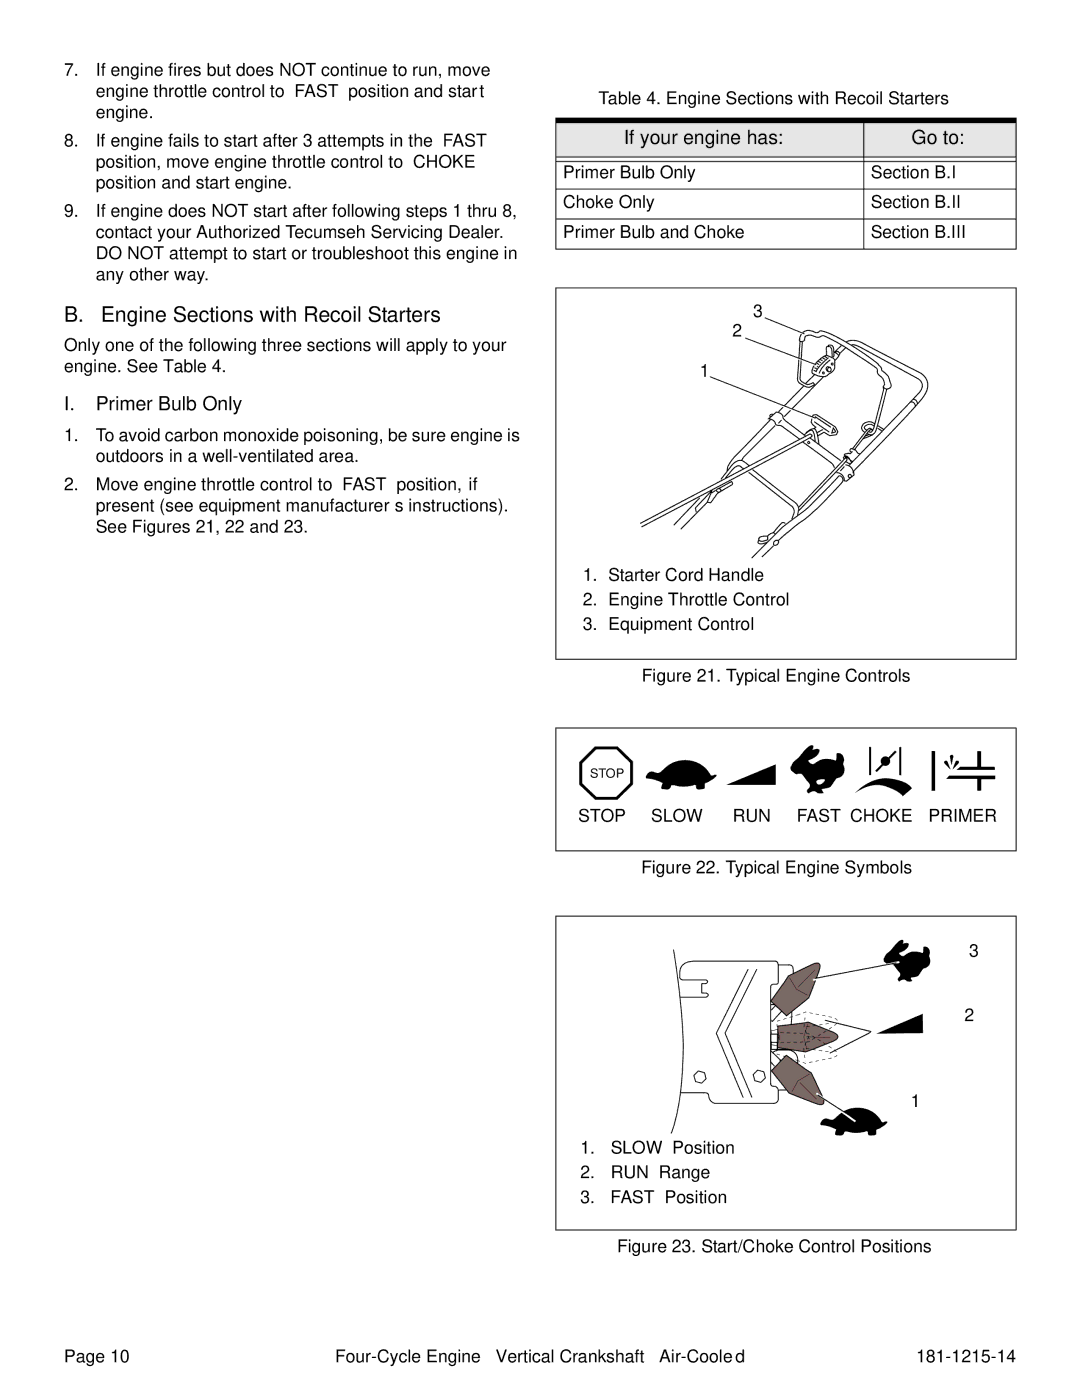
Tecumseh LV148XA, LV148EA Filling Fuel Tank, Front View Bottom View, To OFF Position, Shown

Page 8
! WARNING

C. Filling Fuel Tank

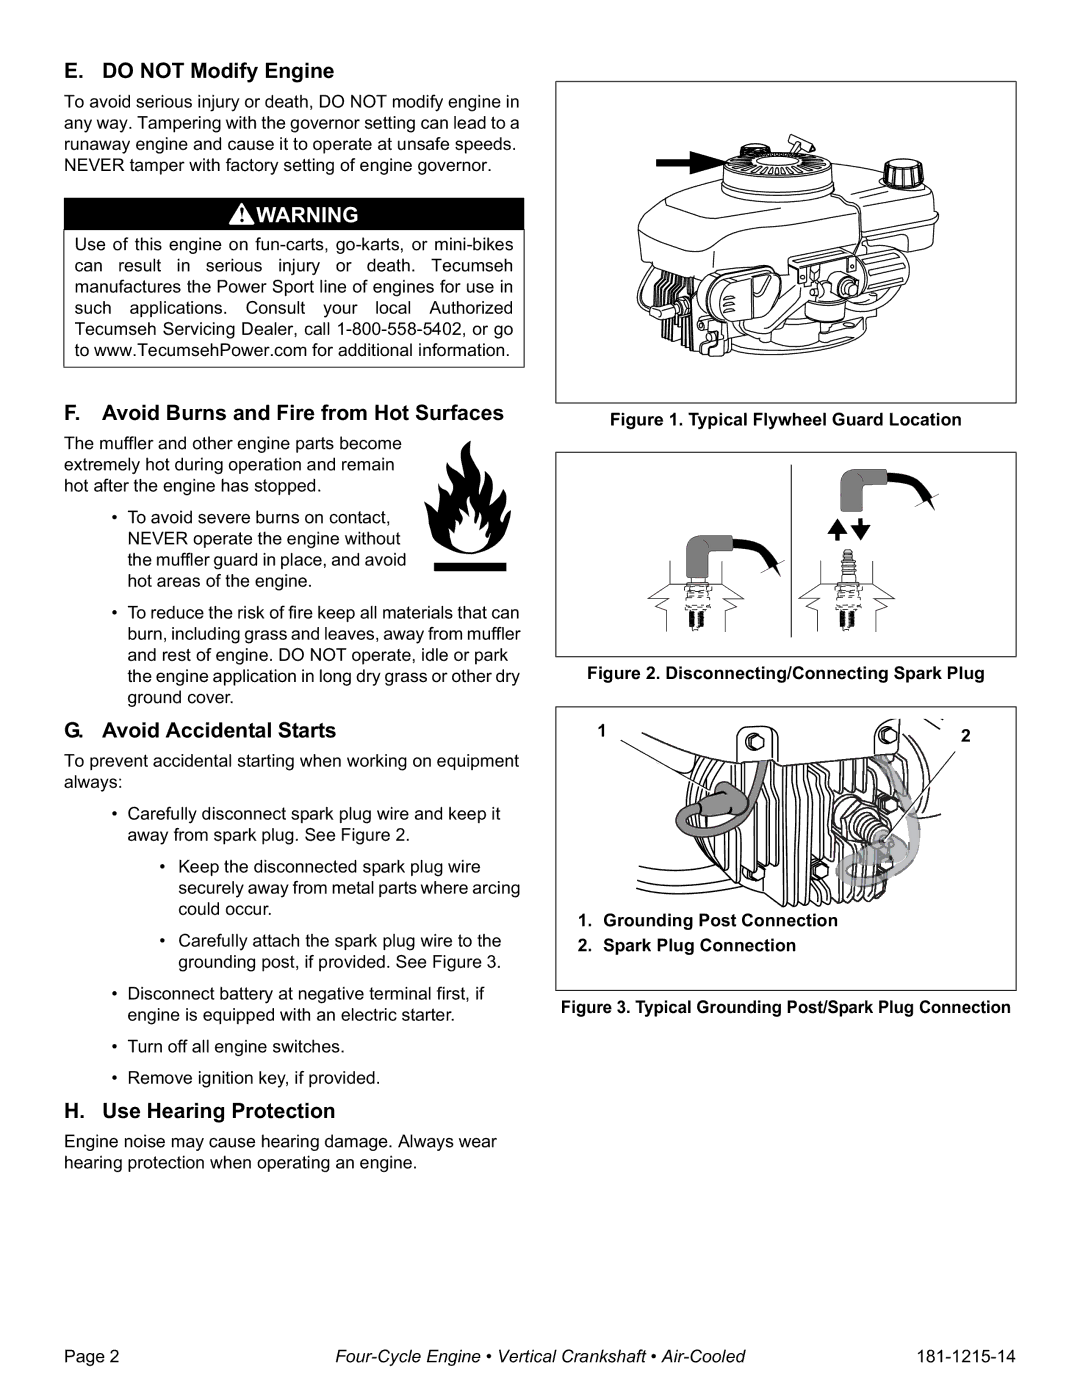
An adult should fuel this engine. NEVER allow children to refuel this

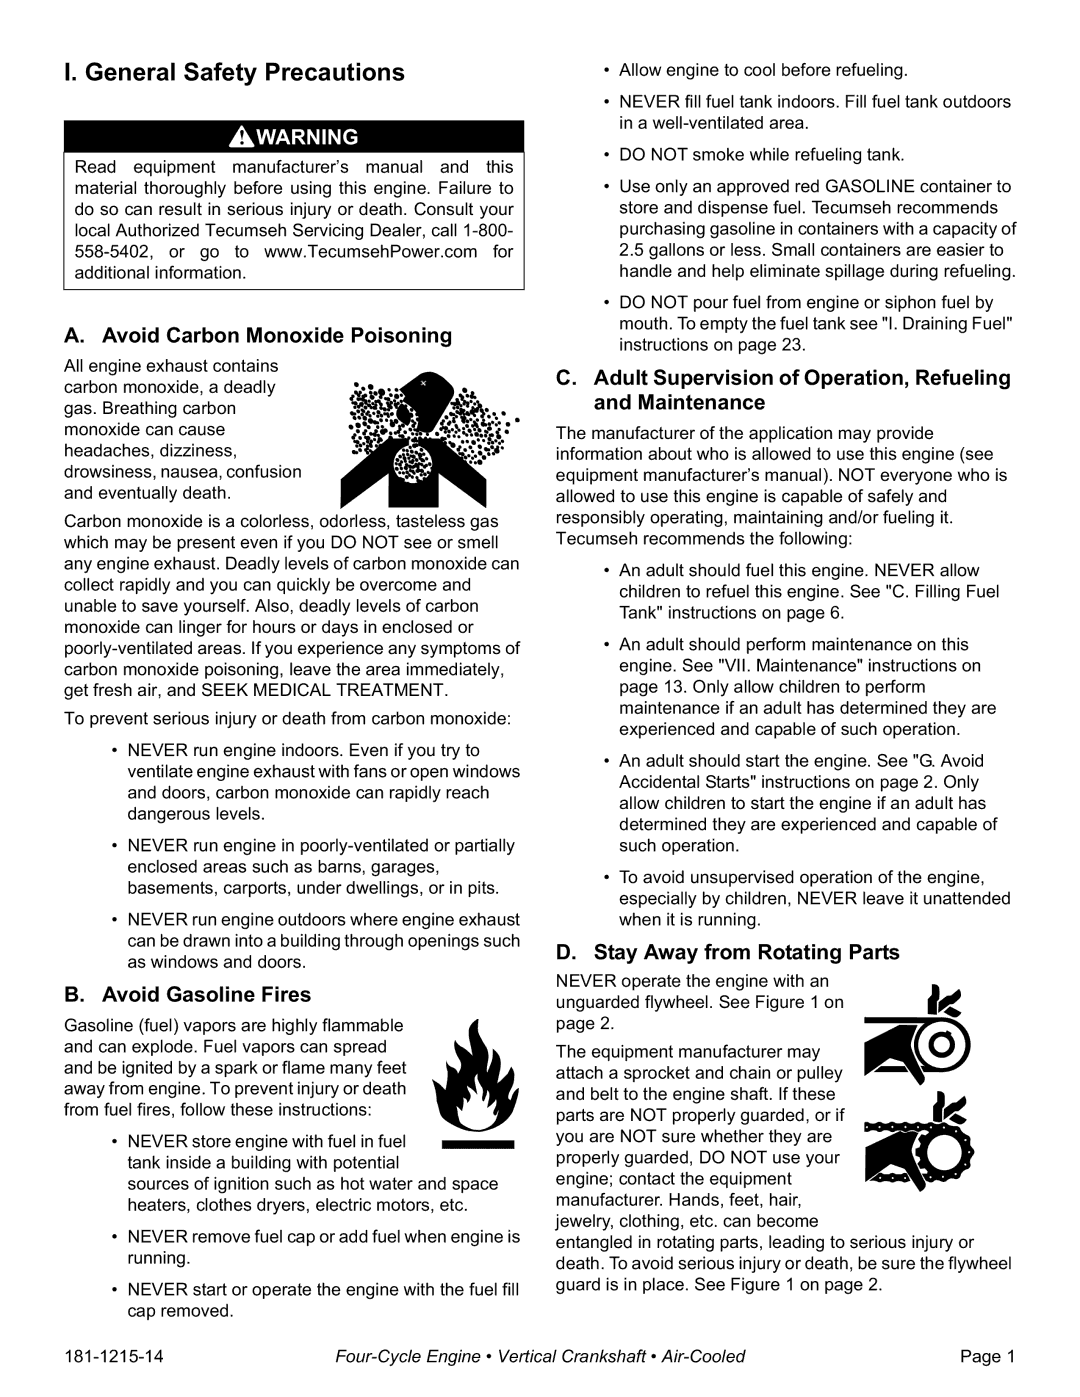
engine. Gasoline (fuel) vapors are highly flammable and can explode. Fuel vapors can spread and be ignited by a spark or flame many feet away from engine. To prevent injury or death from fuel fires, follow these instructions:

1.Stop engine and allow it to cool before refueling.

2.Be sure engine is outdoors and in a well-ventilated area.

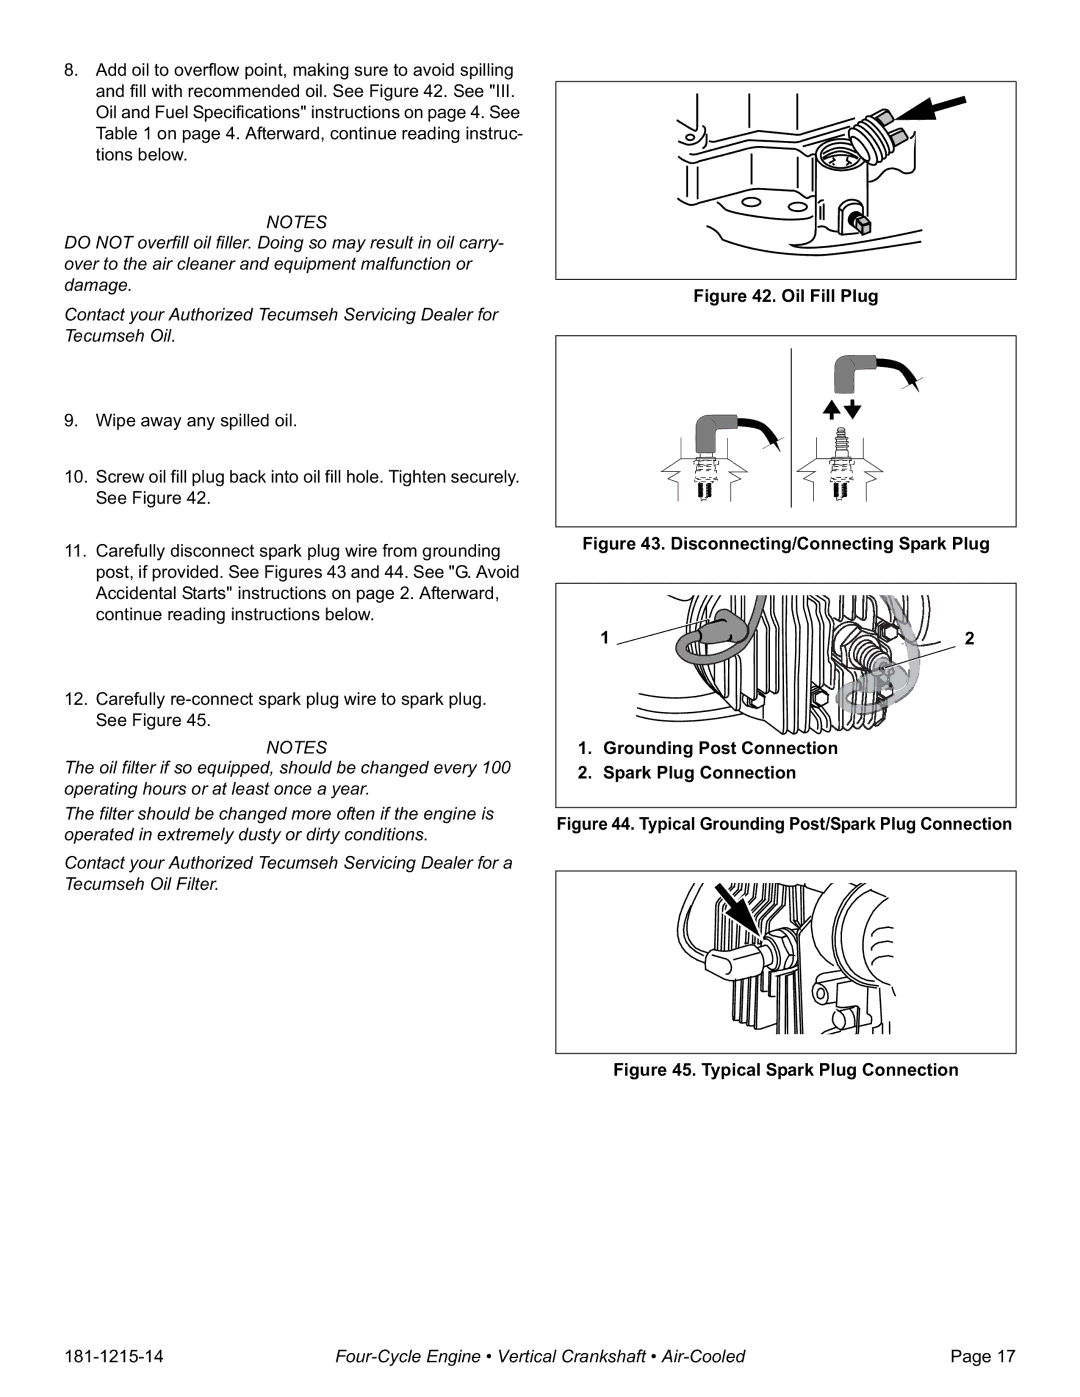
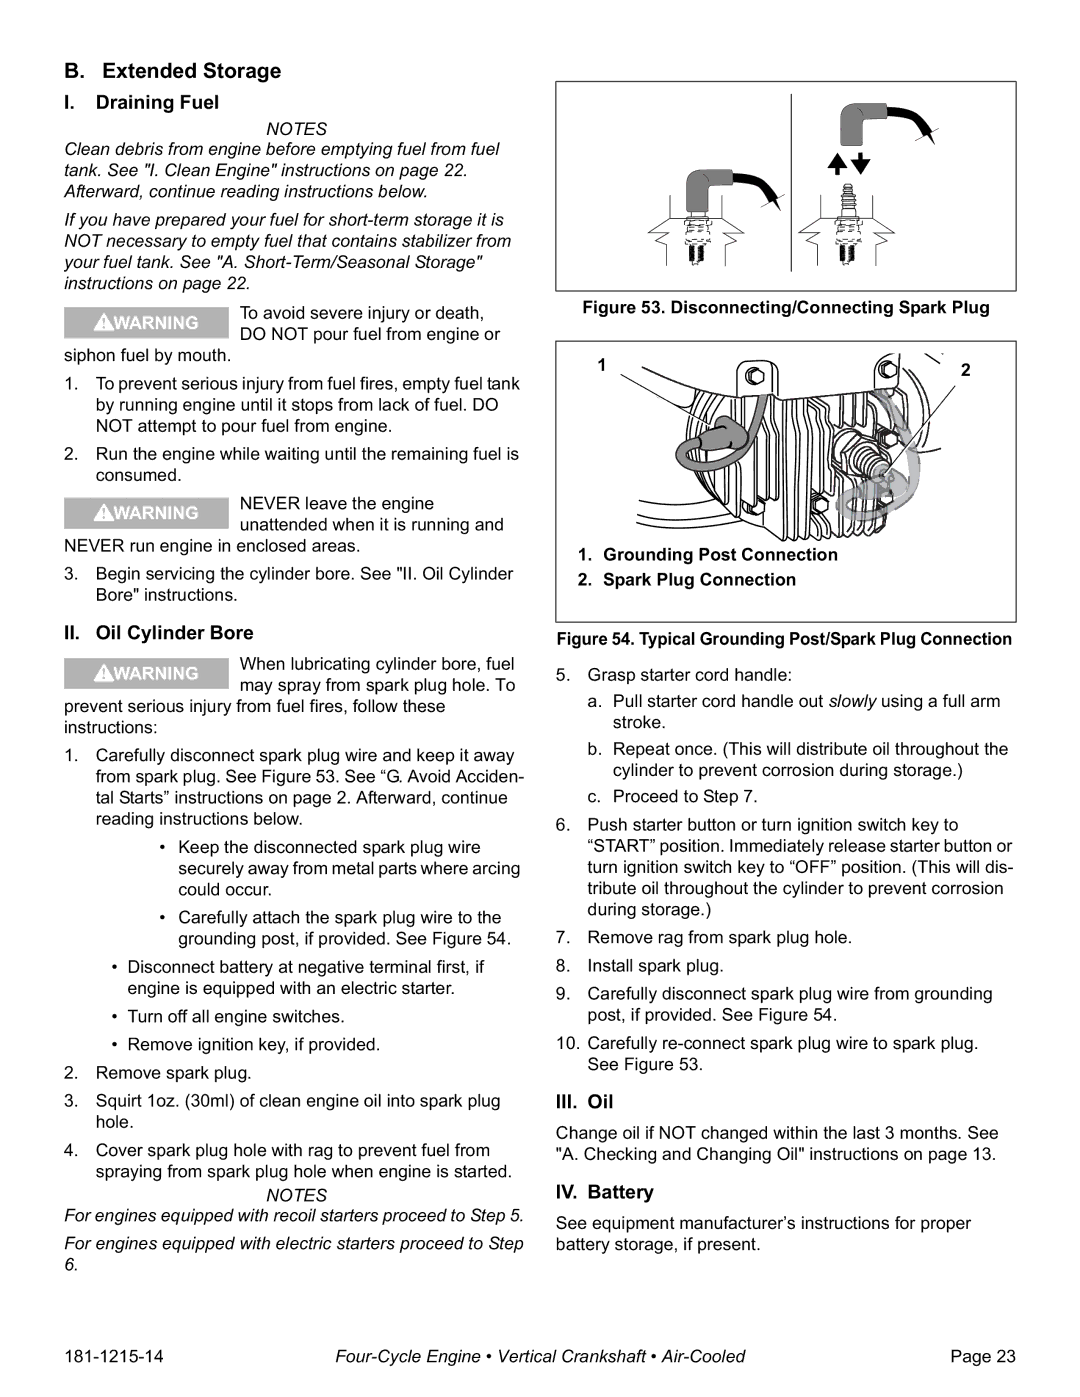
3.Clean area around fuel fill cap and remove fuel fill cap. See Figure 7 on page 5. Afterward, continue reading instructions below.

4.Using an approved red GASOLINE container, add fuel slowly, being careful to avoid spilling. DO NOT overfill fuel tank. Leave space in the tank to allow fuel to expand without overflowing.

5.Replace anti-splash fuel fill cap securely and wipe up spilled fuel before starting engine. If fuel is spilled DO NOT start engine. Move machine away from area of spillage. Avoid creating any source of ignition until fuel vapors are gone.

NOTE

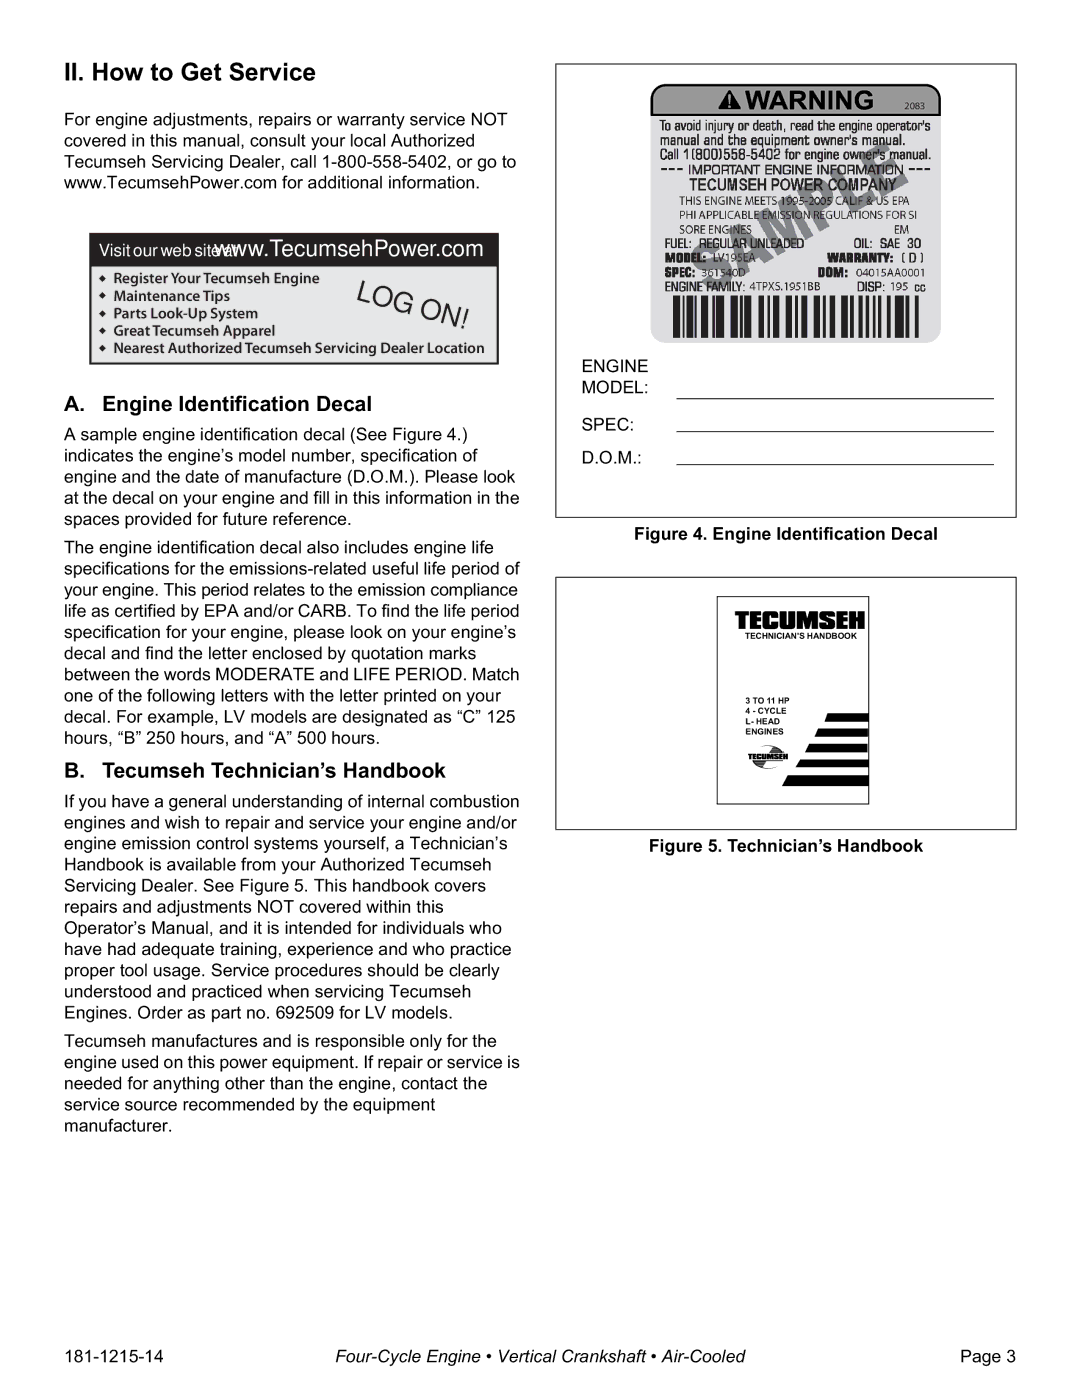
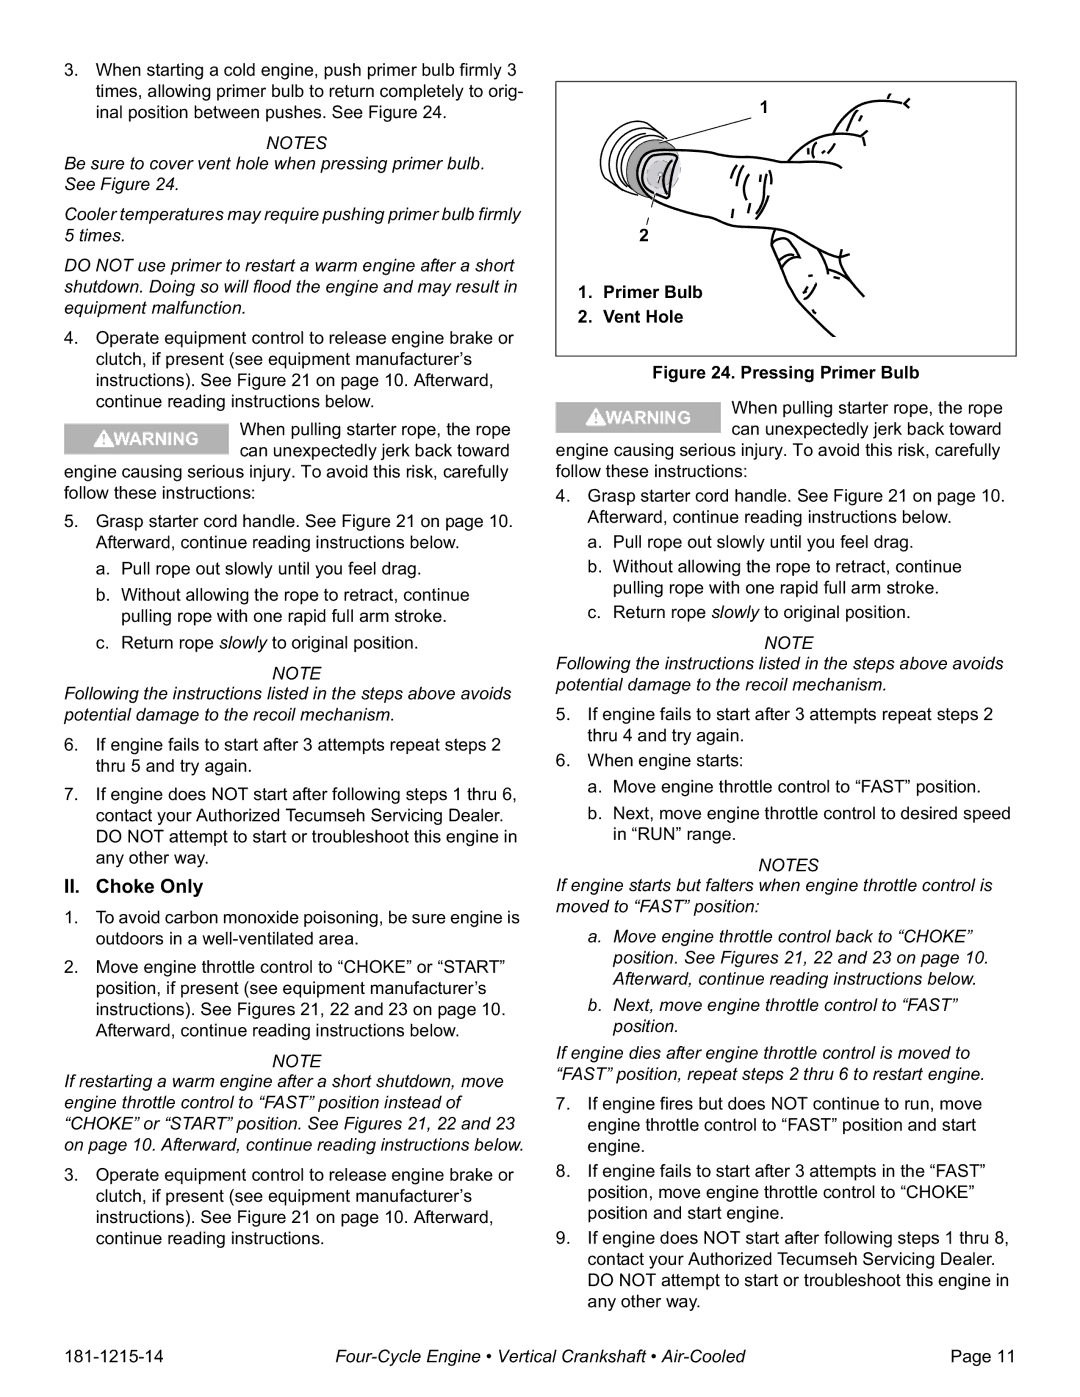
Replace a damaged or missing gas cap only with a genuine Tecumseh replacement anti-splash fuel fill cap. Failure to do so may VOID YOUR WARRANTY. See Figure 10.

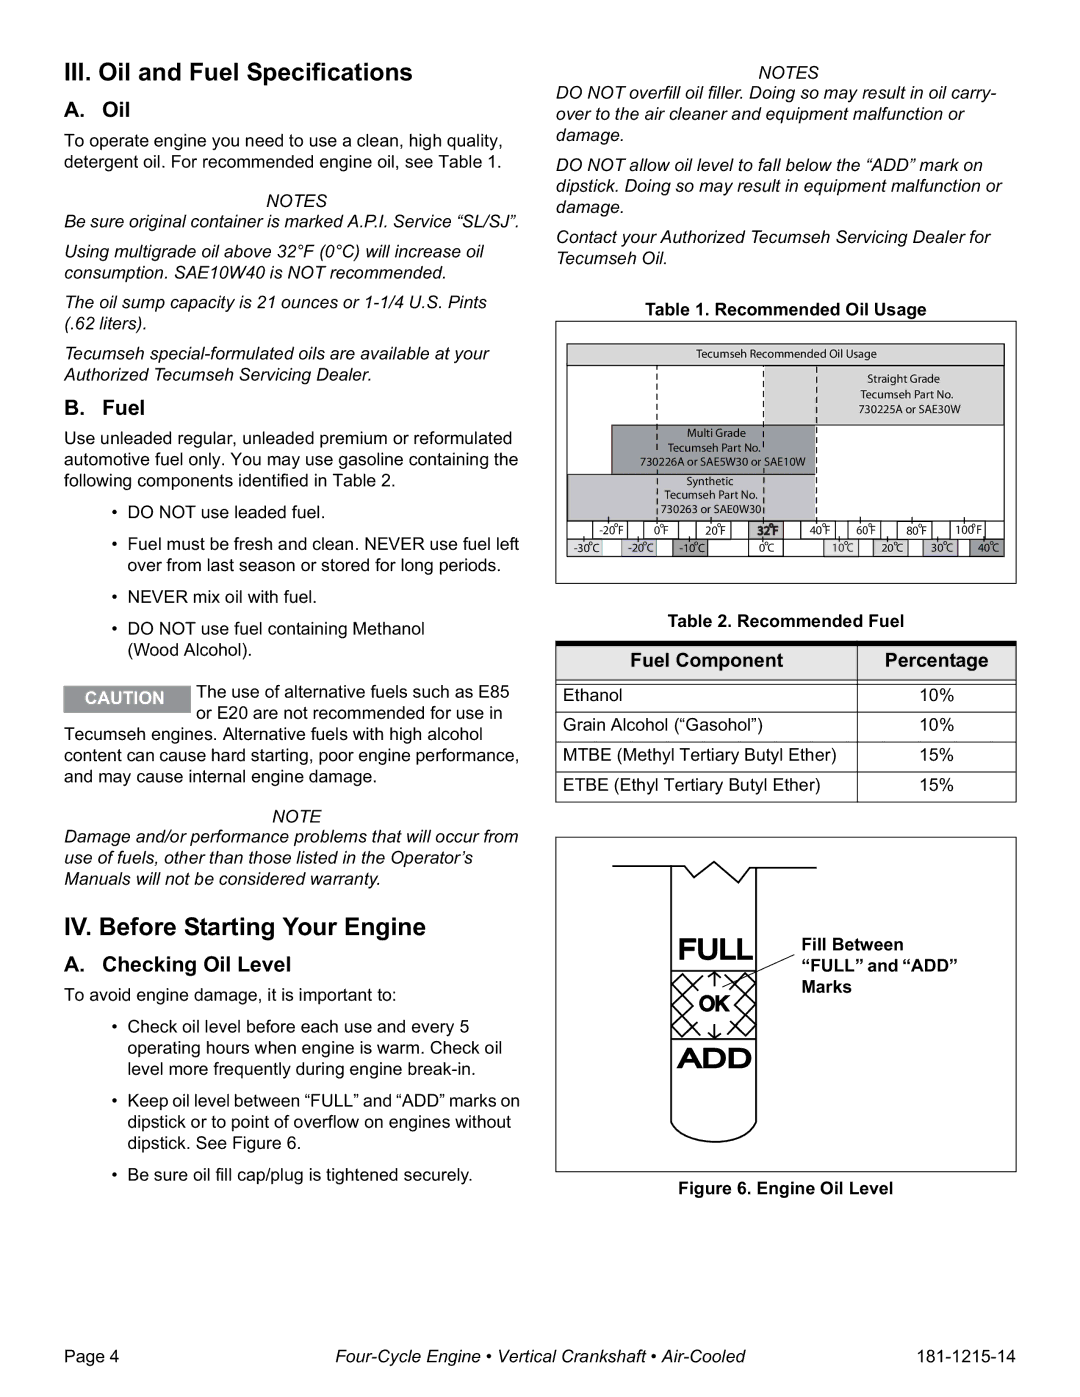
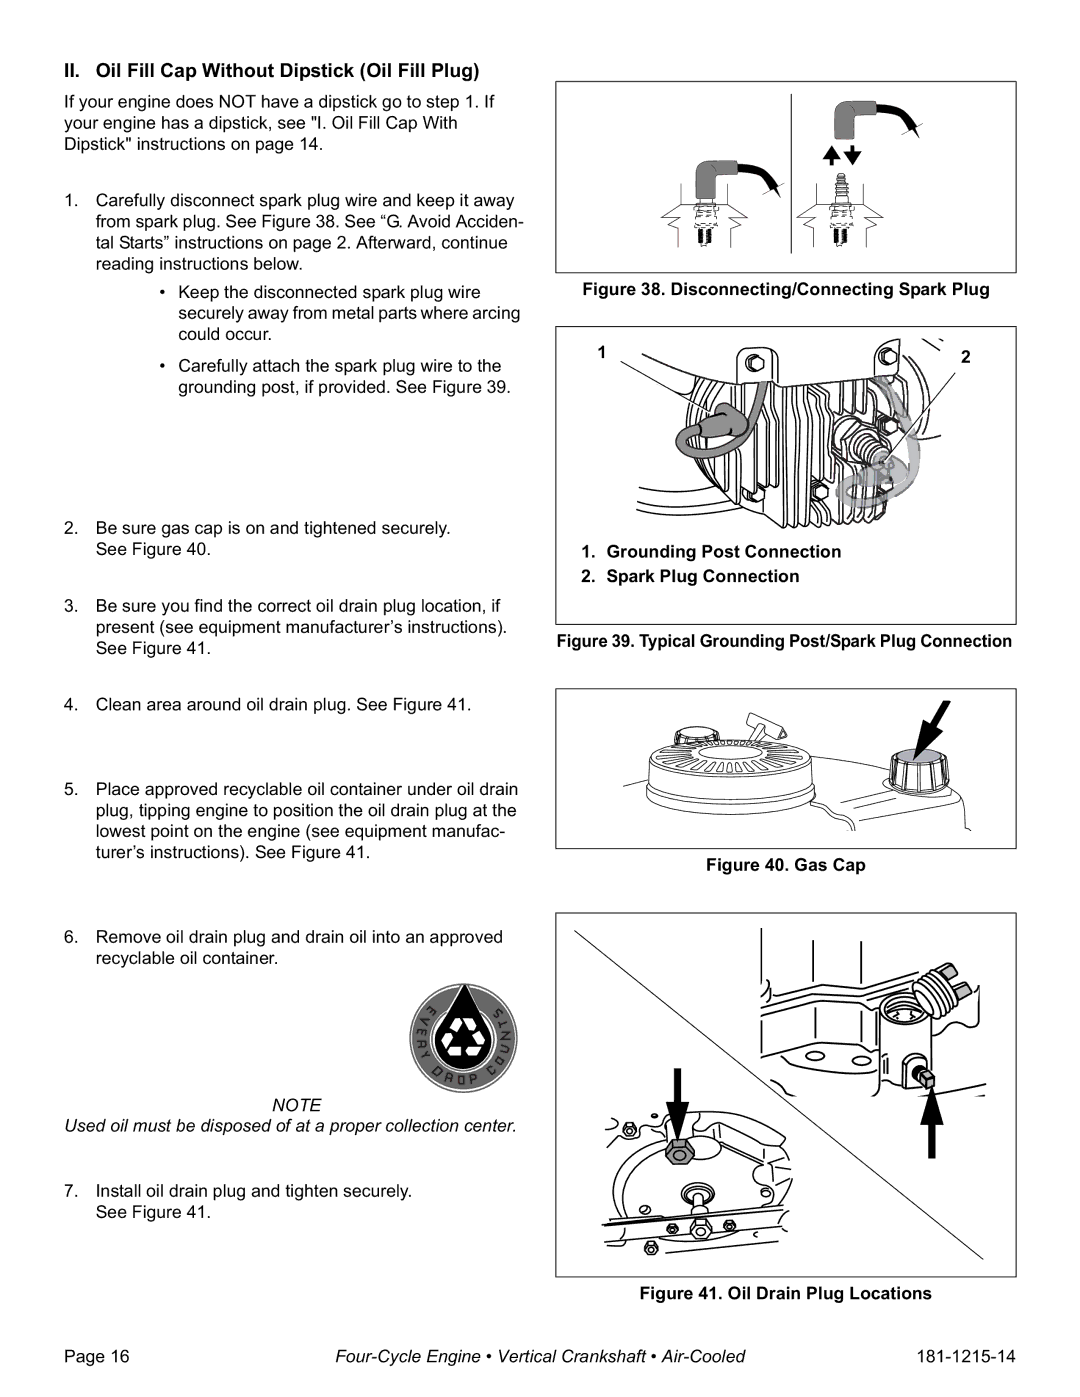
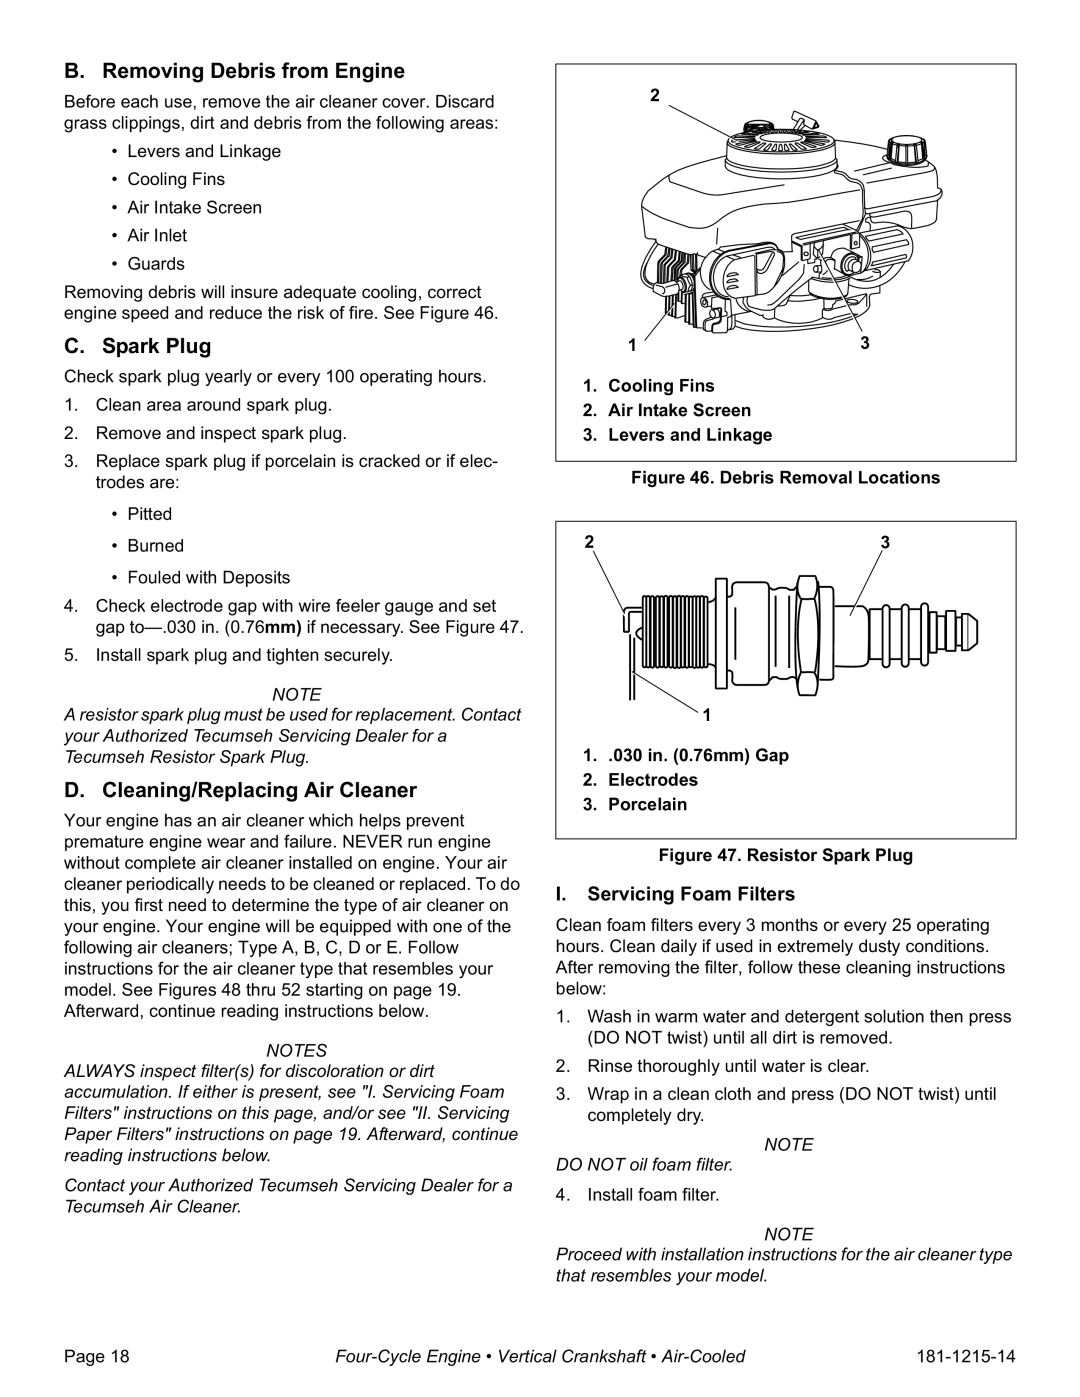
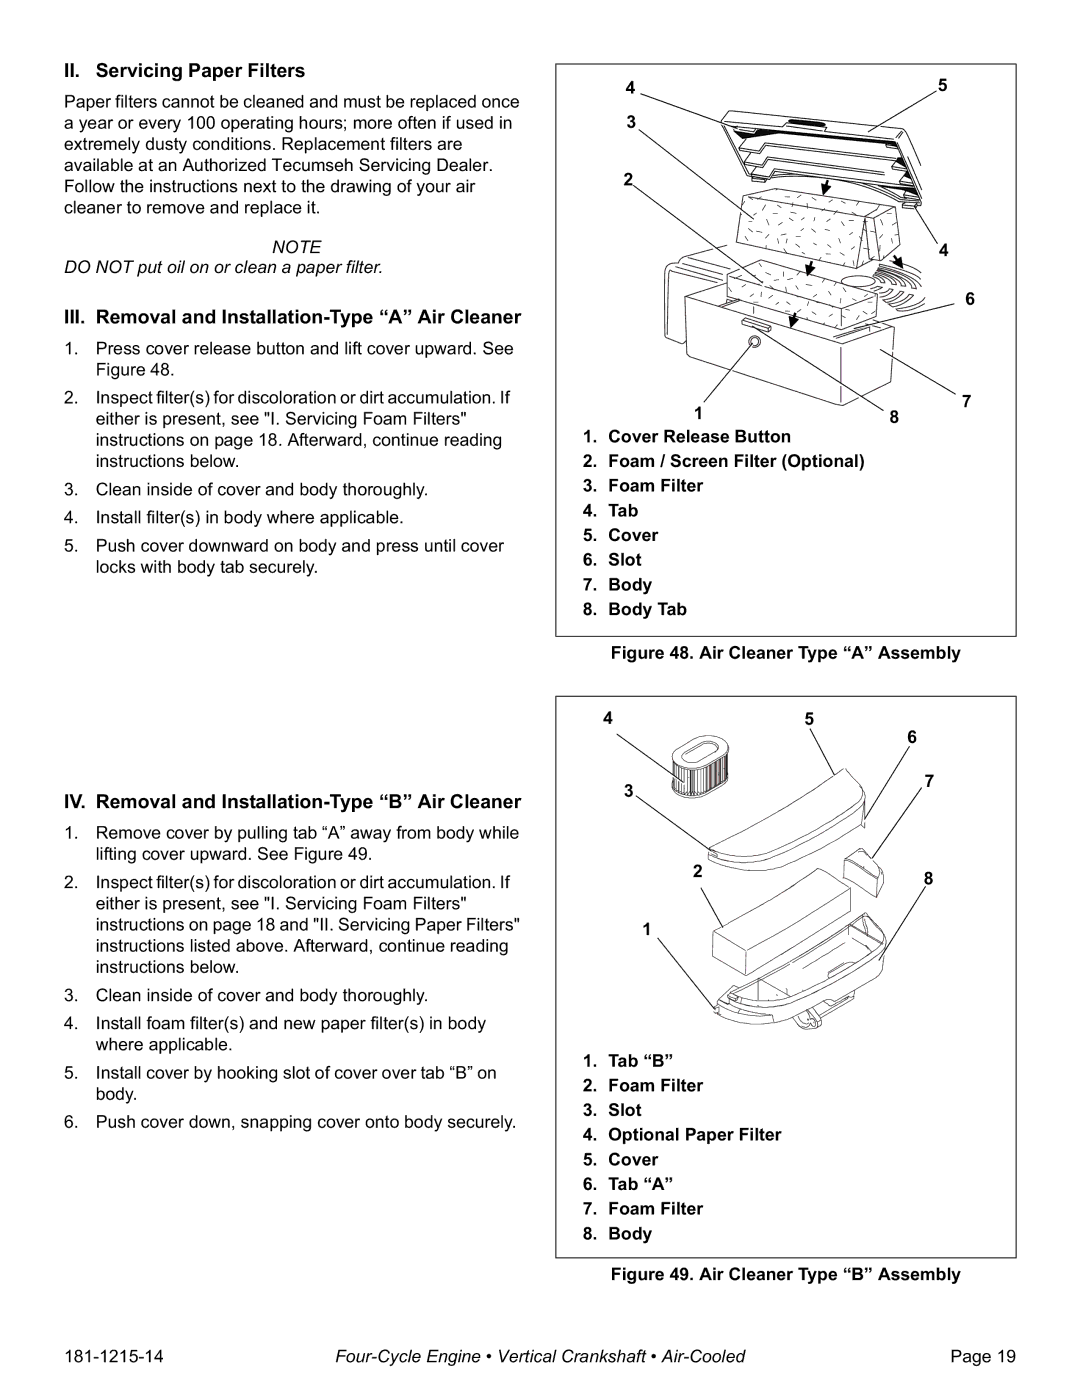
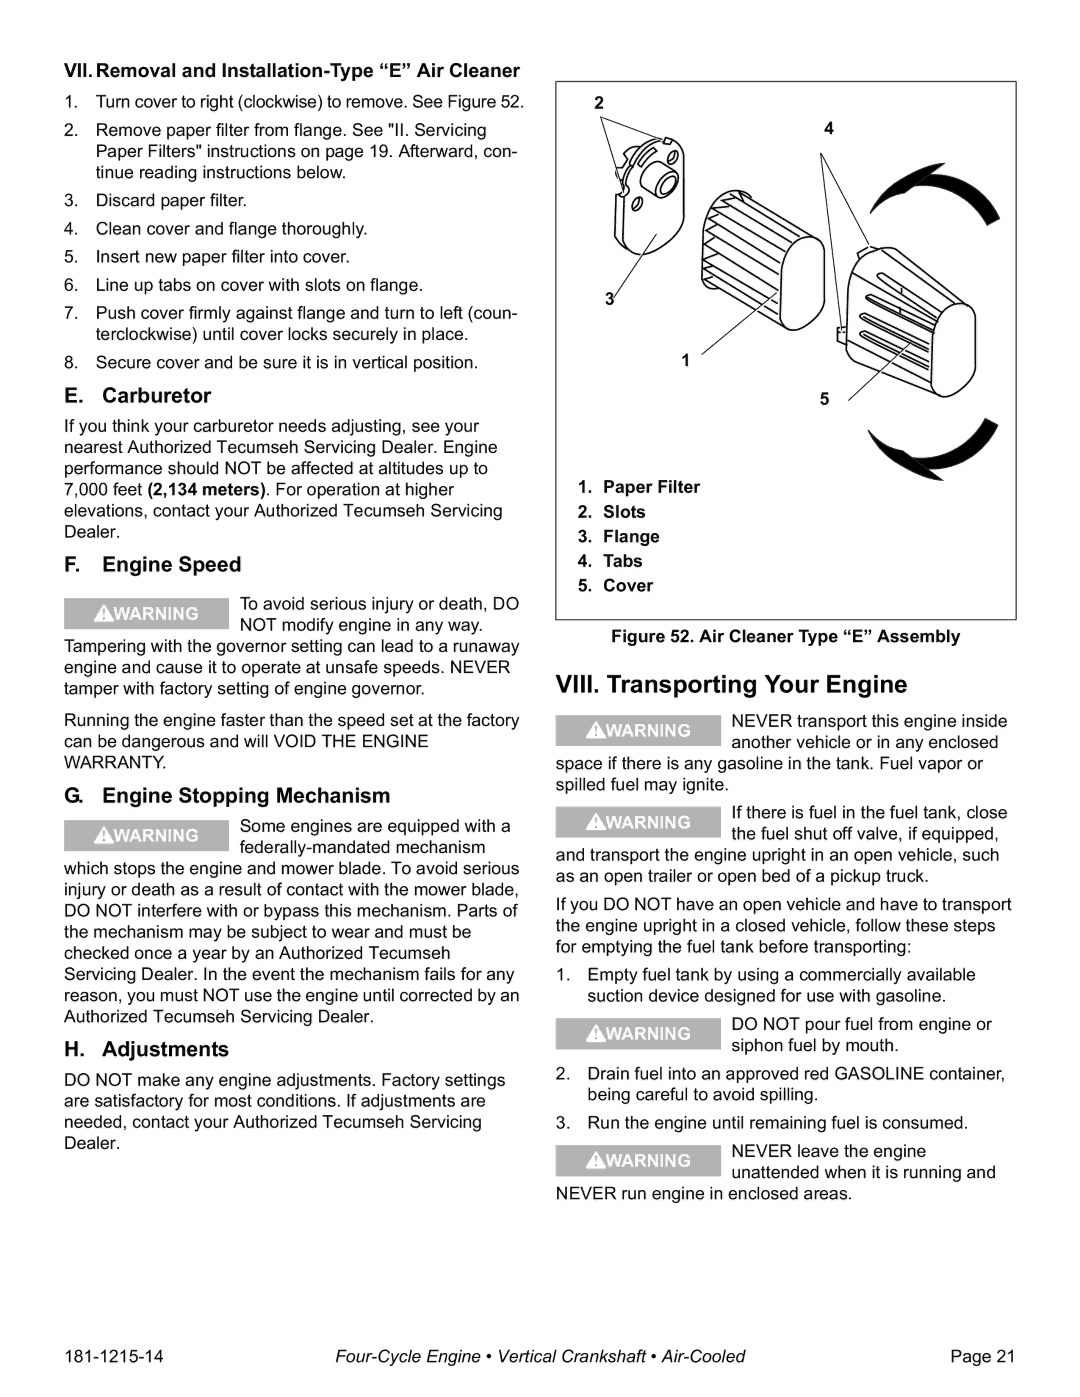
6. Be sure fuel valve (optional) is open. See Figure 11.

Front View

Bottom View

Figure 10. Possible Anti-Splash Fuel Fill Cap(s)


Fuel


Tank

Fuel Valve


“OPEN”

Turn Valve Clockwise

Position

To “OFF” Position

Shown


Figure 11. Fuel Valve Positions

Page 6

Four-Cycle Engine • Vertical Crankshaft • Air-Cooled

181-1215-14

Image 8
Contents LV148EA/LV148XA LV156EA/LV156XA LV195EA/LV195XA Safety Definitions Tecumseh Contact InformationGeneral Safety Precautions Adult Supervision of Operation, Refueling and MaintenanceAvoid Carbon Monoxide Poisoning Avoid Gasoline FiresDo not Modify Engine Avoid Burns and Fire from Hot SurfacesAvoid Accidental Starts Use Hearing ProtectionTecumseh Technician’s Handbook II. How to Get ServiceEngine Identification Decal III. Oil and Fuel Specifications IV. Before Starting Your EngineOil FuelII. Oil Fill Cap Without Dipstick Oil Fill Plug Filling Oil SumpOil Fill Cap With Dipstick Filling Fuel Tank Front View Bottom ViewPosition To OFF PositionStarting Your Engine Engine Sections with Electric StartersPrimer Bulb Only If your engine has Go toII. Choke Only Spark Plug Cap Spark Plug WireAir Cleaner Primer Carburetor Muffler III. Primer Bulb and Choke Temperatures above 40F 5CTemperatures below 40F 5C Engine Sections with Recoil Starters Engine Sections with Recoil StartersPrimer Bulb Vent Hole III. Primer Bulb and Choke VII. Maintenance VI. Stopping Your Engine and Short-Term StorageChecking and Changing Oil Grounding Post Connection Spark Plug ConnectionGas Cap Carburetor Side Up Oil Fill/Drain Tube Cap/Dipstick Typical Spark Plug Connection Gas Cap Oil Fill Plug Cleaning/Replacing Air Cleaner Removing Debris from EngineSpark Plug Servicing Foam FiltersII. Servicing Paper Filters III. Removal and Installation-Type a Air CleanerIV. Removal and Installation-Type B Air Cleaner Removal and Installation-Type C Air Cleaner VI. Removal and Installation-Type D Air CleanerRetainer Slot Flange Paper Filter Tab Cover Tab B Foam Filter Slot Cover Tab a Paper Filter BodyAdjustments VIII. Transporting Your EngineCarburetor Engine SpeedIII. Fuel System IV. Fuel TreatmentIV. Battery Extended StorageDraining Fuel II. Oil Cylinder BoreXI. Maintenance Intervals Maintenance IntervalsProcedure Preventing Forest, Brush and Grass FiresDateOwner/Dealer 181-1215-14 Every 25 Hours or 3 Months Scheduled Maintenance Change Oil Every 200 Hours or Seasonally 1. Replace Spark PlugFour-Cycle Engine Vertical Crankshaft Air-Cooled California & US EPA Emission Control Warranty Statement Emission Control System Warranty XII. Warranty Information Consumer USE Commercial USE