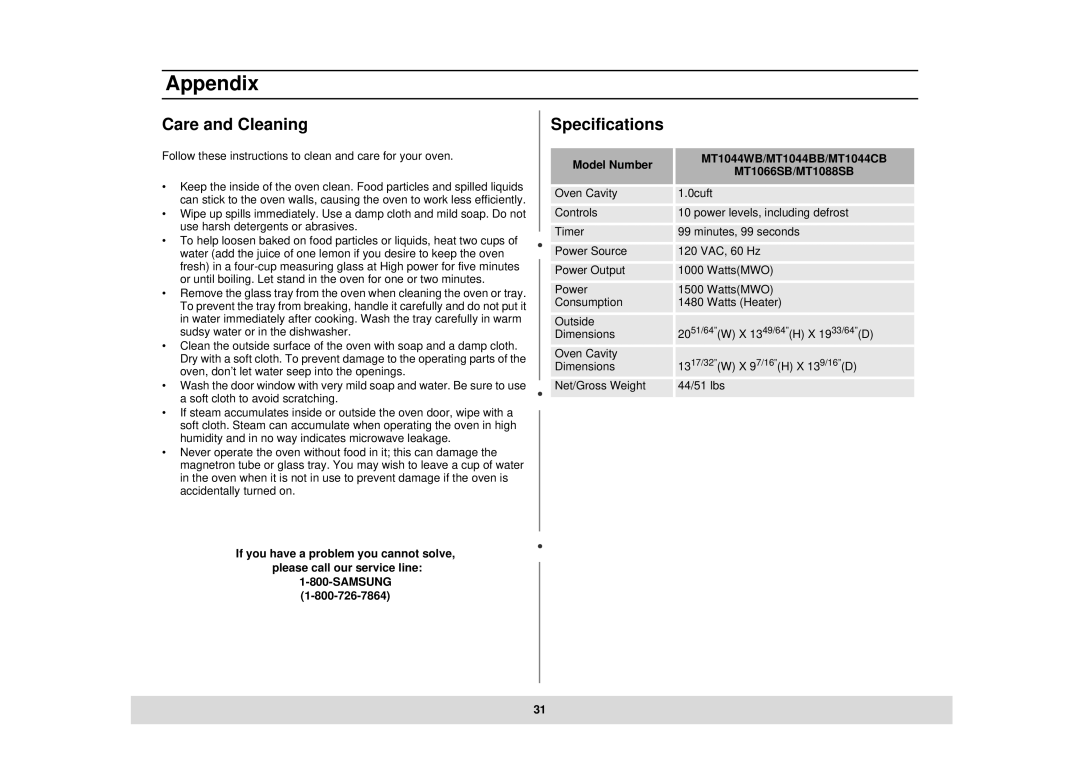
DE68-02434A, MT1044BB, MT1044CB specifications
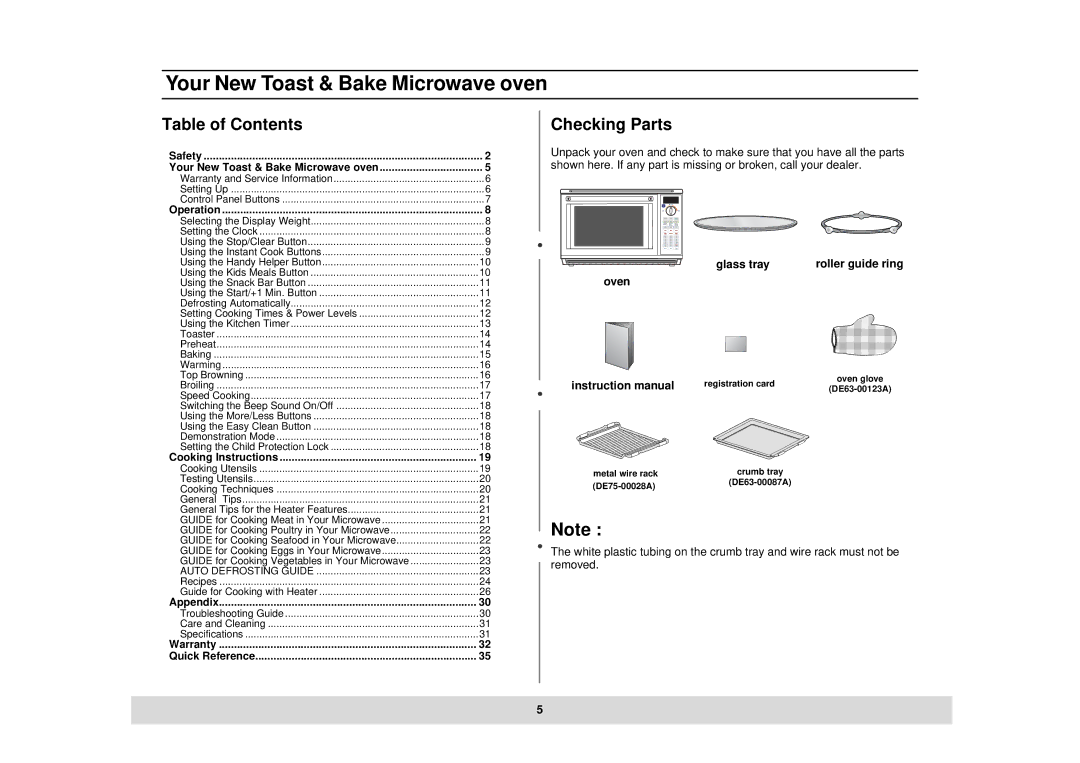
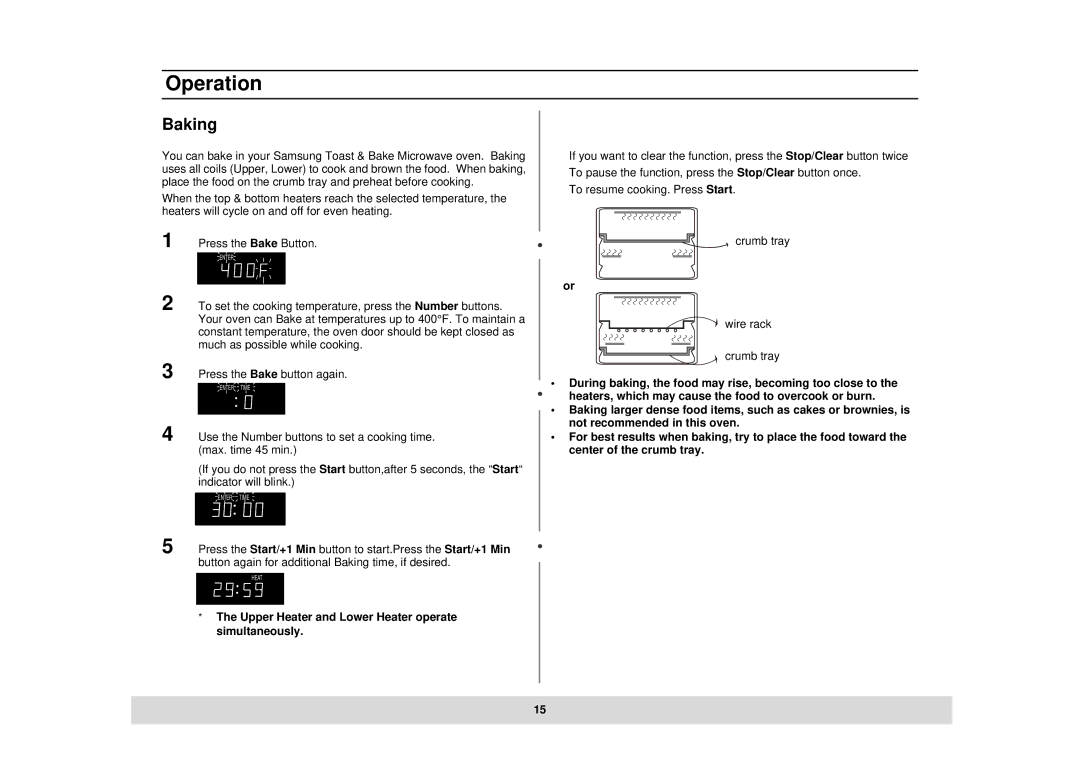
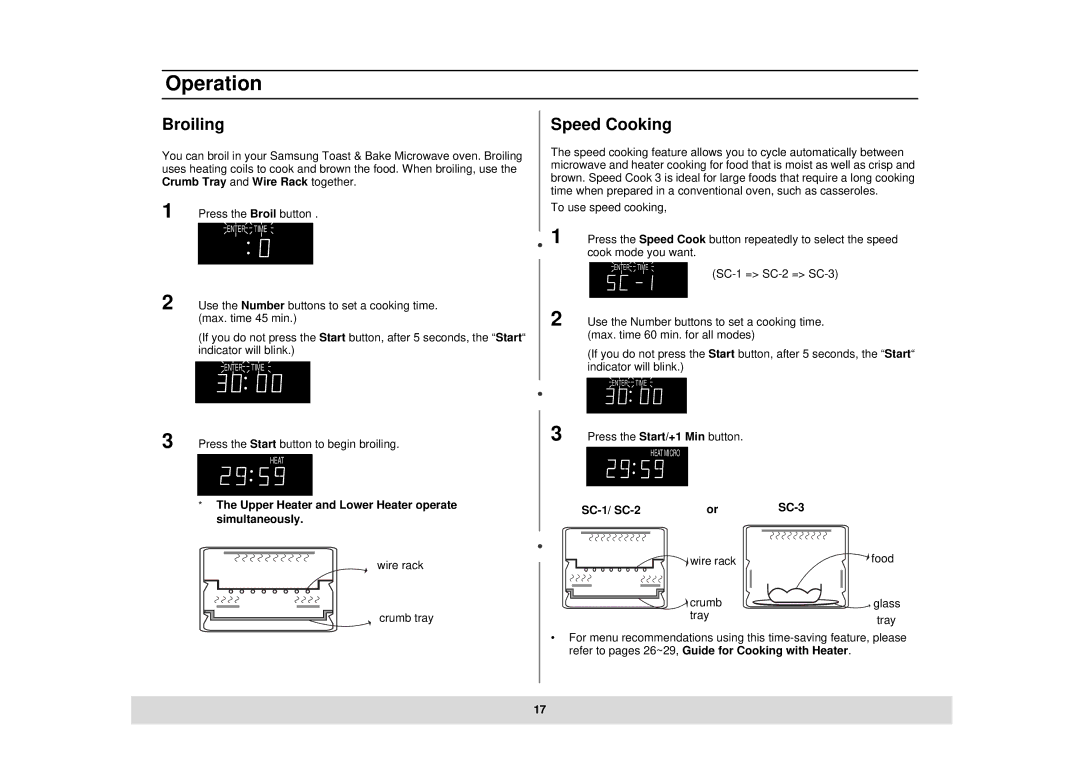
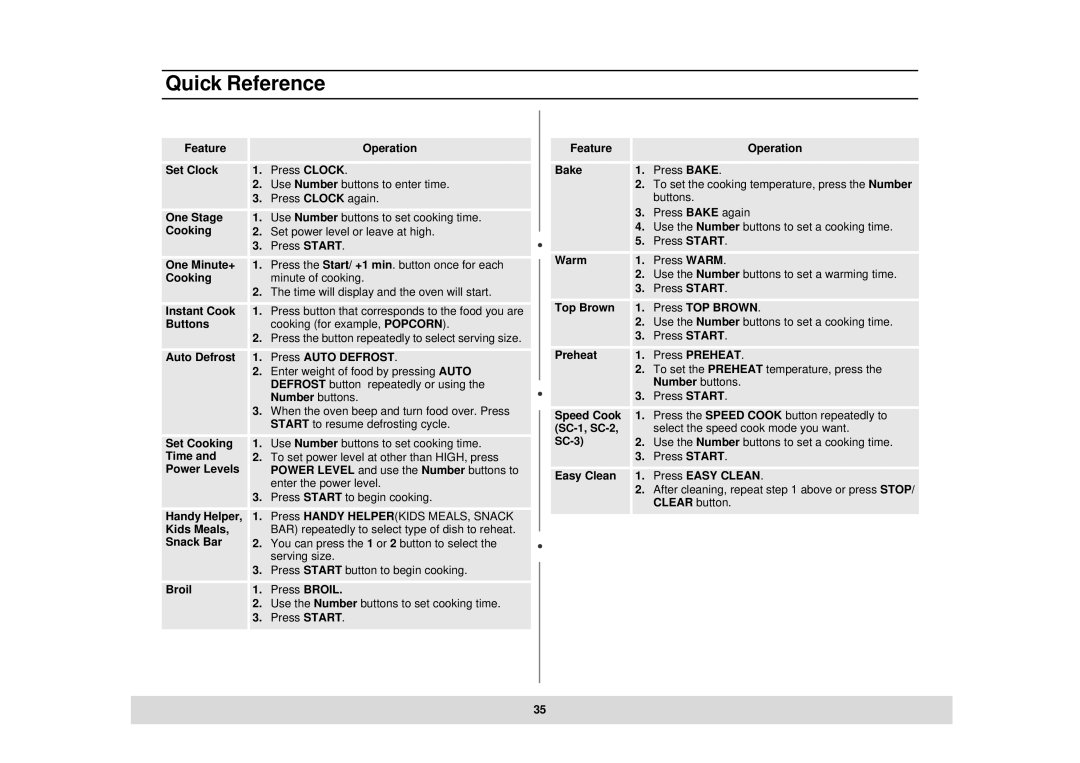
The Samsung MT1044CB and MT1044BB, along with the DE68-02434A, represent an innovative leap in technology, showcasing Samsung's commitment to producing high-performance and versatile home appliances. These models are designed to cater to a variety of needs while incorporating cutting-edge features that enhance functionality and user experience.The MT1044CB and MT1044BB are particularly notable for their advanced cooking capabilities. Equipped with a powerful inverter technology, they ensure even heating and the perfect cooking temperature, eliminating cold spots and delivering consistently delicious results. This technology allows for precise temperature control, providing users the ability to achieve restaurant-quality dishes with ease. Additionally, both models boast multiple cooking modes, including microwave, grill, and convection options, making them exceptionally versatile for a wide range of cooking tasks.
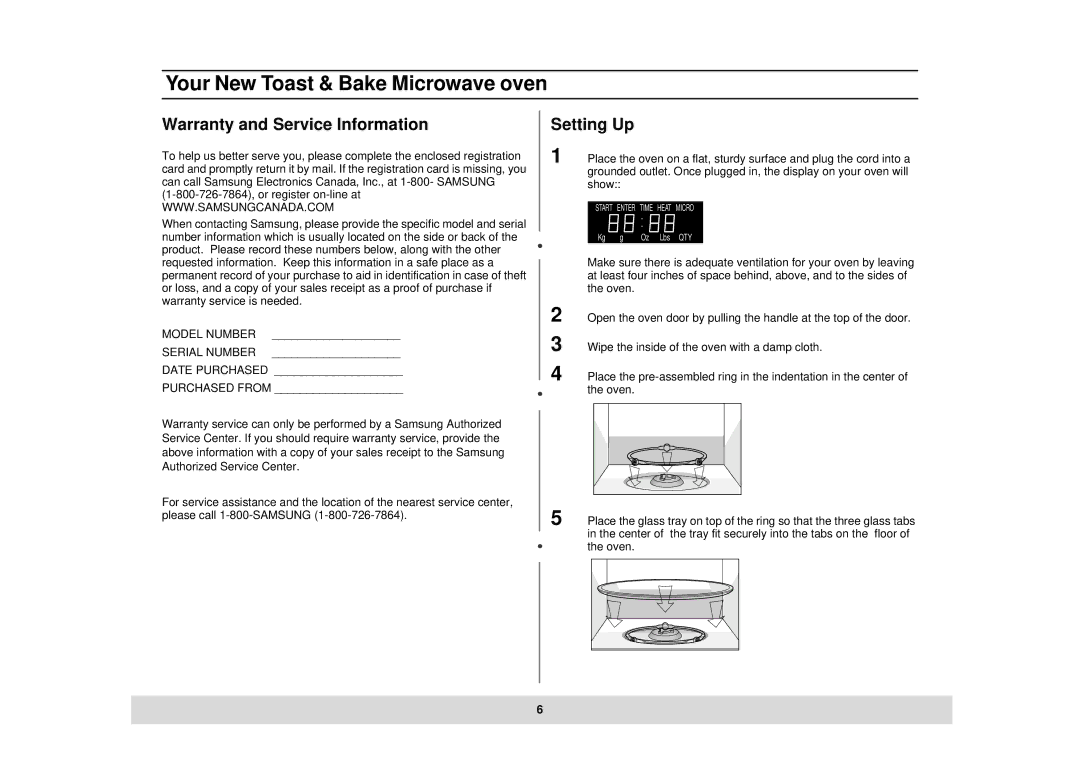
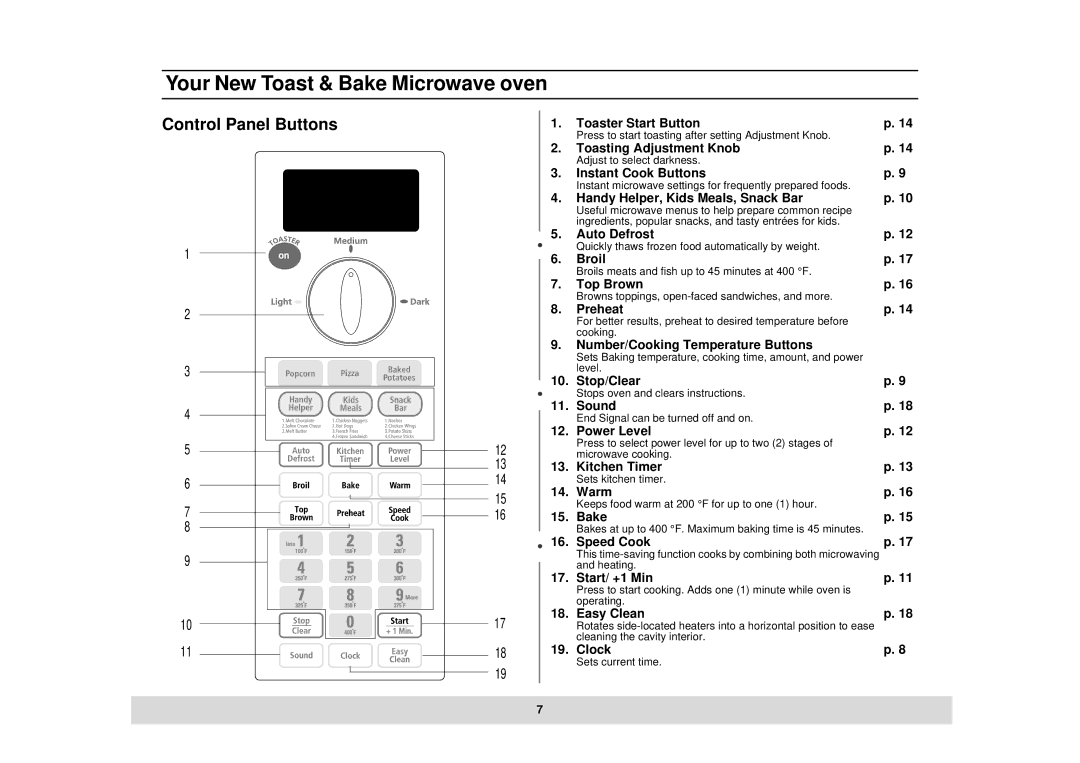
One of the standout features of the MT1044 series is the sleek, modern design, which seamlessly fits into any kitchen aesthetic. The easy-to-read digital display makes navigation intuitive, while the user-friendly control panel allows for straightforward operation of the microwave functions. The interior is designed for easy cleaning, minimizing maintenance time and effort.
The DE68-02434A is a feature-rich model that complements the MT1044 series perfectly. It provides an exceptional range of advanced cooking functions, including sensor cooking technology, which automatically adjusts cooking time and power levels based on the food’s moisture and temperature. This not only optimizes results but also simplifies the cooking process, taking the guesswork out of meal preparation.
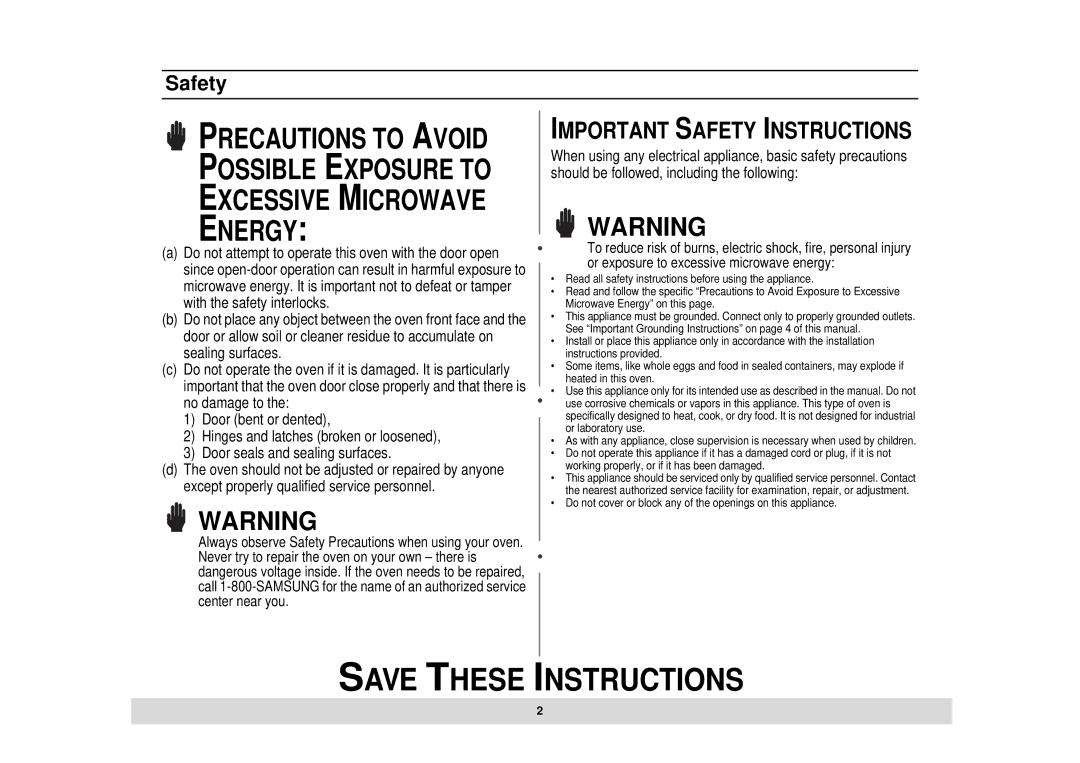
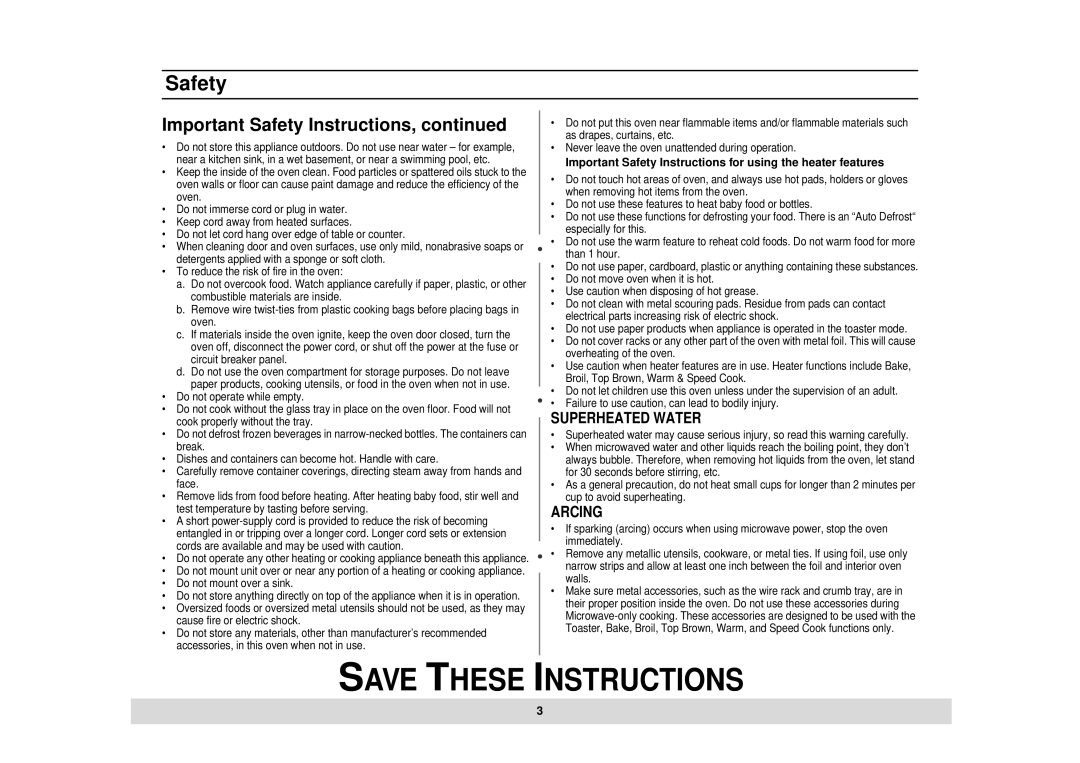
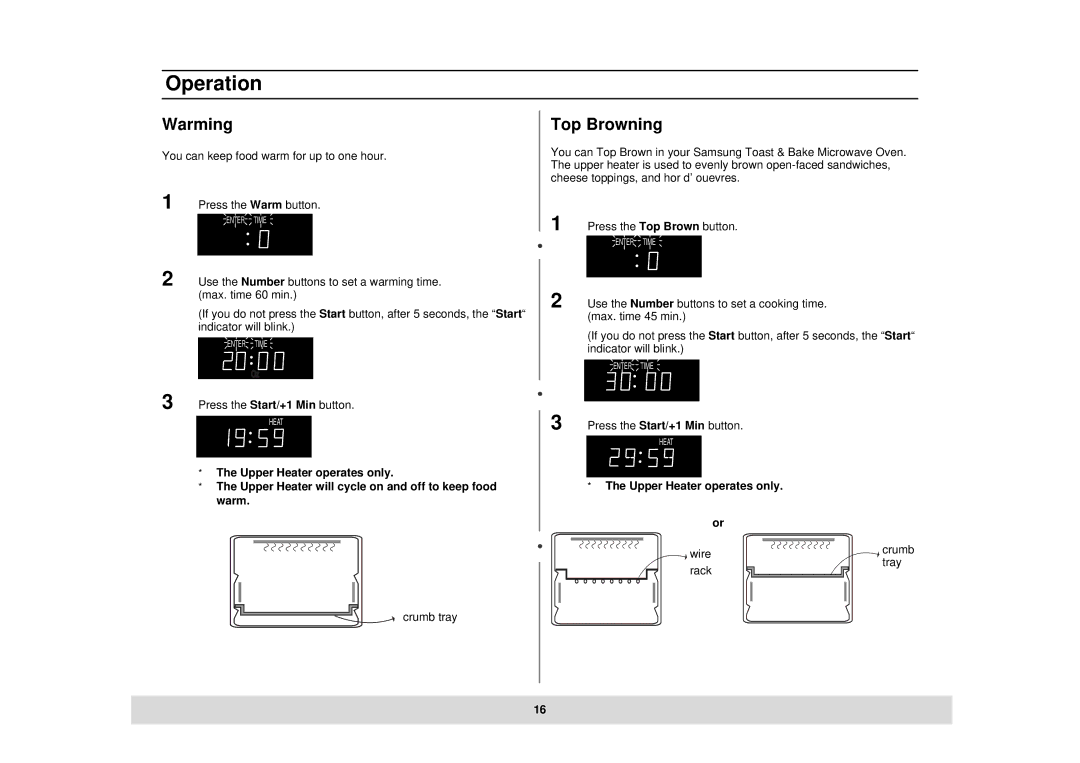
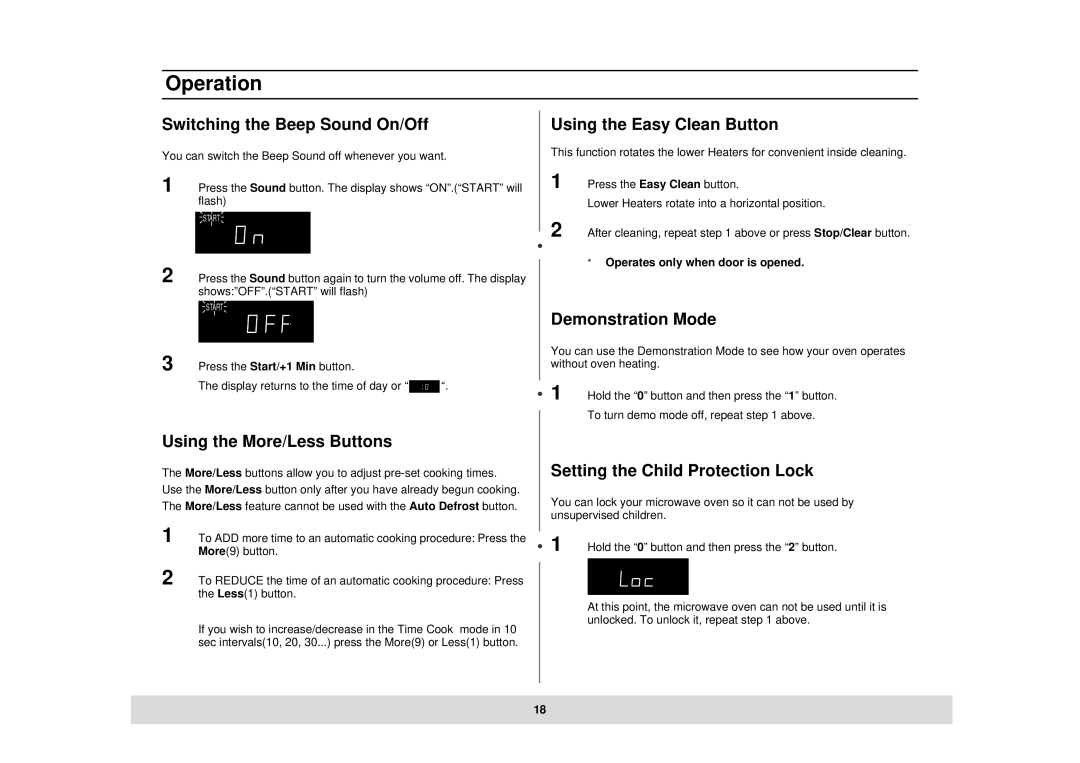
Safety is another critical characteristic of these models, as they include features such as child locks and overheat protection to ensure peace of mind for families. Energy efficiency is also a priority, with the microwaves designed to minimize energy consumption without compromising performance.
In summary, the Samsung MT1044CB, MT1044BB, and DE68-02434A embody a harmonious blend of innovation, style, and practicality. With their advanced cooking technologies, user-friendly features, and stylish design, these appliances are perfect for modern kitchens, appealing to both novice cooks and seasoned chefs alike. Whether you're reheating leftover food or preparing a gourmet meal, these microwaves provide the reliability and performance that Samsung is known for, making them a valuable addition to any household.
