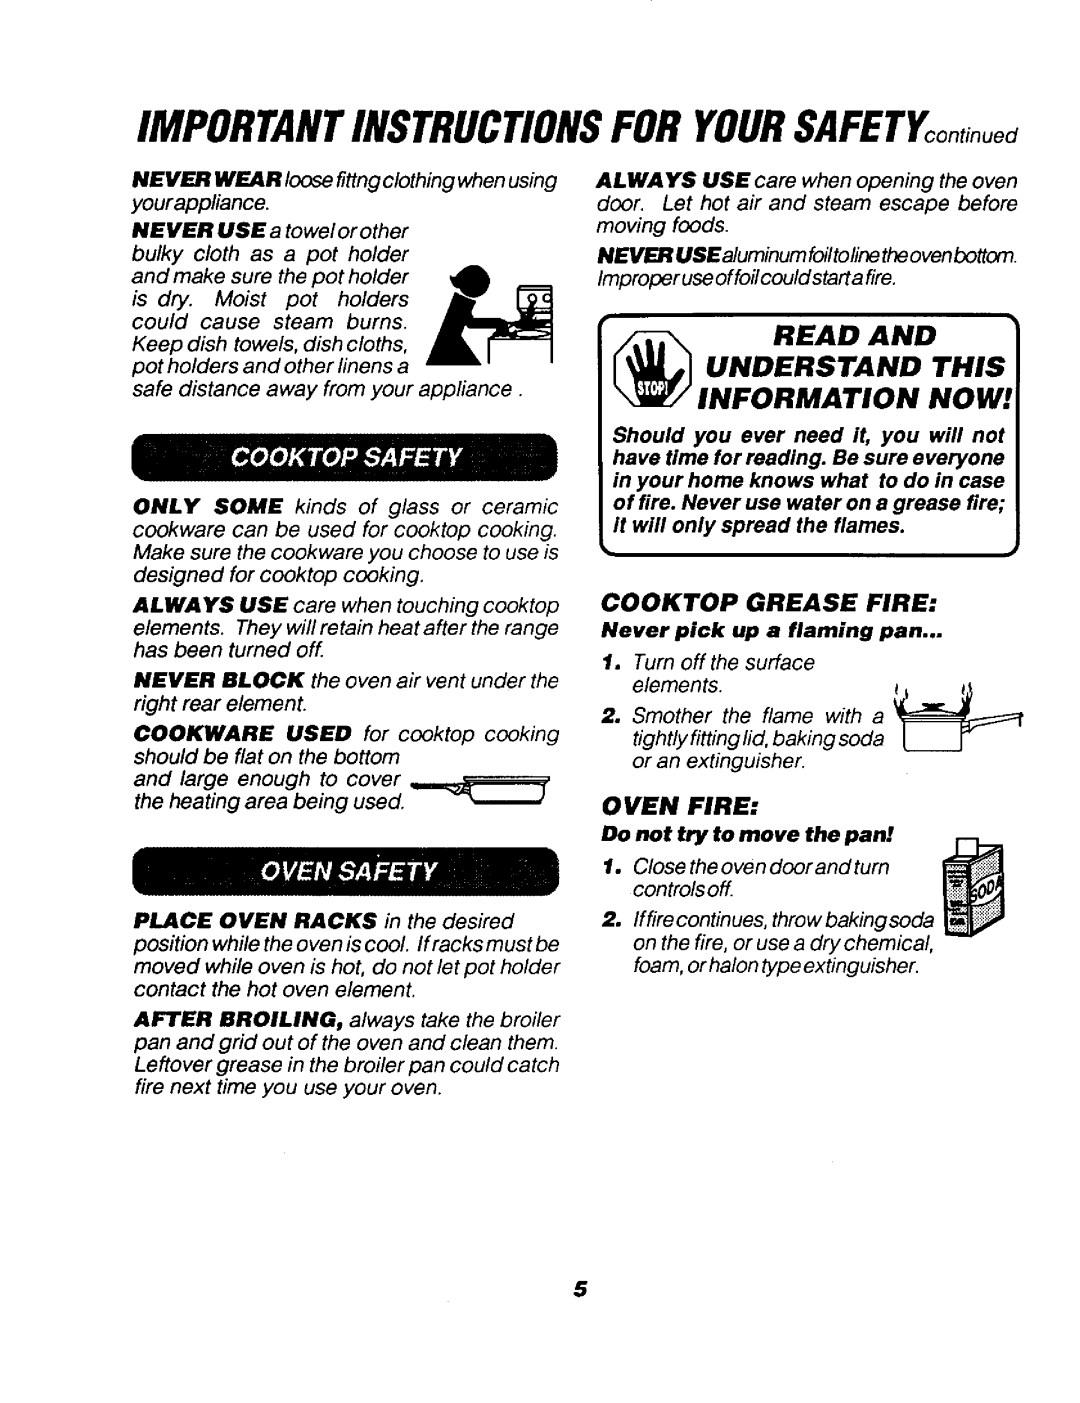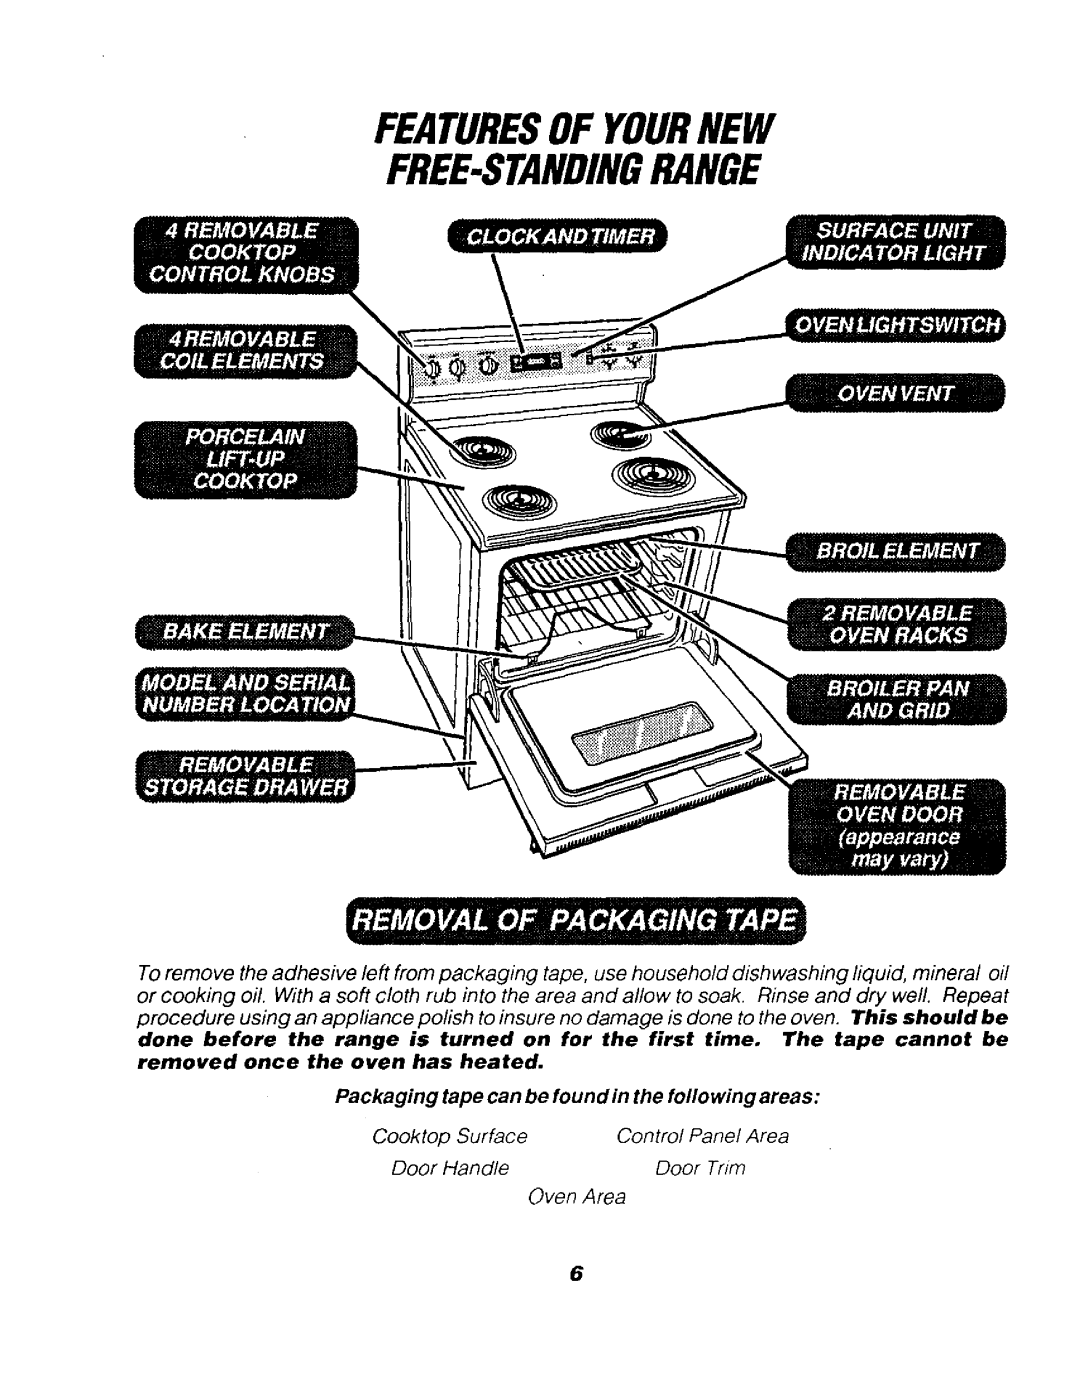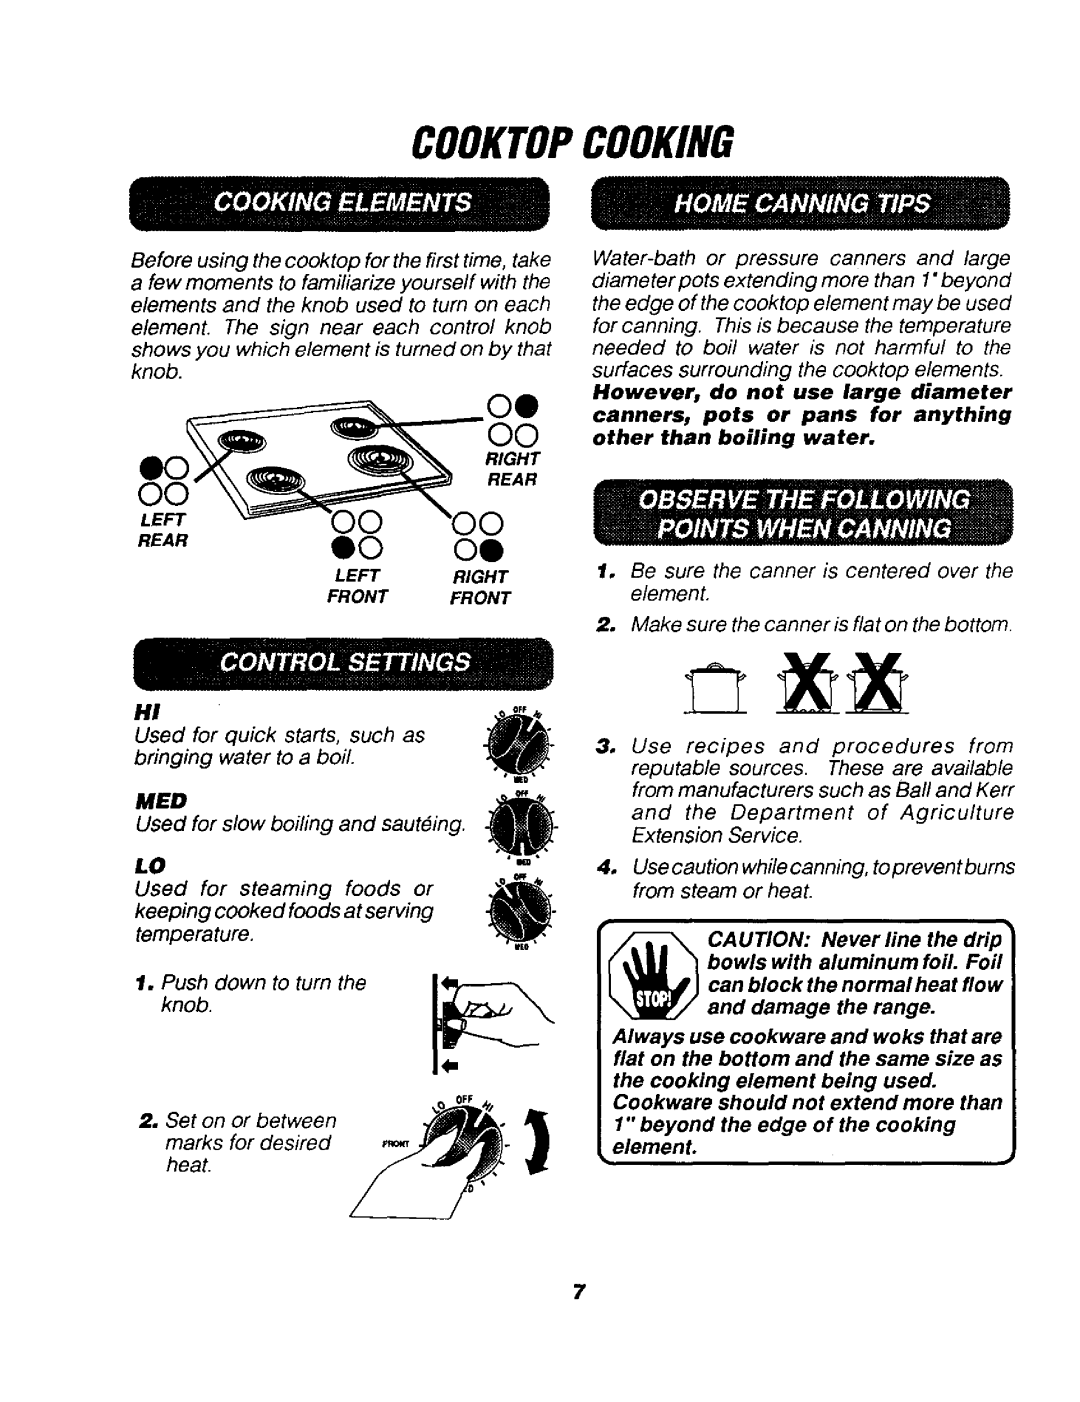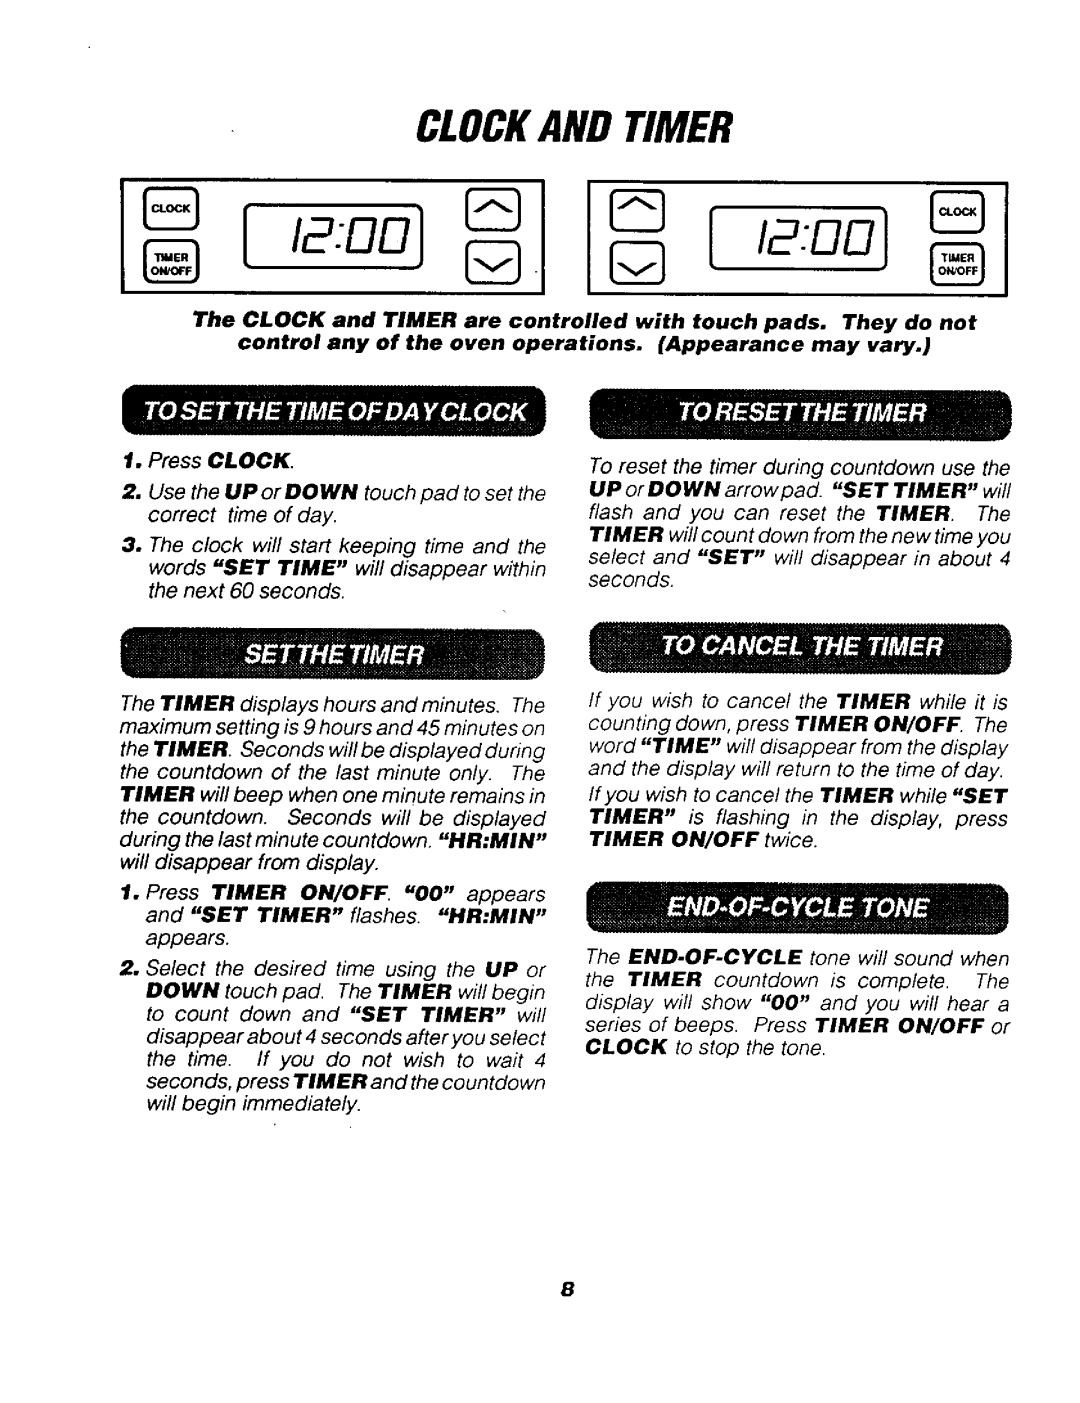
"DO IT YOURSELF"TEMPERATUREADJUSTMENT
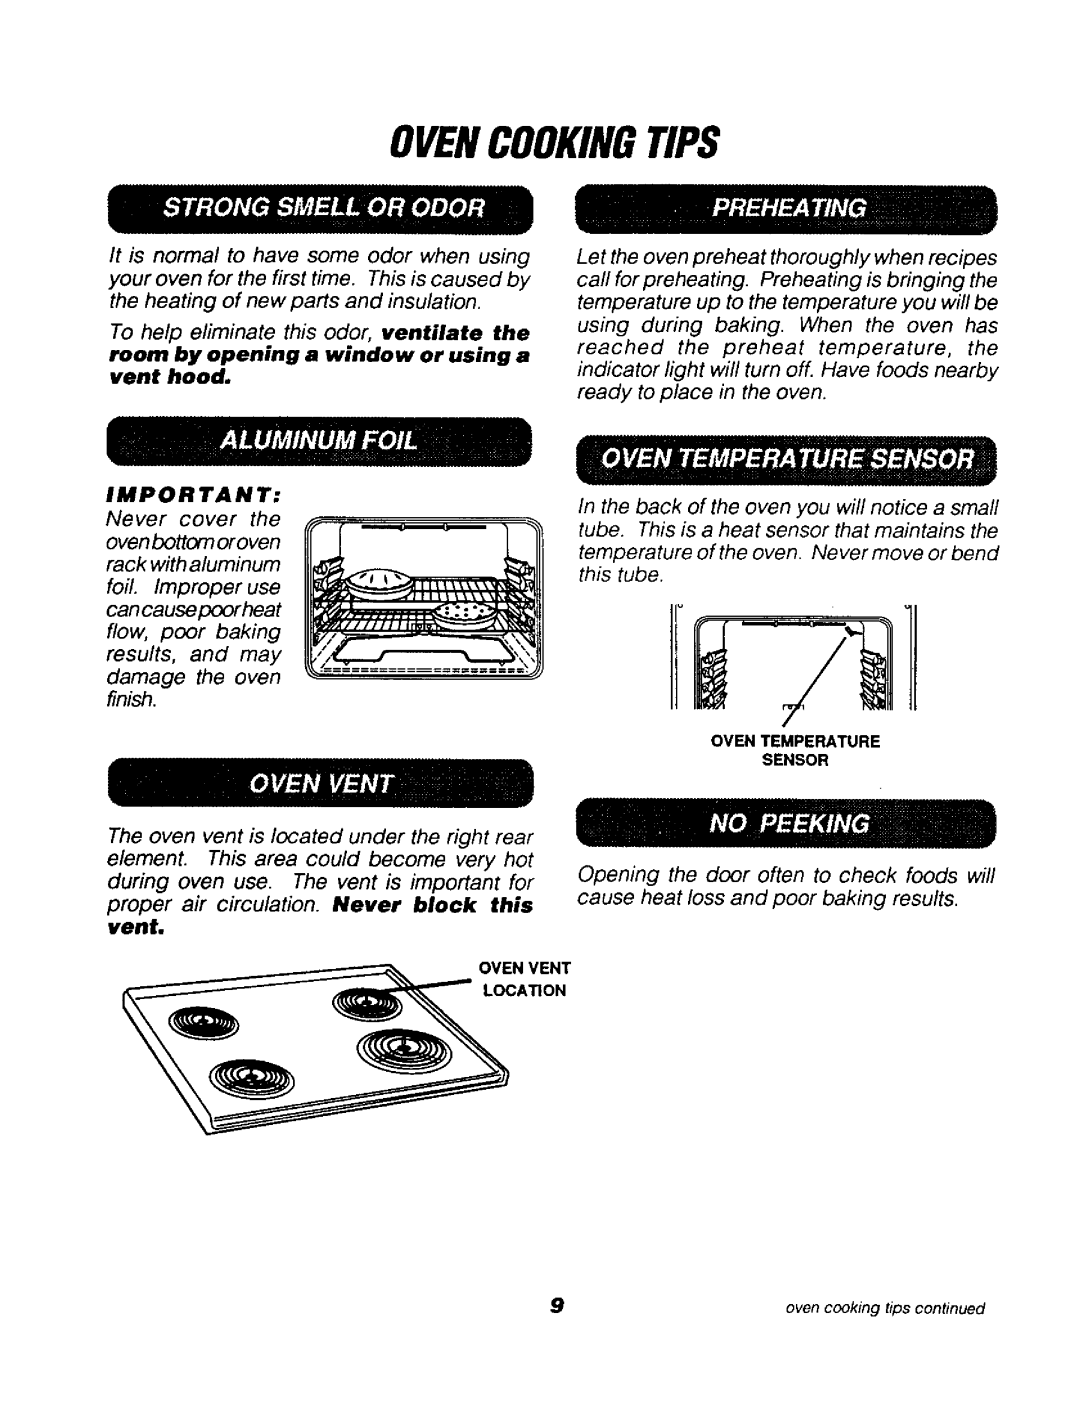
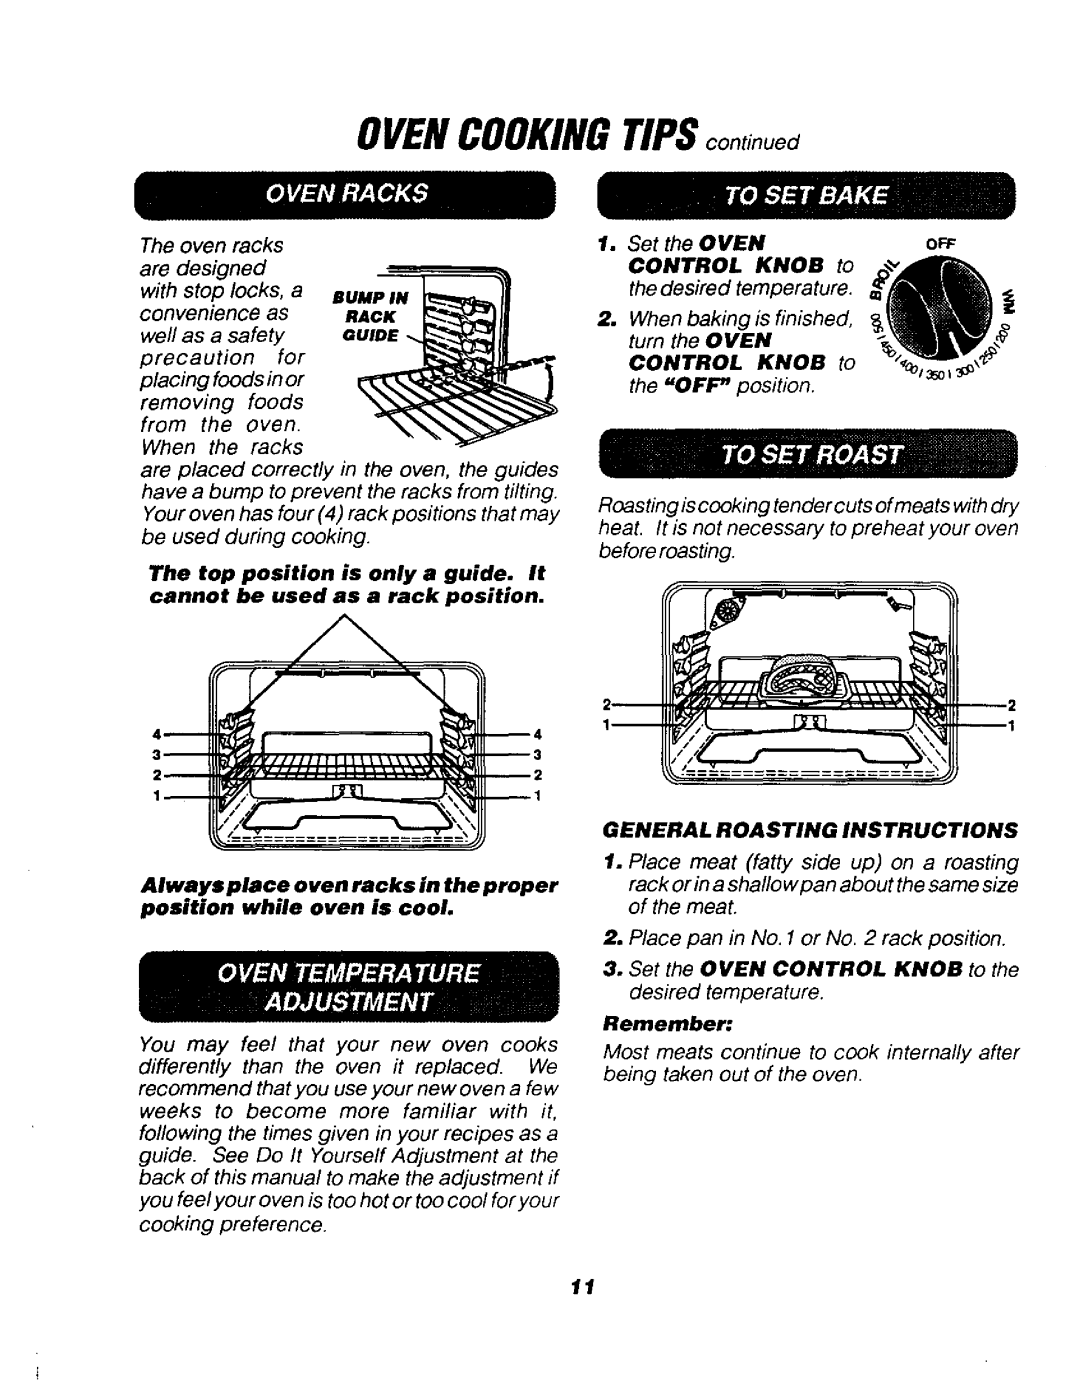
You may feel that your new oven cooks
differently than the oven it replaced. We
recommend that you use your new oven a few
weeks to become more familiar with it, following the times given in your recipes as a guide.
ffyou think your new oven is too hot (burning
foods) or not hot enough (foods are undercooked) you can adjust the temperature yourself. Theappearanceandtextureoffoods
is a better indicator of oven accuracy than an inexpensive thermometer, such as those found in grocery stores, to check the temperature
settingofyournewoven. Thesethermometers
can vary by
thermometers. Opening the door will chat?ge the temperature of the oven.
To decide how much to change the
temperature, set the oven temperature 25 degrees higher (if foods are undercooked) or 25 degrees lower (if foods are burning) than the temperature in your recipe, then bake. The results of this "test" should give you an idea of how much the temperature should be changed.
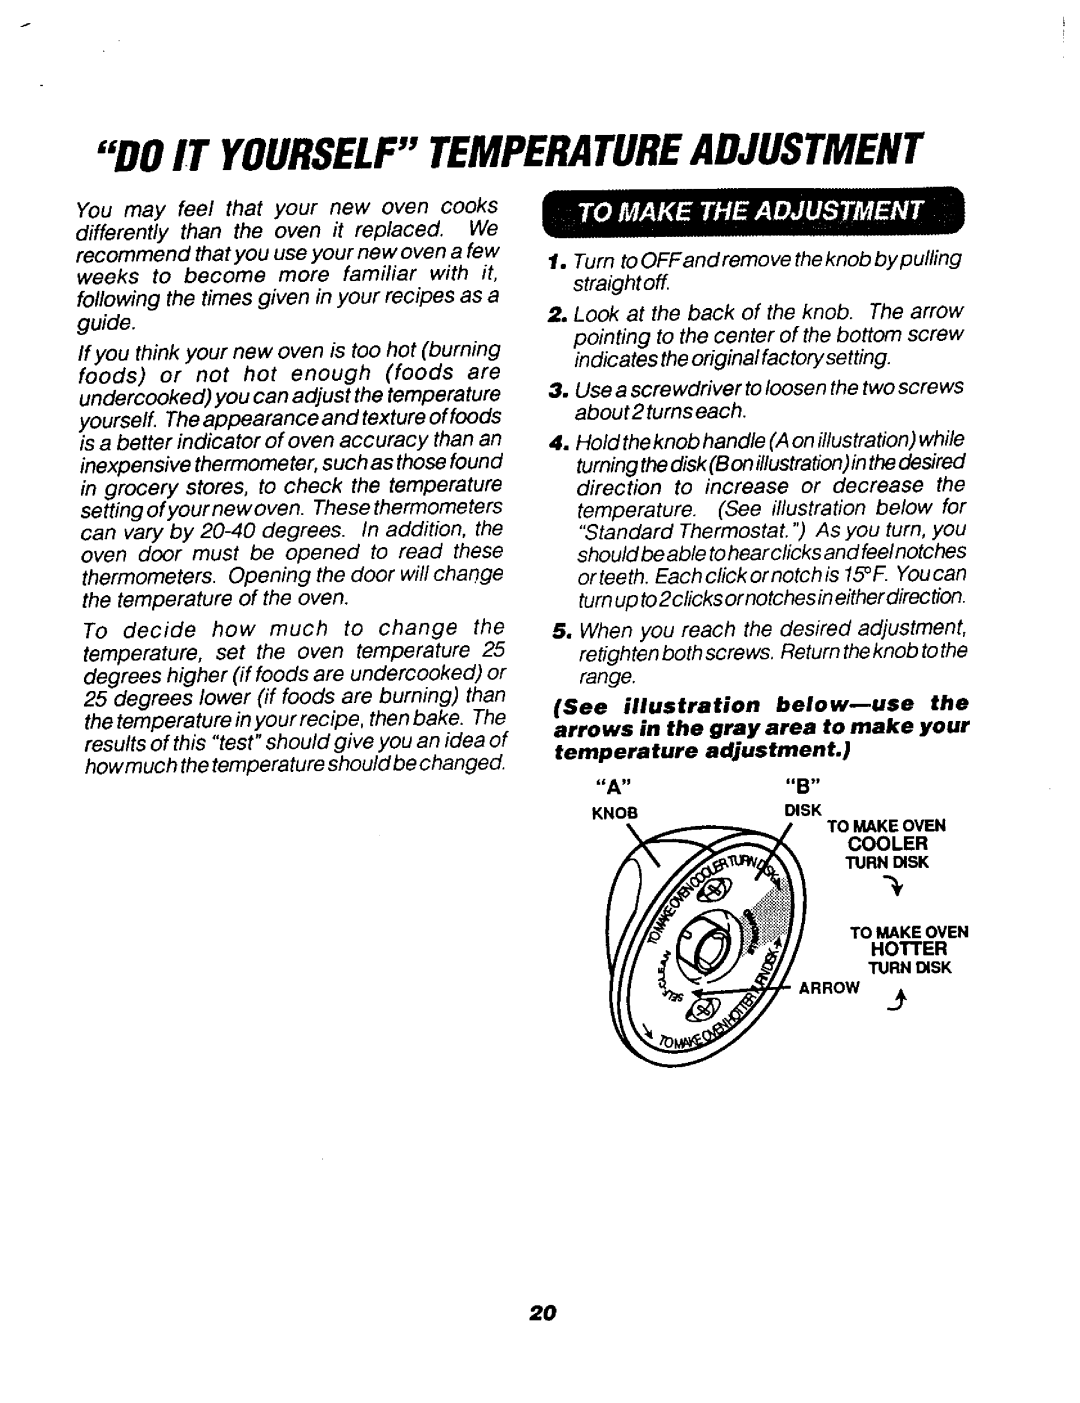
1Turn to OFFand remove the knob by pulling straight off
2.Look at the back of the knob. The arrow pointing to the center of the bottom screw indicates the original factory setting.
3.Use a scre wdriver to loosen the two screws about2 turns each.
4.Hold the knob handle (A on illustration) while
turning the disk (B on illustration) in the desired
direction to increase or decrease the
temperature. (See illustration below for "Standard Thermostat. ") As you turn, you should be able to hear clicks and feel notches or tee th. Each click or notch is 15_F. You can tum up to 2 clicks or notches in either direction.
5.When you reach the desired adjustment, retighten both screws. Return the knob to the range.
(See illustration
temperature adjustment.)
"A ....B"
KNOBDISK
TO MAKE OVEN
COOLER
TURN DISK
TO MAKE OVEN
HOTTER
TURN DISK
ARROW .._
20
