Using the oven for broiling.
Broiling may be slightly different from any previous broiling you may be acquainted with, so be sure to read this section completely.
Safety Instructions
VERY IMPORTANT NOTE:
To reset the oven for Baking you must turn the OVEN TEMP knob to OFF. This gets it out of the BROIL mode.
How to Set Your Oven for Broiling
Broiling is cooking food by intense radiant heat from the upper element in the oven. Most fish and tender cuts of meat can be broiled. Follow these steps to keep spattering and smoking to a minimum.
If the meat has fat or gristle around the edge, cut vertical slashes through both about 2″ apart. If desired, fat may be trimmed, leaving layer about 1/8″ thick.
Place the meat on the broiler grid in the broiler pan which comes with your range. Always use the grid so the fat drips into the broiler pan; otherwise the juices may become hot enough to catch fire.
Place the shelf in position C for most broiling.
Close the door. Always broil with the door closed.
Turn the OVEN TEMP knob clockwise to BROIL. You will feel a slight niche at the broil position. You may then turn the knob counterclockwise to broil at a lower temperature.
Turn food only once during cooking.
Turn the OVEN TEMP knob to OFF. Serve food immediately, and leave the pan outside the oven to cool during the meal for easiest cleaning.
Operating Instructions Care and Cleaning
Use of Aluminum Foil
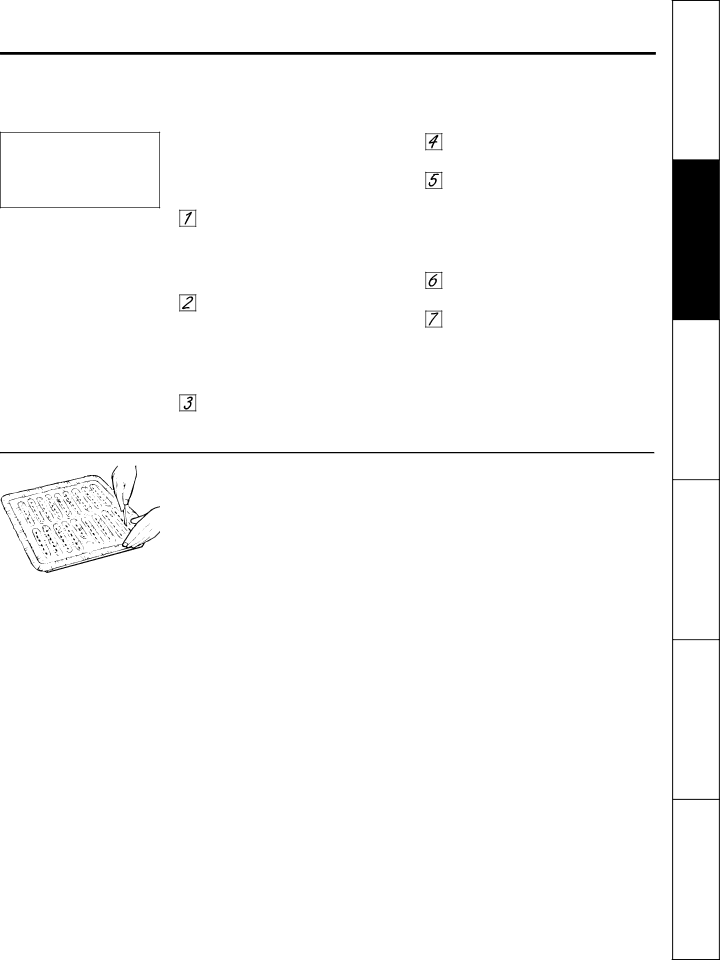
■You can use aluminum foil to line your broiler pan and broiler grid. However, you must mold the foil tightly to the grid and cut slits in it just like the grid.
■Without the slits, the foil will prevent fat and meat juices from draining to the broiler pan. The juices could become hot enough to catch on fire. If you do not cut the slits, you are frying, not broiling.
■DO NOT place a sheet of aluminum foil on the shelf. To do so may result in improperly cooked foods, damage to oven finish and increase in heat on outside surfaces of the oven.
■If desired, a sheet of aluminum foil may be used on floor of the oven under the bake element. Be certain foil does not touch bake element. Aluminum foil used in this way may slightly affect the browning of some foods. Change foil when it becomes soiled.
Installation Instructions Troubleshooting Tips Customer Service
9