ESX20 specifications
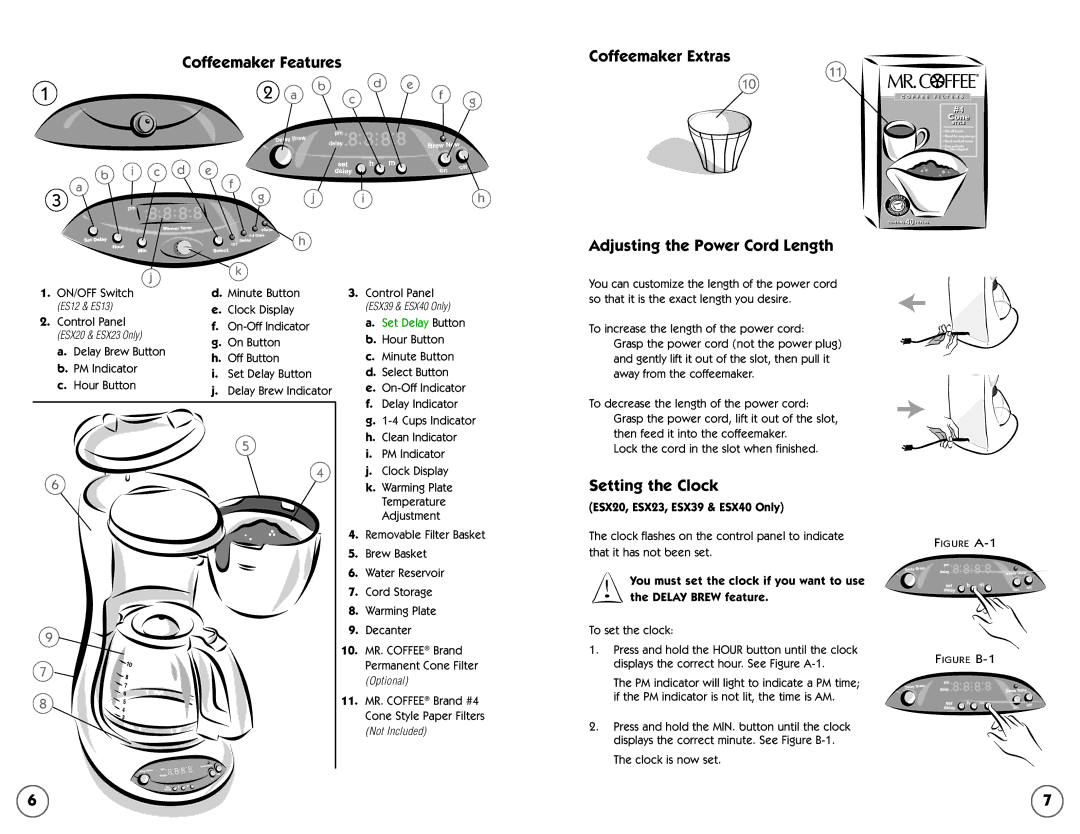
The Mr. Coffee ESX20 is a notable addition to the realm of home espresso machines, blending convenience with advanced technology to deliver an exceptional coffee experience. This machine is designed to cater to both espresso enthusiasts and casual coffee drinkers alike, providing versatility and ease of use.One of the standout features of the ESX20 is its dual function capability, allowing users to brew both espresso and regular coffee with finesse. Equipped with a powerful pump system that generates 15 bars of pressure, the machine ensures that crema - the rich layer of golden foam atop a well-pulled espresso - is consistently produced. This high pressure also facilitates the extraction of robust flavors from the coffee grounds, resulting in an authentic café-quality beverage.
The ESX20 incorporates a stainless steel boiler, which not only ensures durability but also heats water rapidly for a quick brew time. Users won't have to wait long for their caffeine fix, making it an ideal choice for busy mornings or entertaining guests. Furthermore, the adjustable steam wand allows for easy frothing of milk, enabling users to create cappuccinos, lattes, and even macchiatos without stepping out of their homes.
Another impressive aspect of the Mr. Coffee ESX20 is its user-friendly interface. The machine features simplified controls, making it accessible for beginners while still offering enough customization for seasoned coffee aficionados. The clear viewing window ensures that users can monitor the brewing process seamlessly.
The ESX20 also boasts a removable water reservoir, which simplifies the refilling process while ensuring that clean water is always available for brewing. The machine is easy to clean, with a drip tray that can be easily removed and cleaned, maintaining hygiene and convenience.
In terms of design, the Mr. Coffee ESX20 sports a sleek and modern aesthetic, making it a stylish addition to any kitchen countertop. Its compact size ensures it fits comfortably in limited spaces without comprising functionality.
In summary, the Mr. Coffee ESX20 stands out in the market for its blend of quality, ease of use, and versatility. With its powerful pump, stainless steel boiler, and user-friendly features, this machine delivers a café-quality espresso experience right in your kitchen, making it a worthy investment for coffee lovers everywhere.

