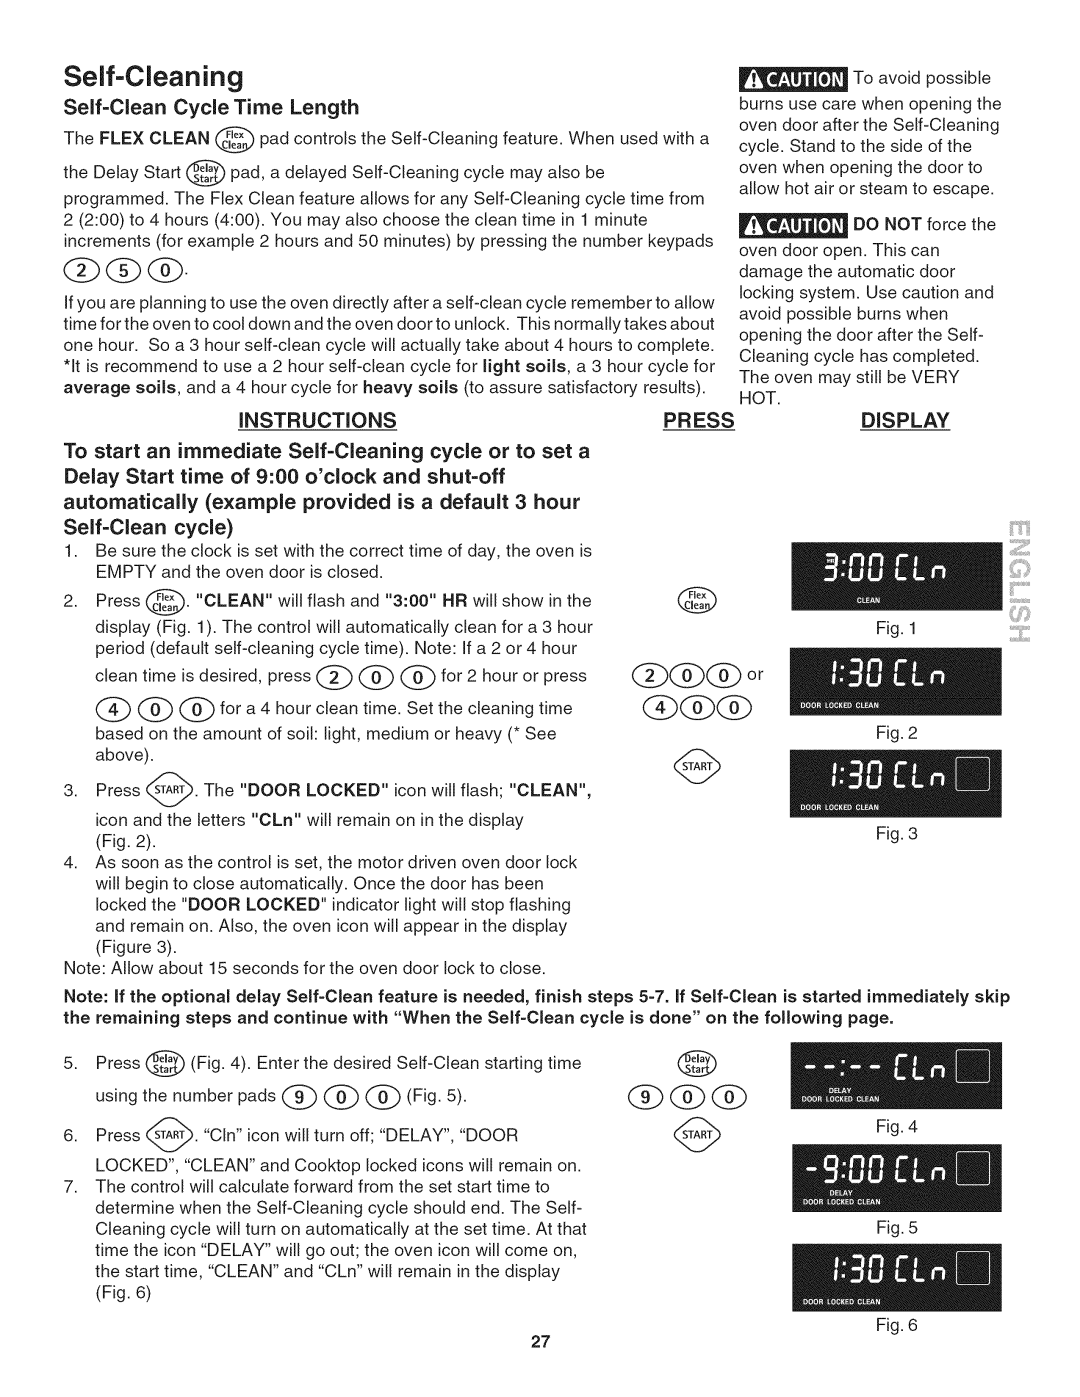
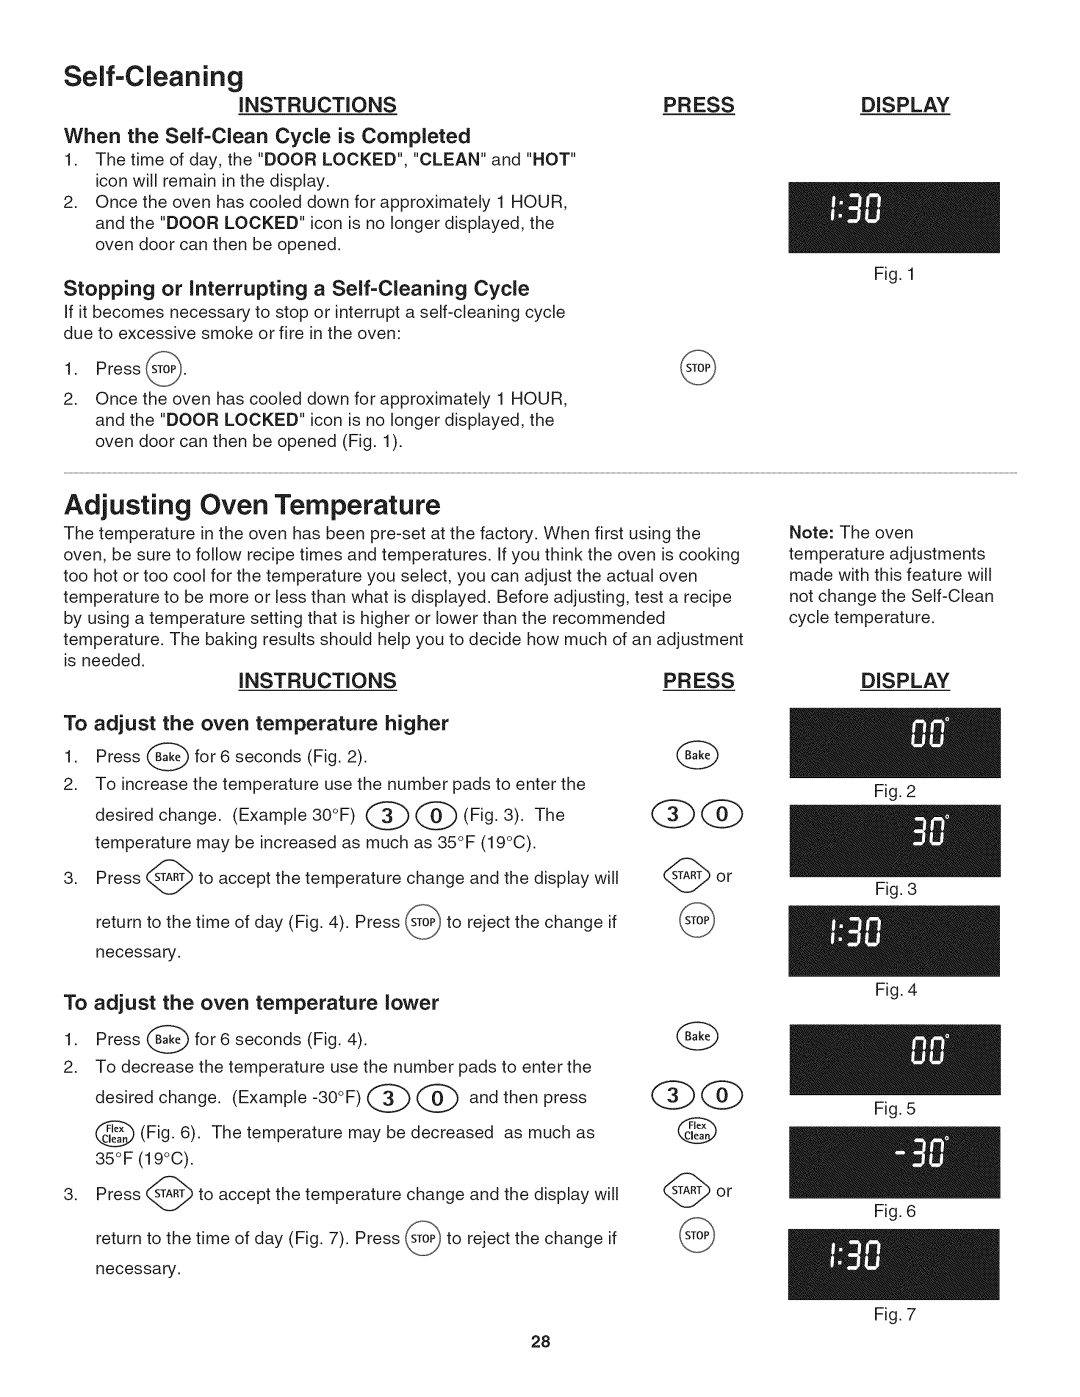
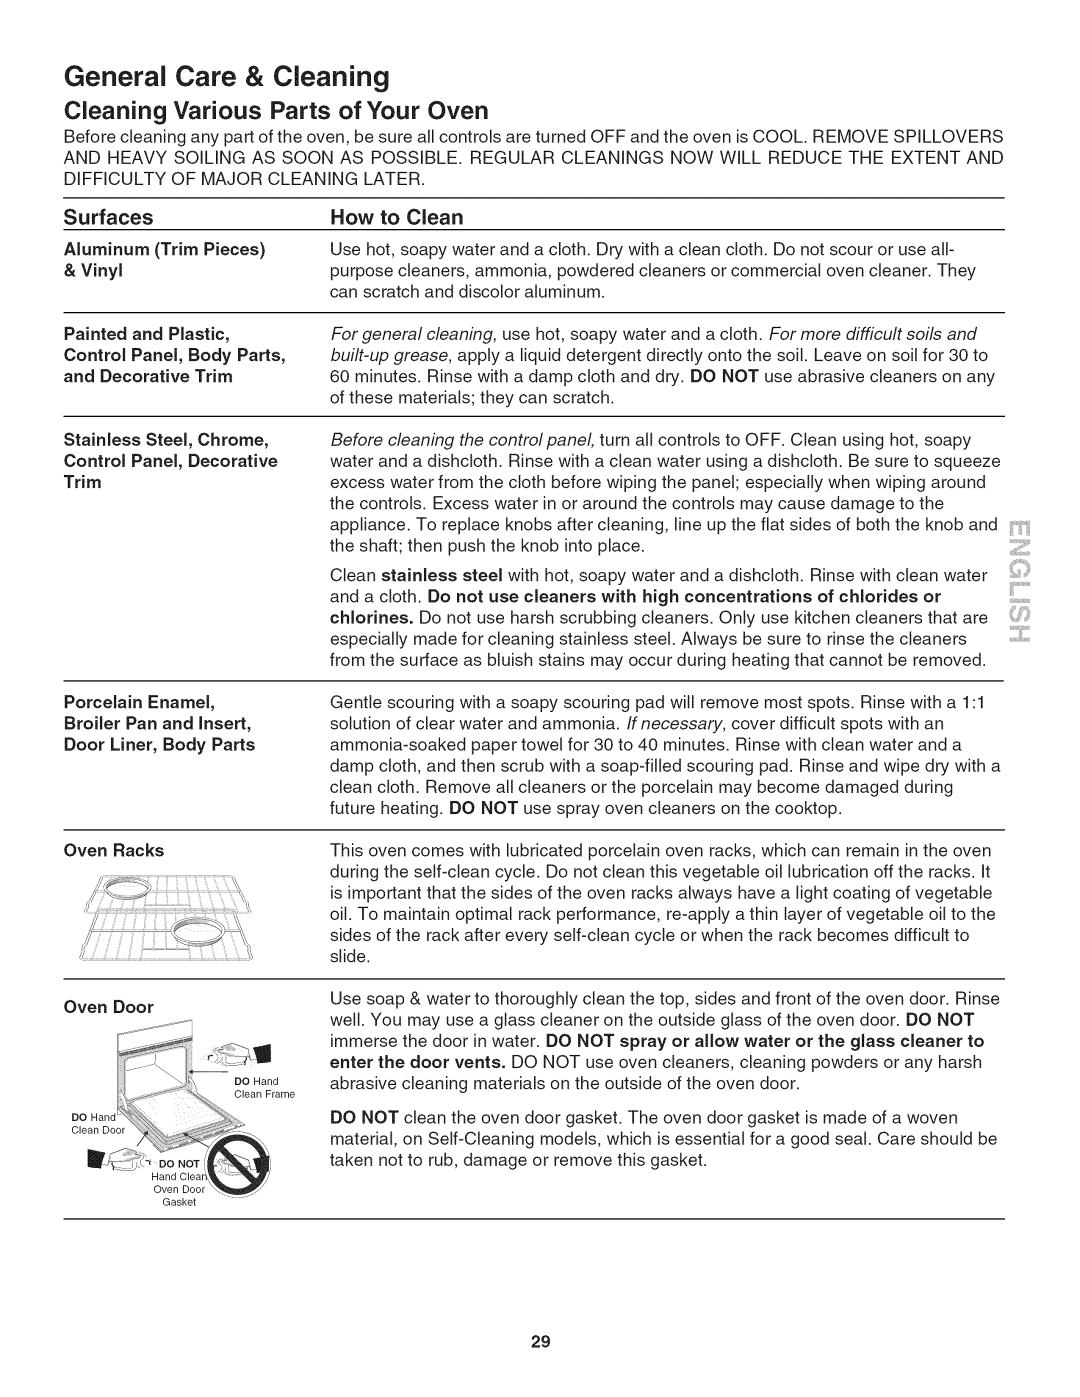
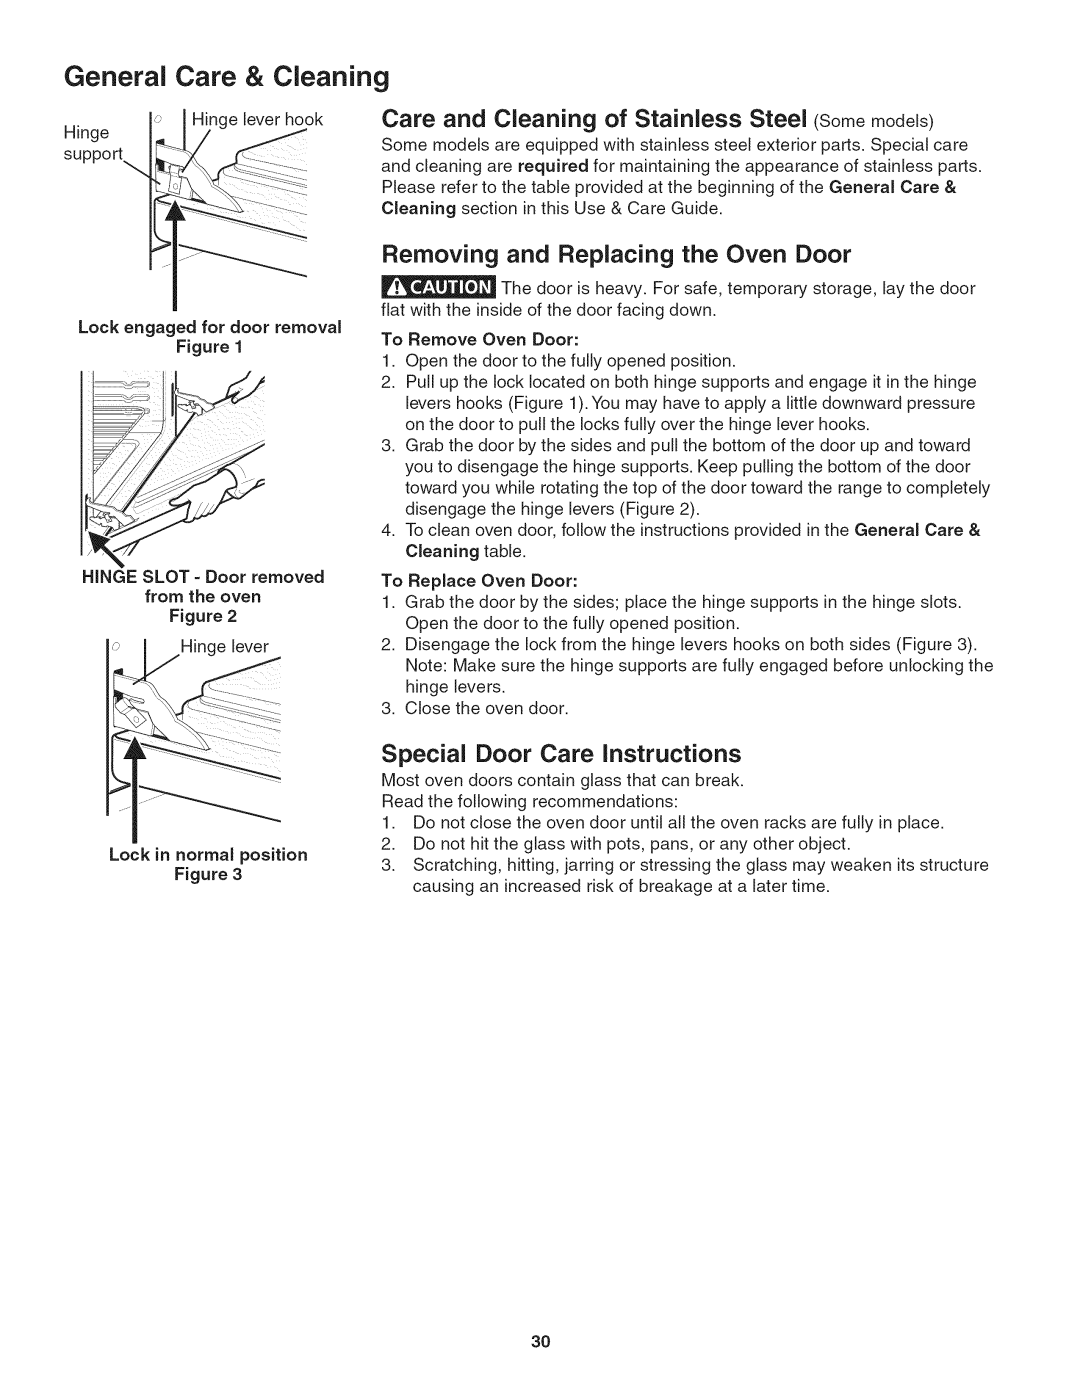
Kenmore 790.4802, 790.4803, 790.4804 manual General Care & Cleaning Changing the Oven Light

Page 31

General Care & Cleaning

Changing the Oven Light

Changing the Halogen Oven Light (somemoaels)

The oven lights will automatically turn ON when the oven door is opened. The

oven lights may also be manually operated by pressing the @ pad.

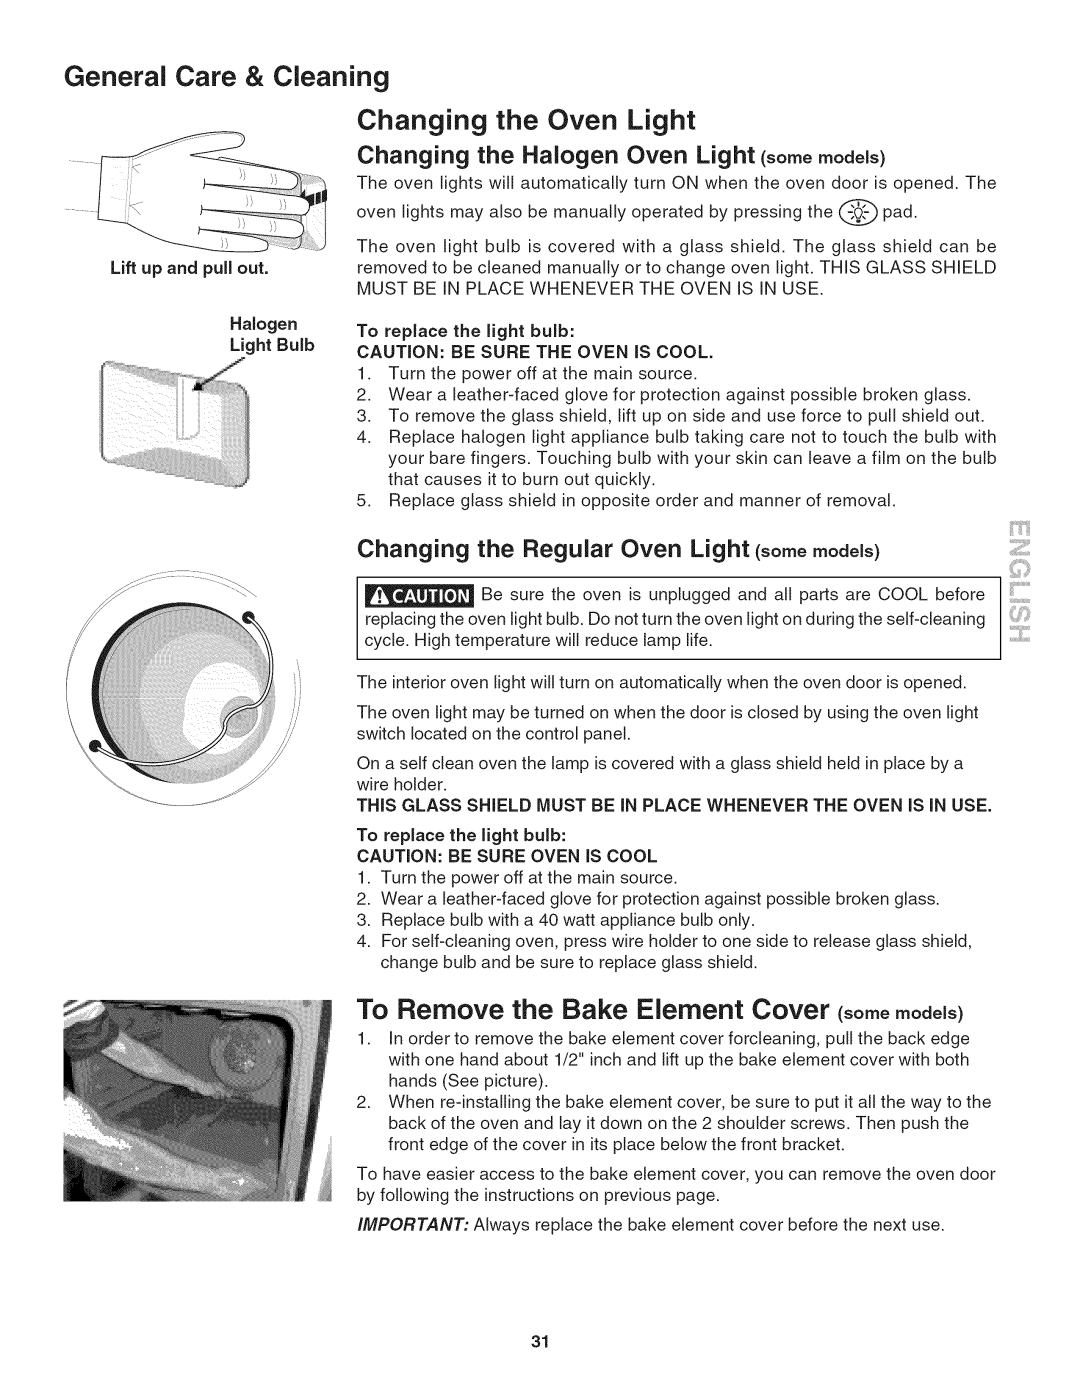
Lift up and pull out.

Halogen

Light Bulb

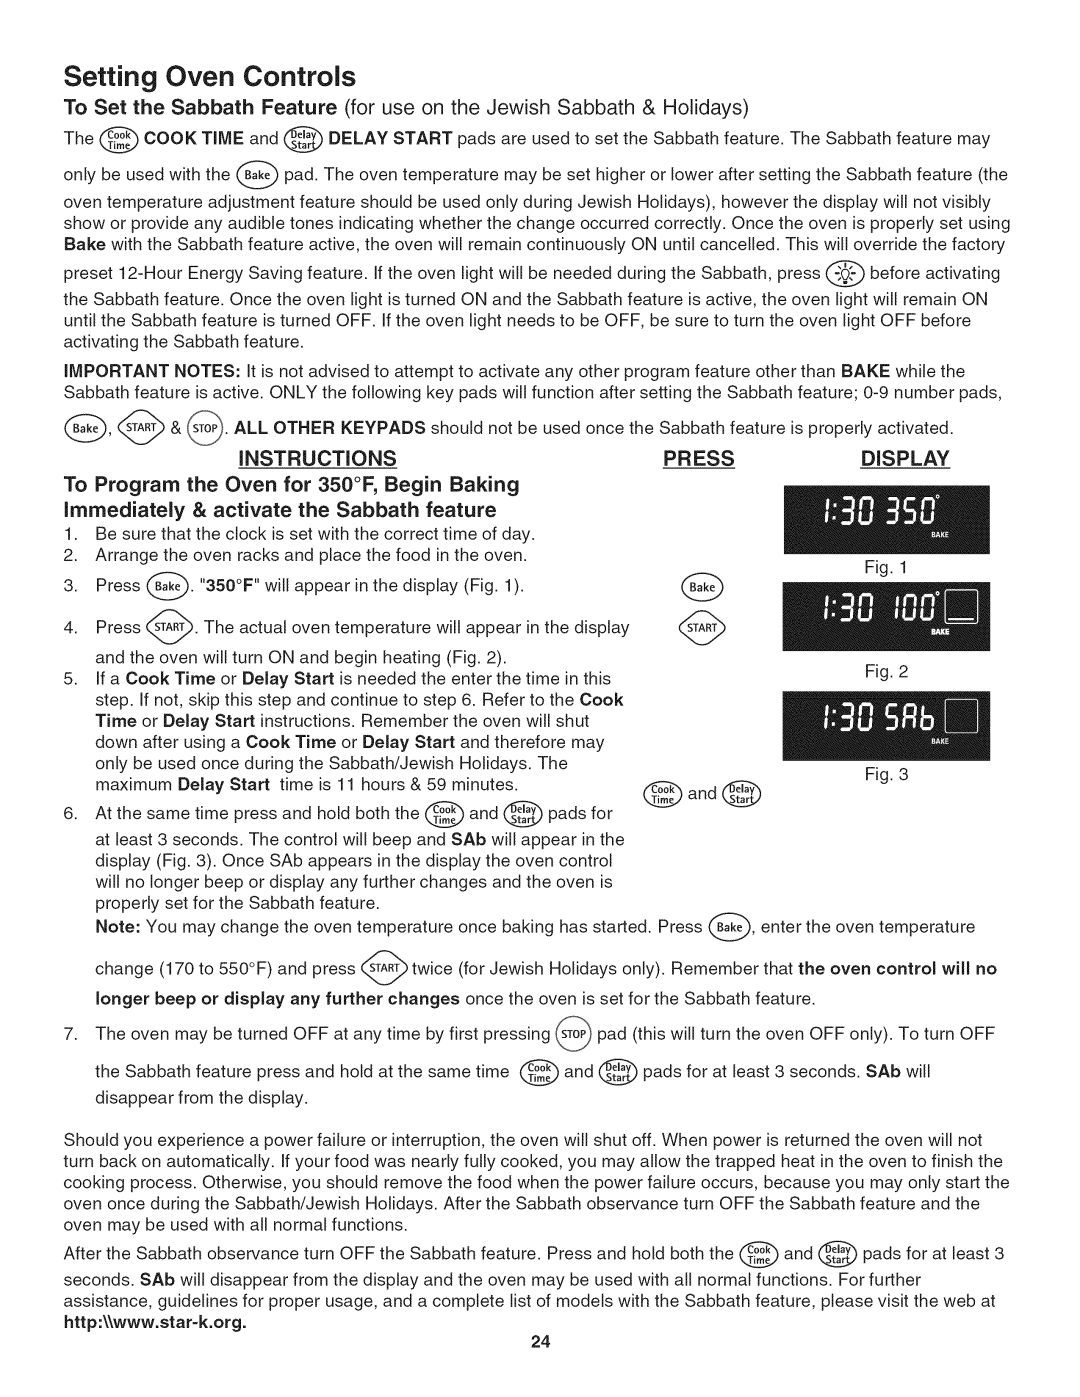
The oven light bulb is covered with a glass shield. The glass shield can be removed to be cleaned manually or to change oven light. THIS GLASS SHIELD MUST BE IN PLACE WHENEVER THE OVEN IS IN USE.

To replace the light bulb:

CAUTION: BE SURE THE OVEN IS COOL.

1.Turn the power off at the main source.

2.Wear a leather-faced glove for protection against possible broken glass.

3.To remove the glass shield, lift up on side and use force to pull shield out.

4.Replace halogen light appliance bulb taking care not to touch the bulb with your bare fingers. Touching bulb with your skin can leave a film on the bulb that causes it to burn out quickly.

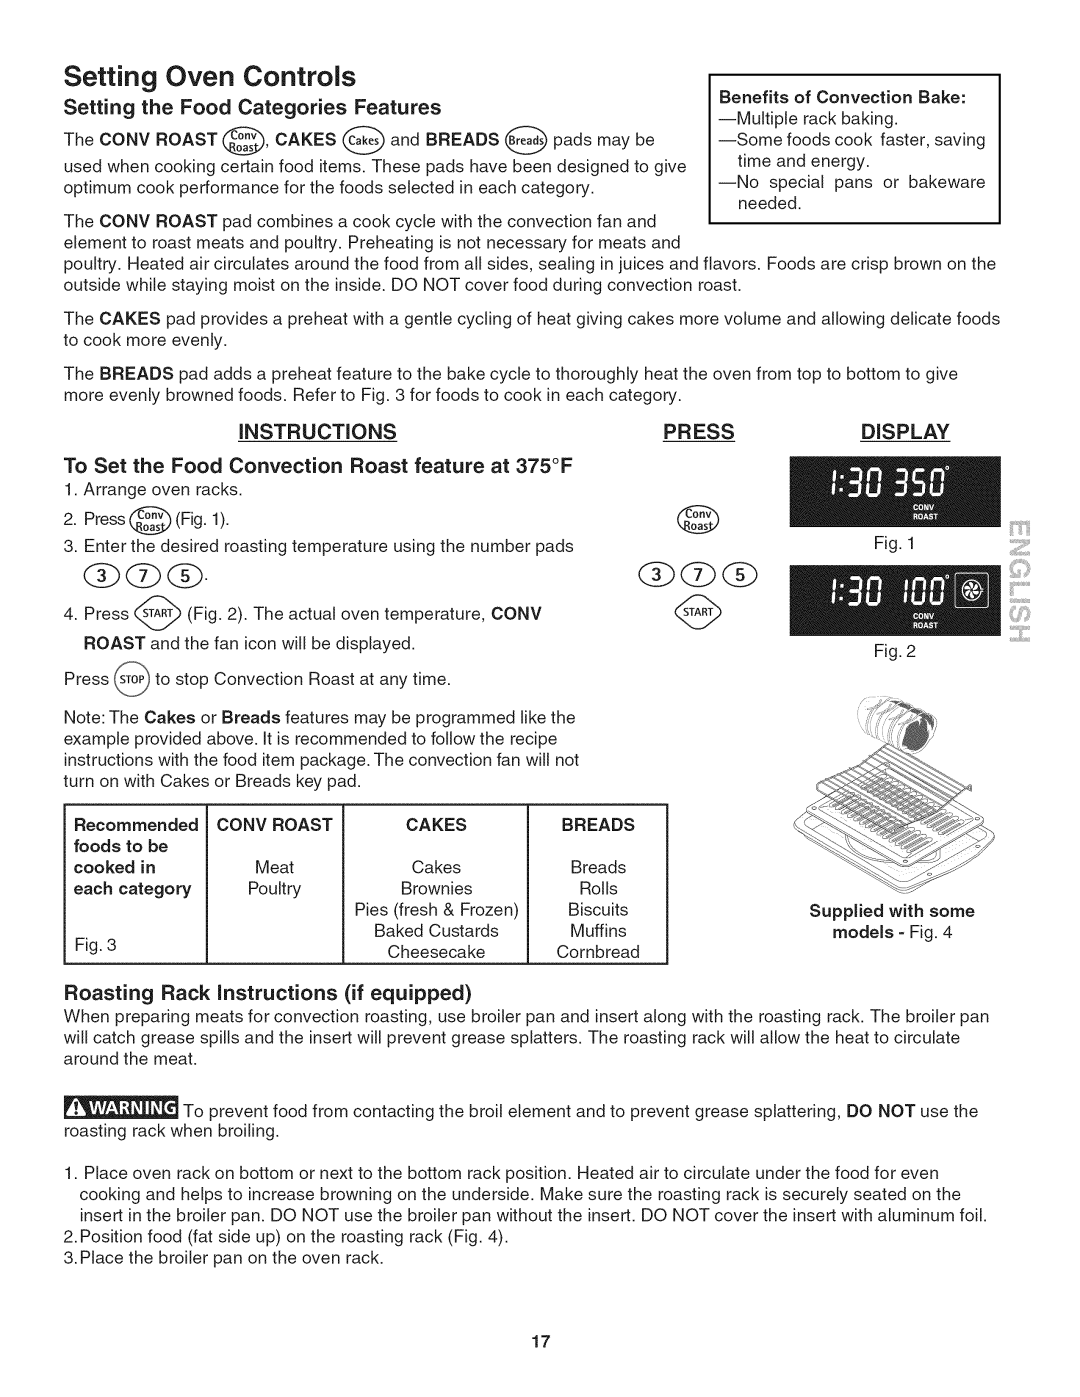
5.Replace glass shield in opposite order and manner of removal.

ii

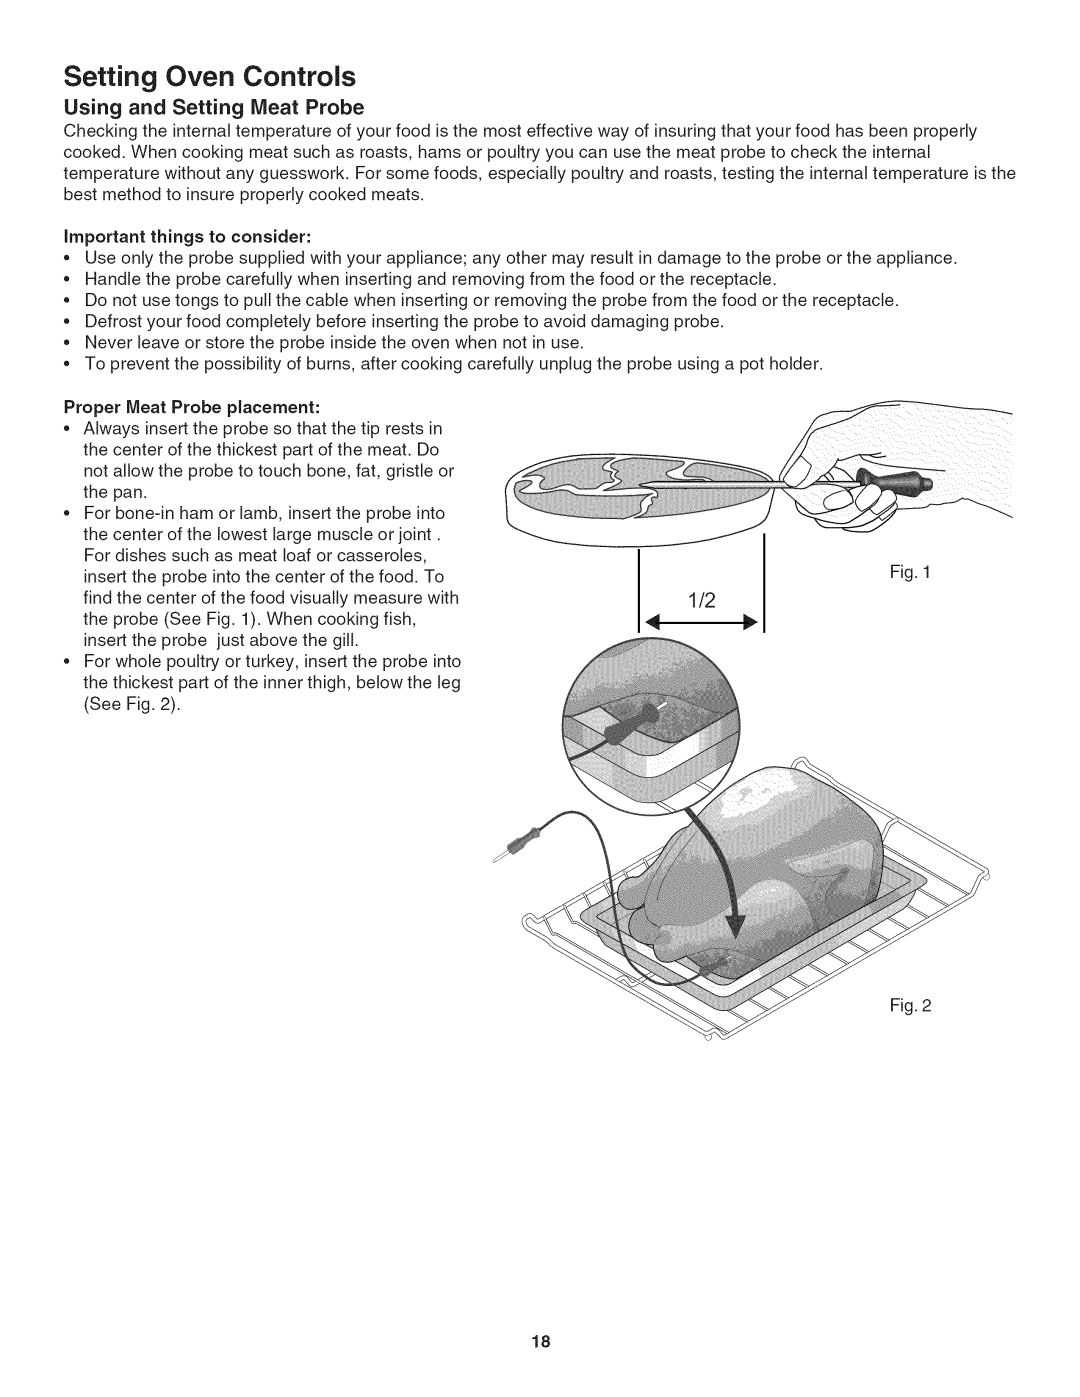
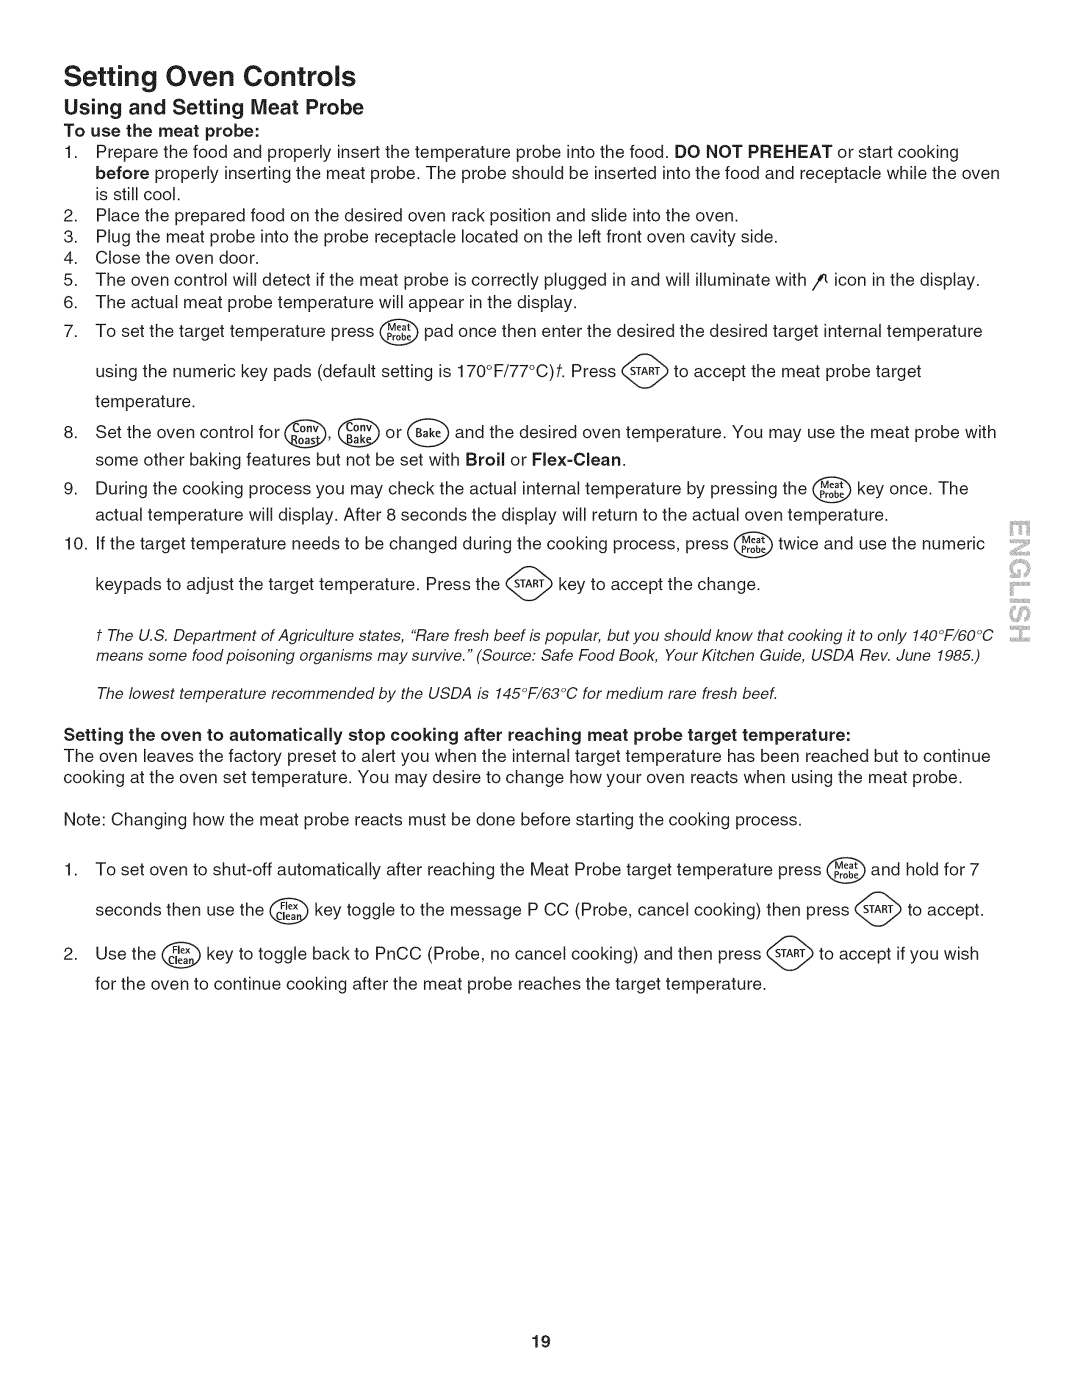
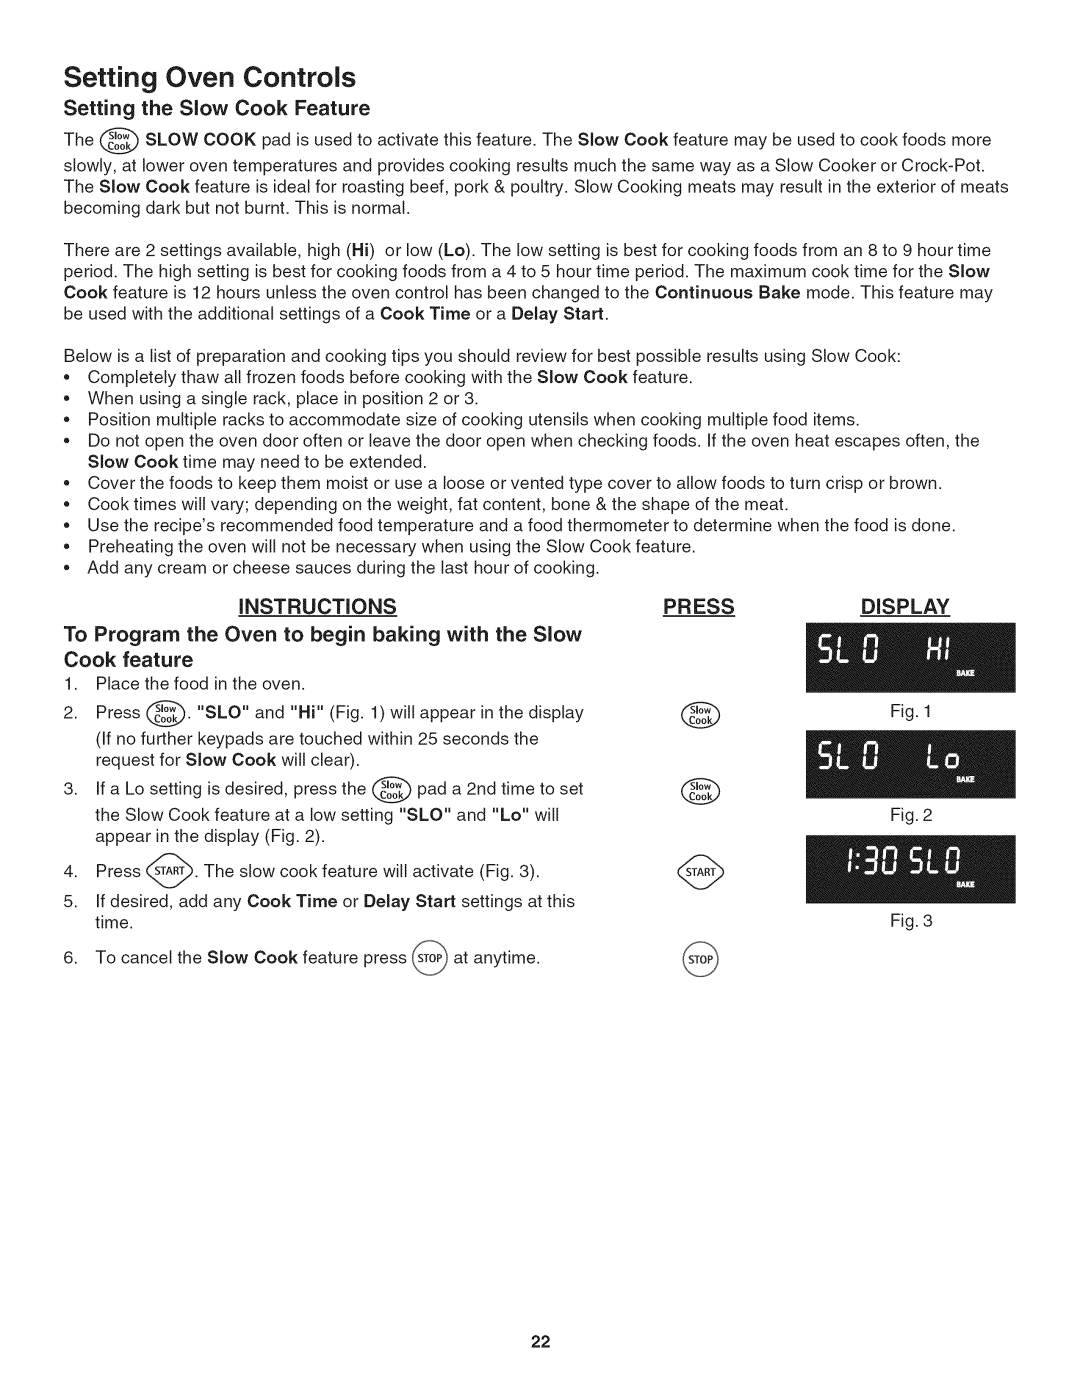
//

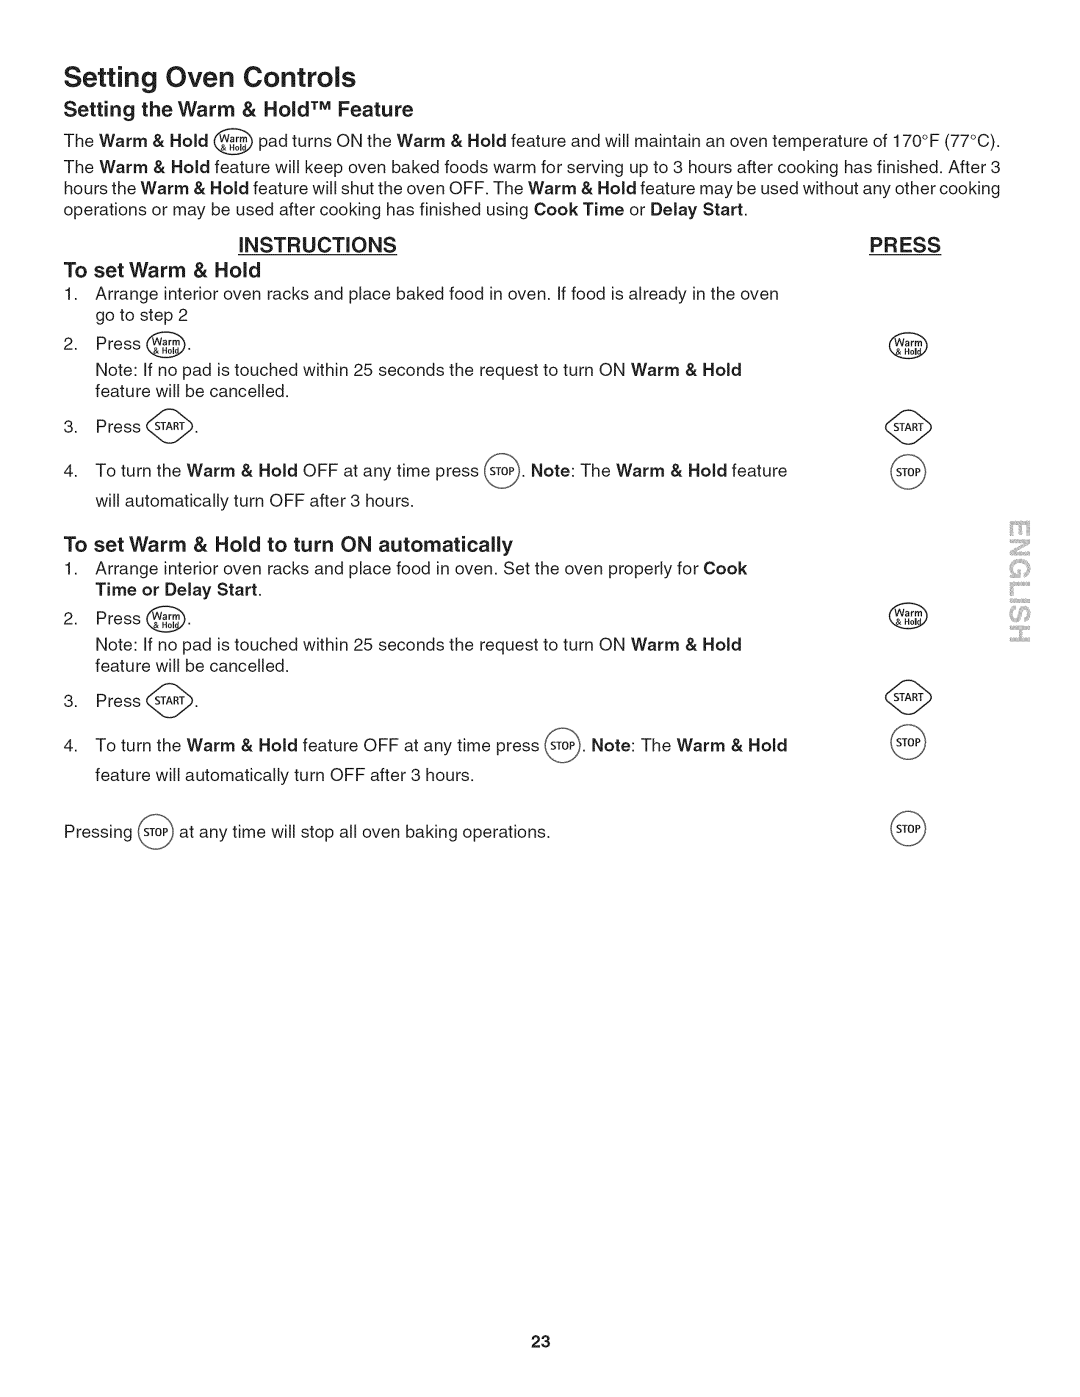
Changing the Regular Oven Light (somemodels)

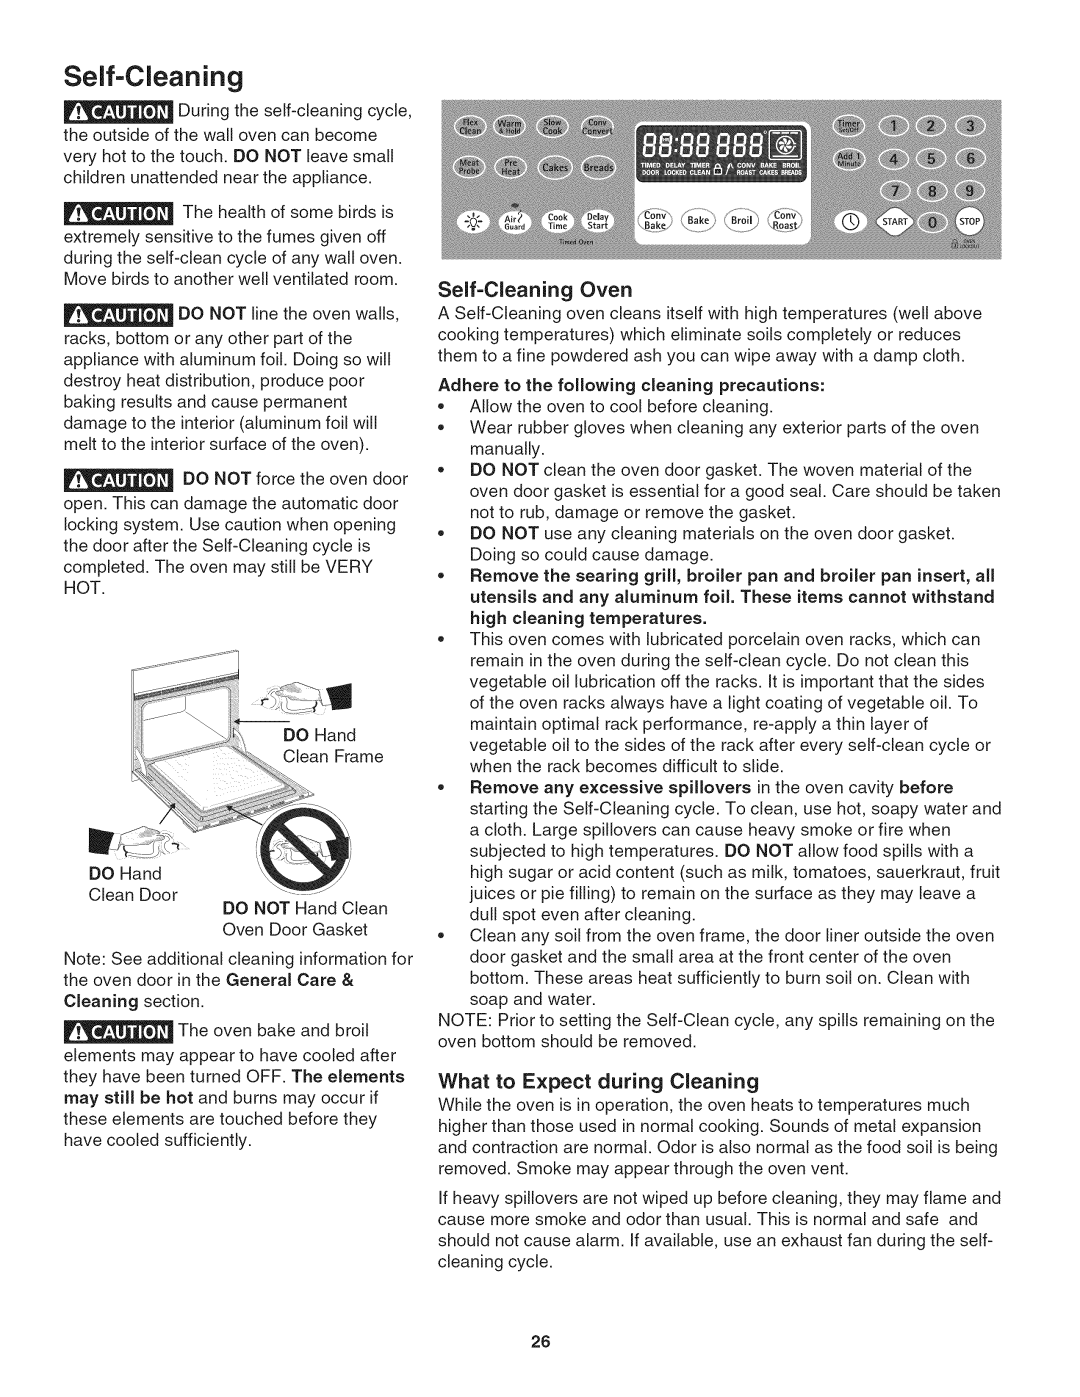
Be sure the oven is unplugged and all parts are COOL before replacing the oven light bulb. Do not turn the oven light on during the self-cleaning cycle. High temperature will reduce lamp life.

The interior oven light will turn on automatically when the oven door is opened.

The oven light may be turned on when the door is closed by using the oven light switch located on the control panel.

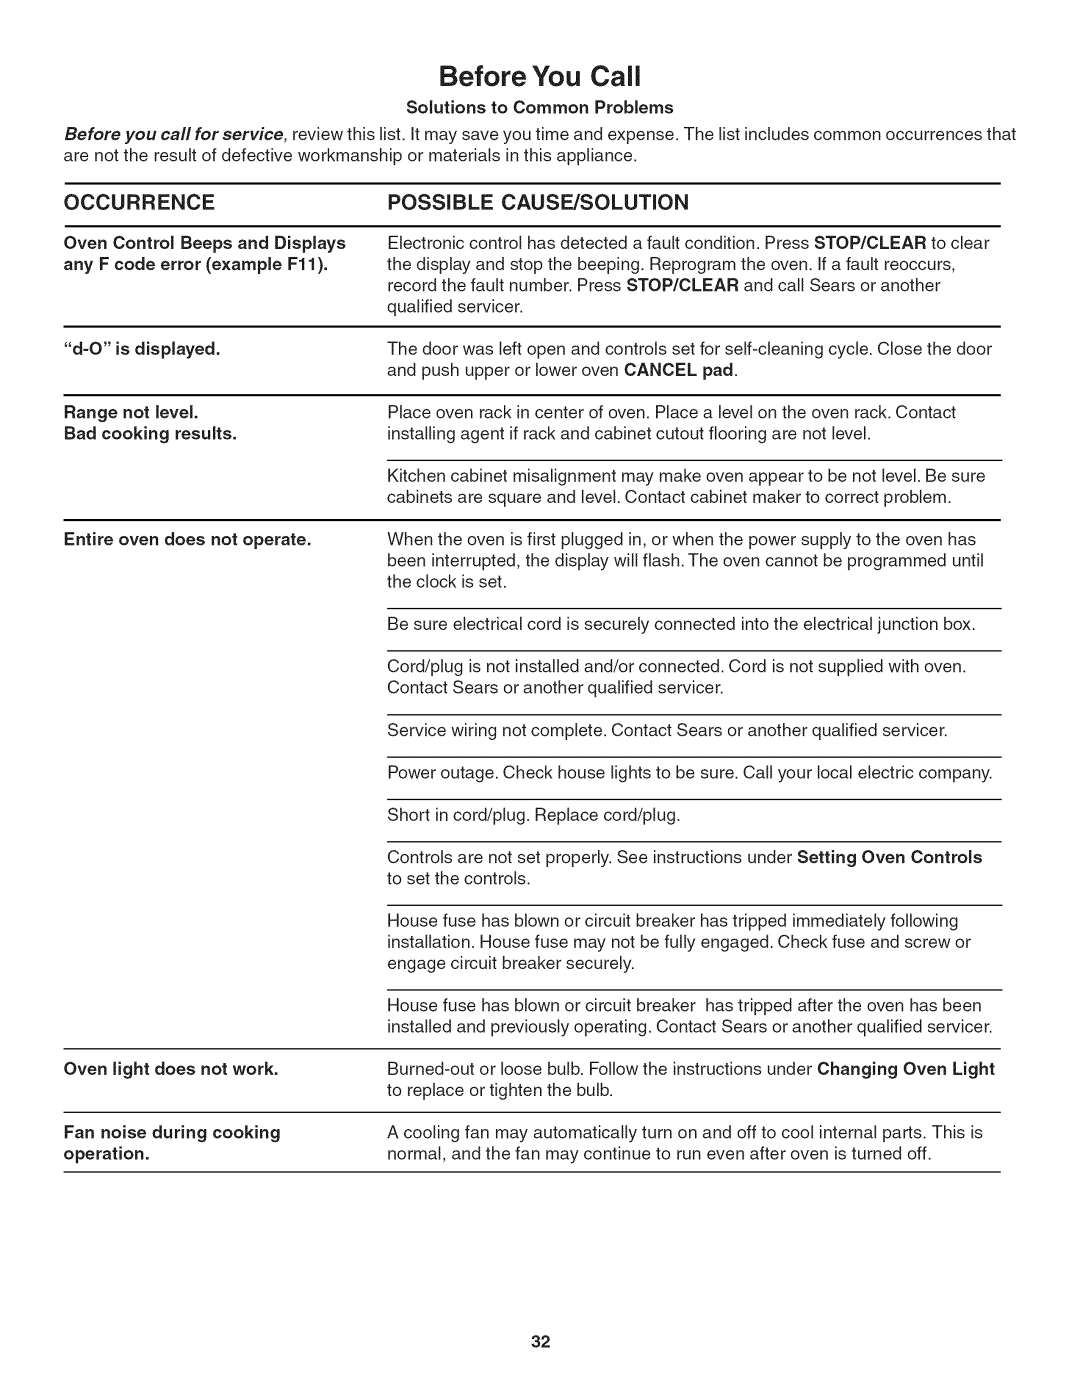
On a self clean oven the lamp is covered with a glass shield held in place by a wire holder.

THiS GLASS SHELD MUST BE IN PLACE WHENEVER THE OVEN IS IN USE.

To replace the light bulb:

CAUTION: BE SURE OVEN IS COOL

1.Turn the power off at the main source.

2.Wear a leather-faced glove for protection against possible broken glass.

3.Replace bulb with a 40 watt appliance bulb only.

4.For self-cleaning oven, press wire holder to one side to release glass shield, change bulb and be sure to replace glass shield.

To Remove the Bake Element Cover (somemode_s)

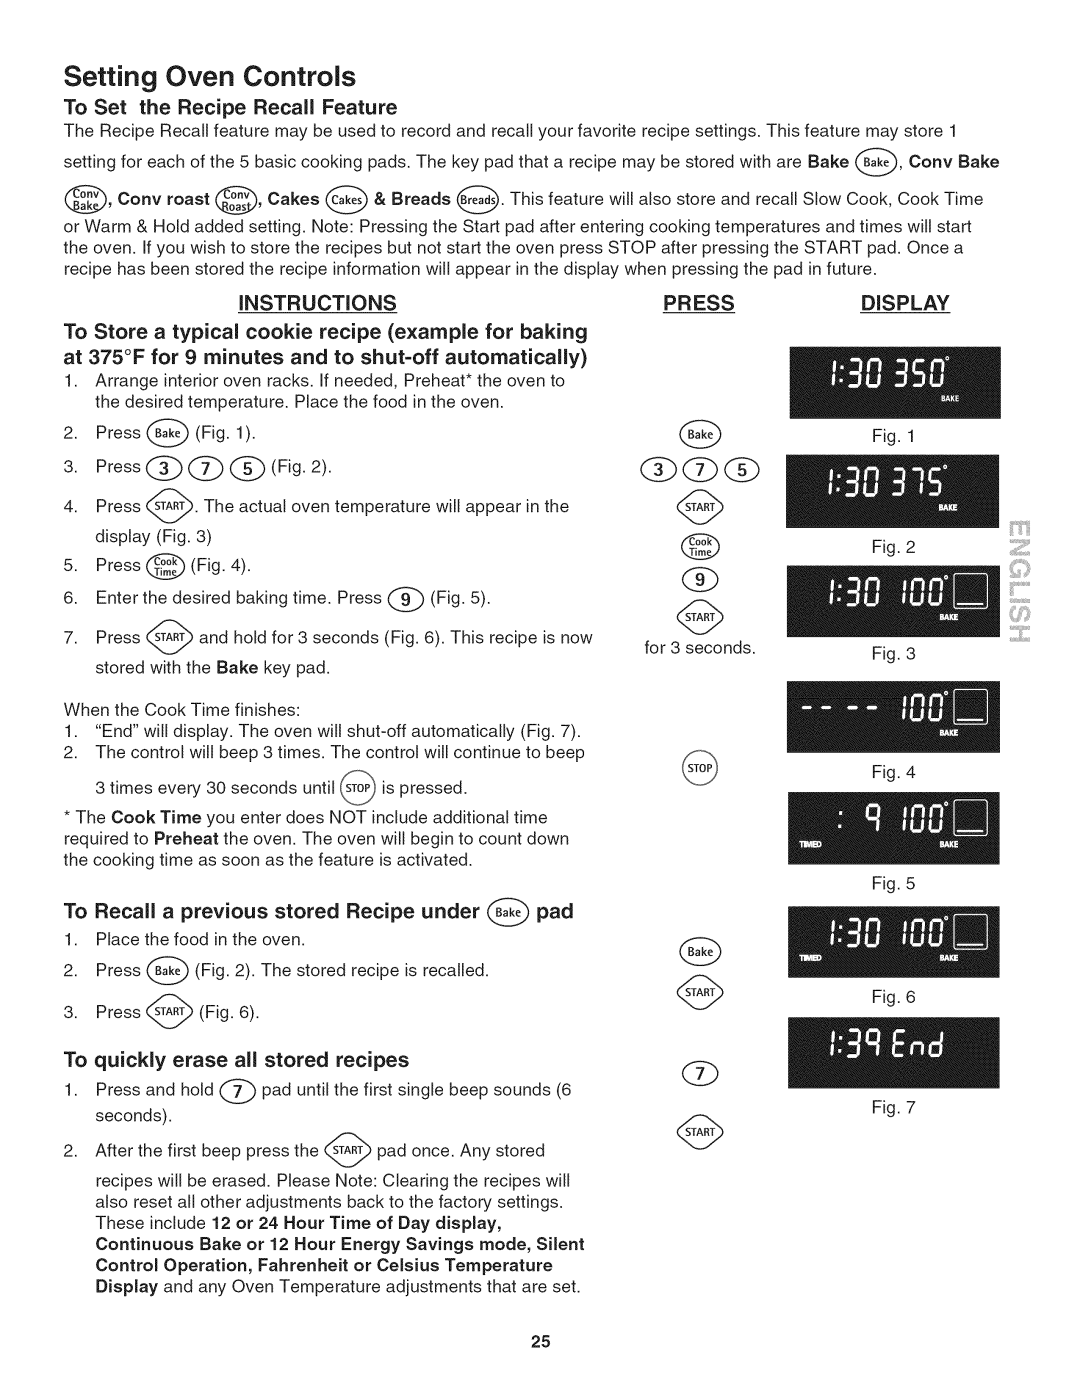
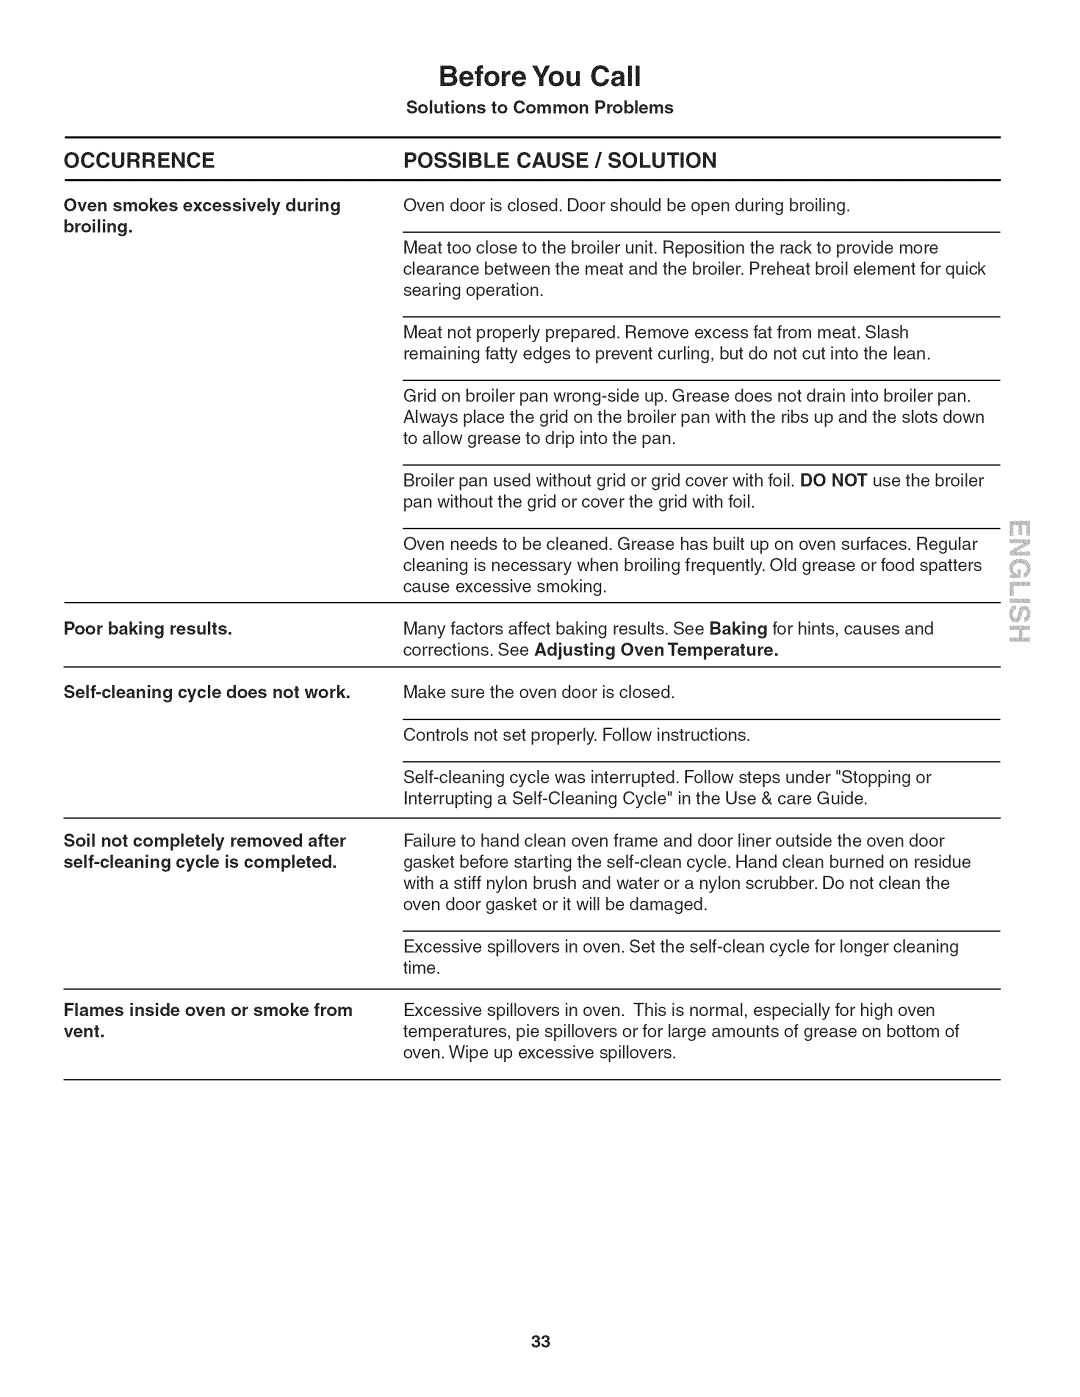
1.In order to remove the bake element cover forcleaning, pull the back edge with one hand about 1/2" inch and lift up the bake element cover with both hands (See picture).

2.When re-installing the bake element cover, be sure to put it all the way to the back of the oven and lay it clown on the 2 shoulder screws. Then push the front edge of the cover in its place below the front bracket.

To have easier access to the bake element cover, you can remove the oven door by following the instructions on previous page.

IMPORTANT: Always replace the bake element cover before the next use.

31

Image 31
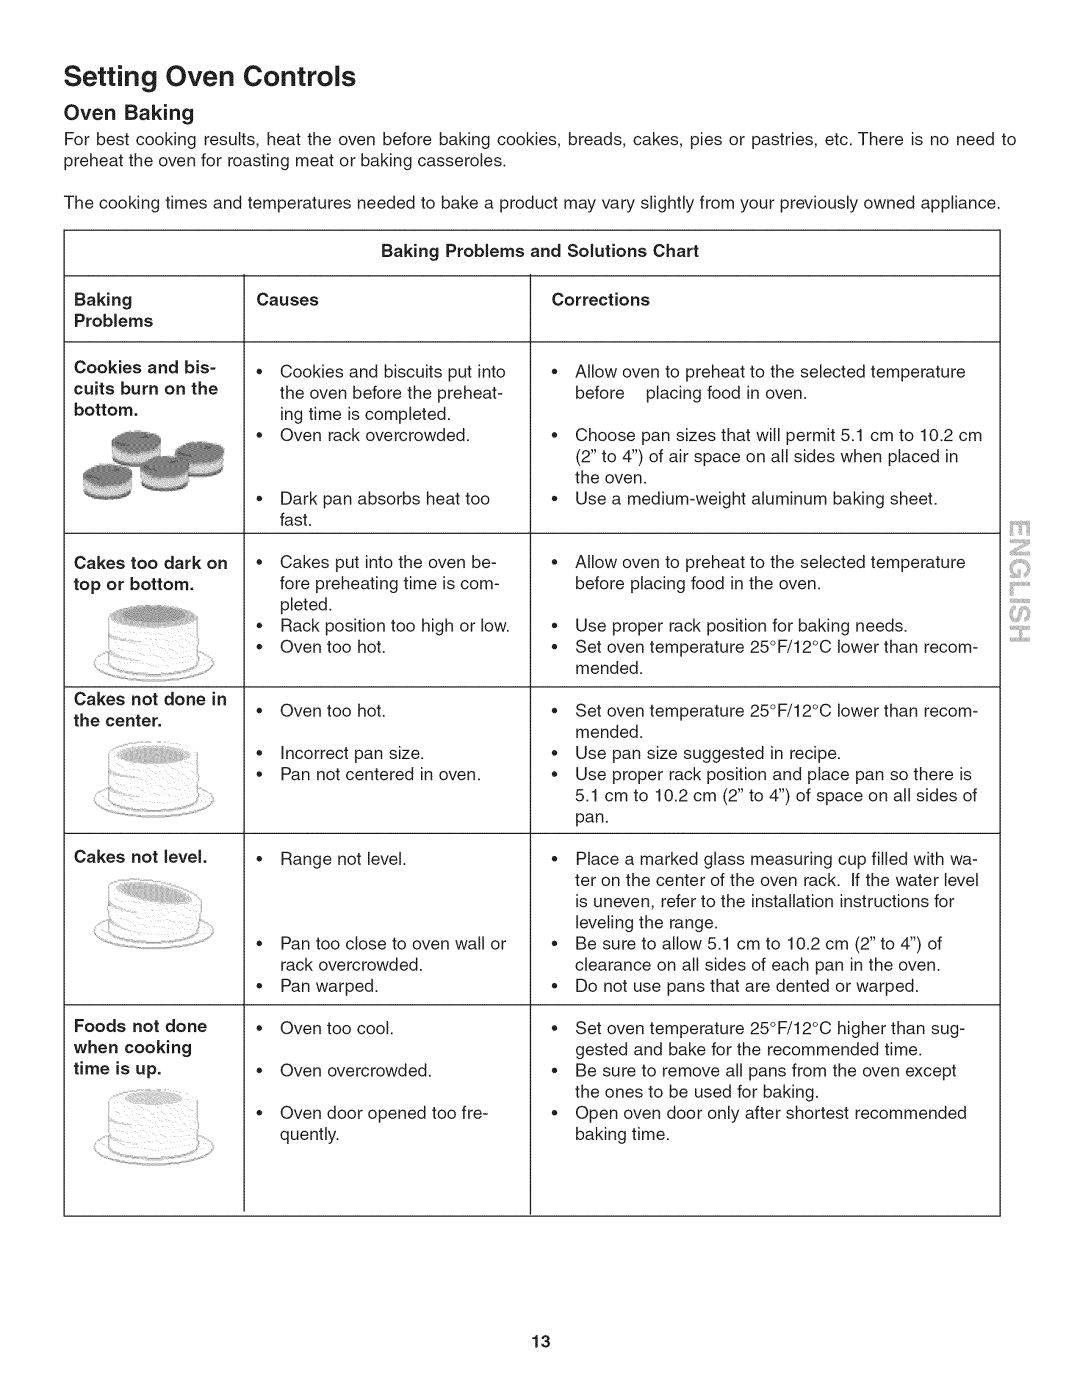
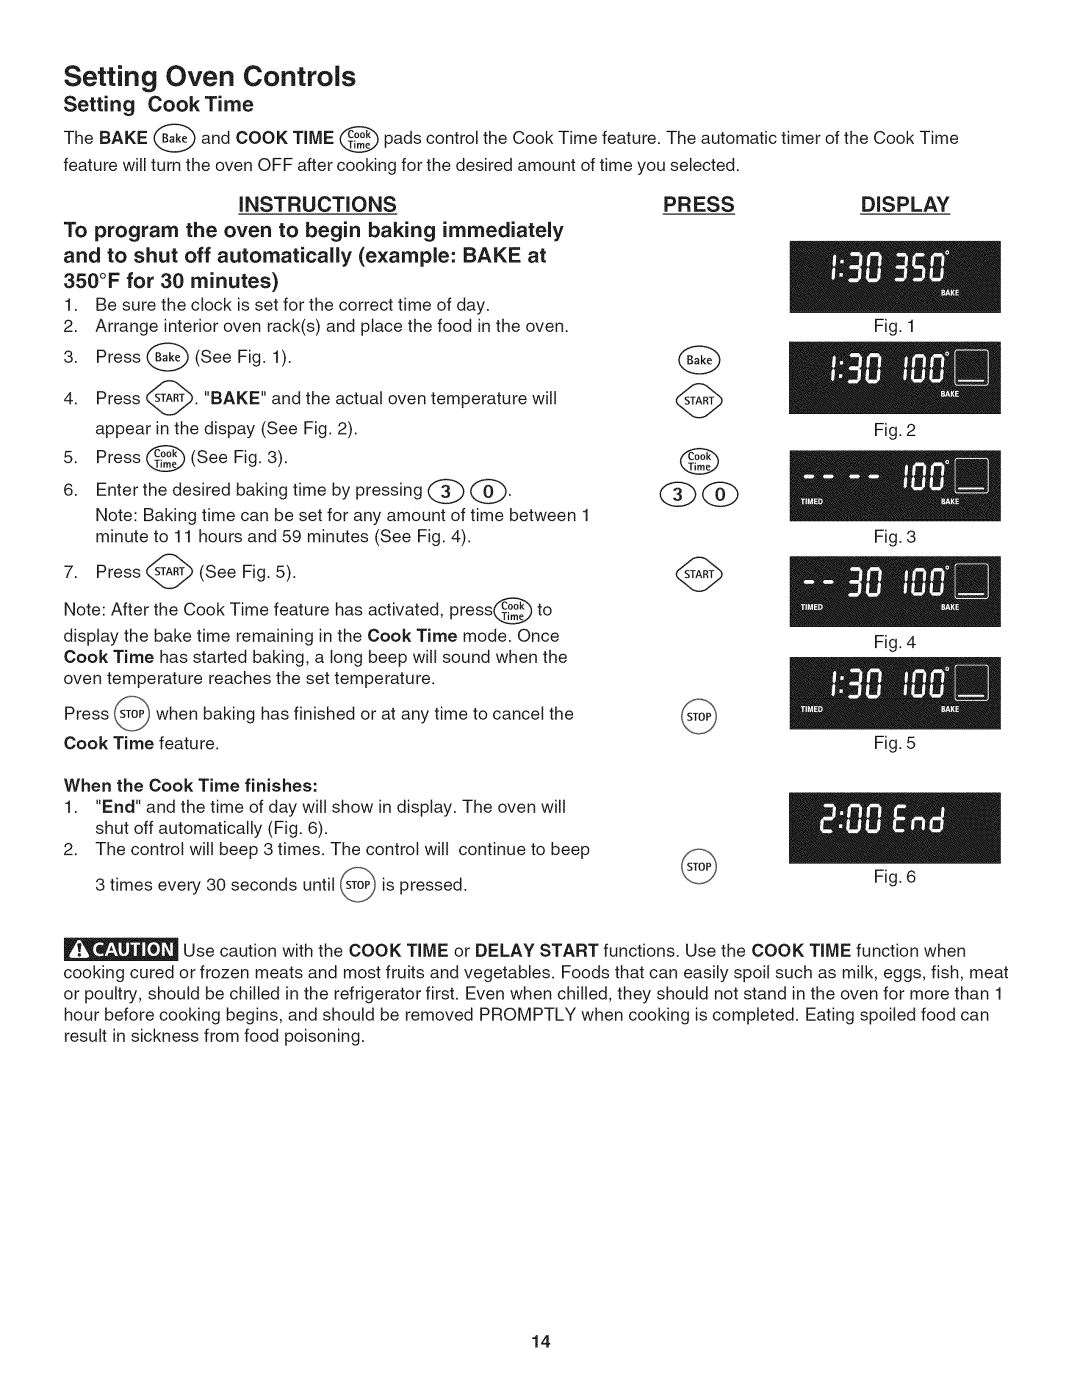
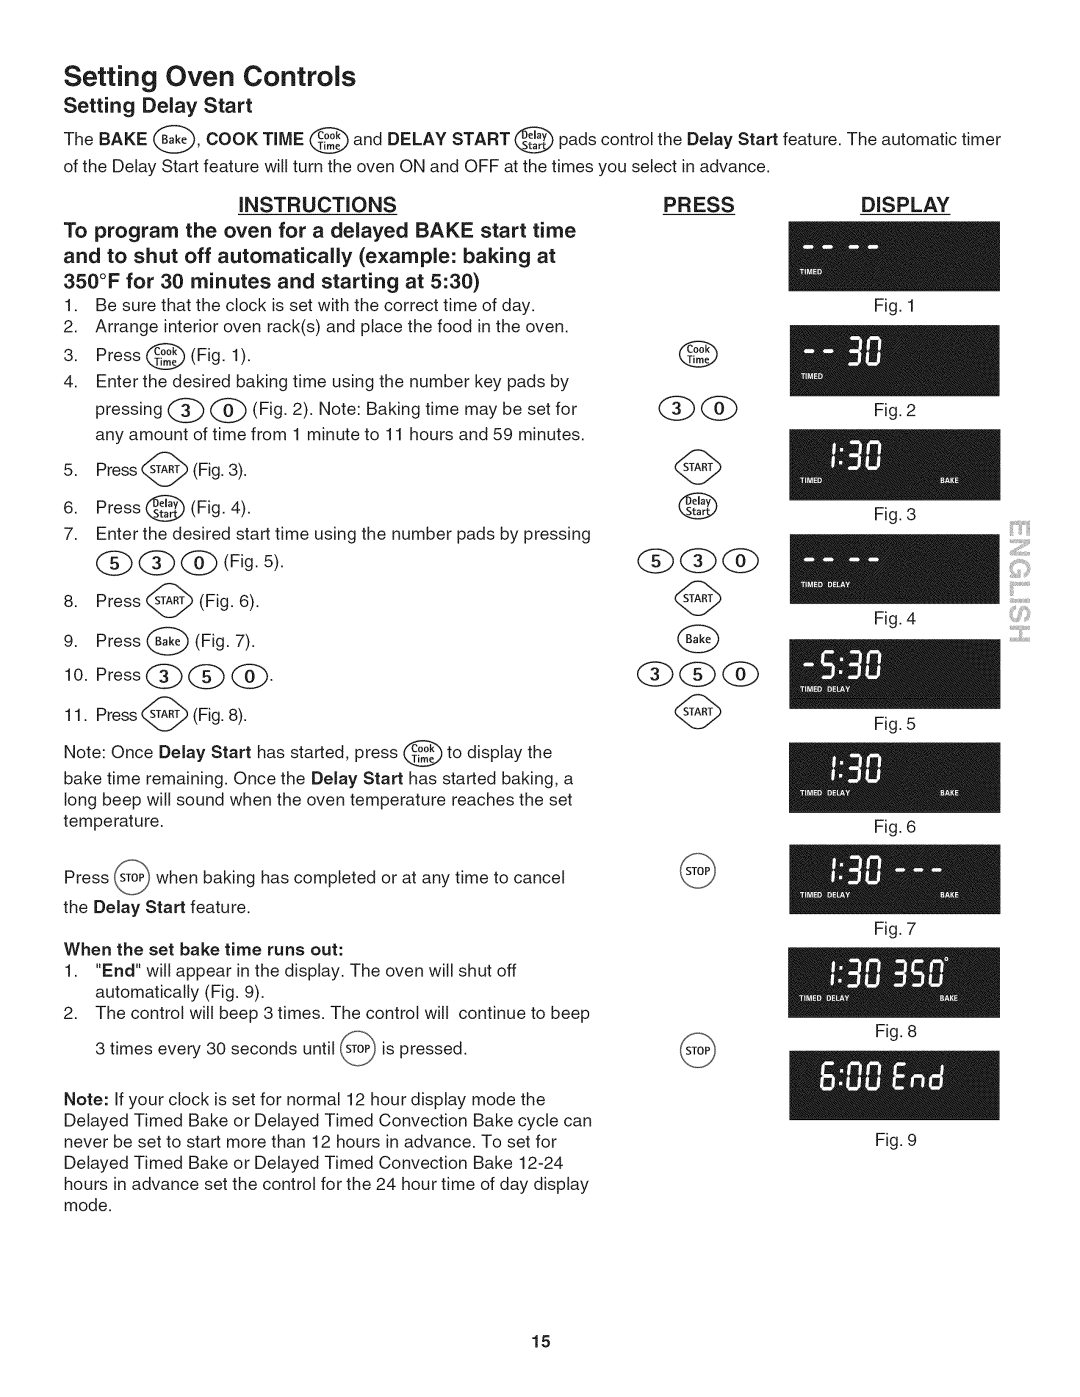
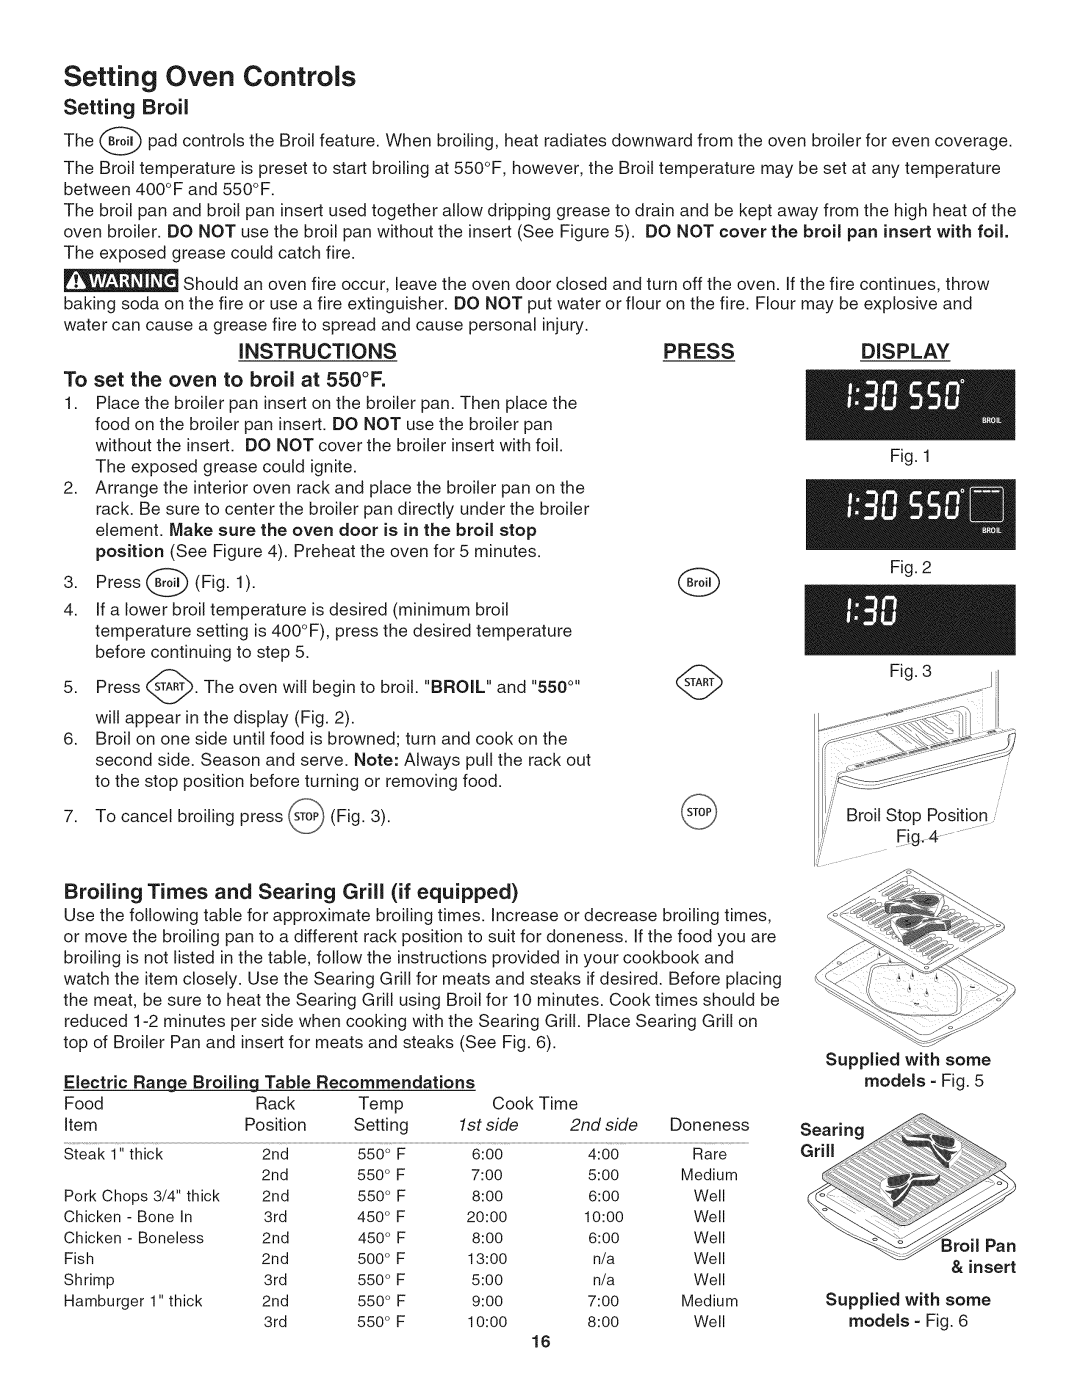
Contents Sears Roebuck and Co., Hoffman Estates, IL 60179 U.S.A = Color number, nOmero de color318205138 Rev. a Contents See Installation instructions Important Safety instructionsYour Oven IMPORTANT iNSTRUCTiONS for Using Your OvenProduct Record Serial Plate LocationYour Electric Wall Oven Features Include 790.4802 Your Electric Wall Oven Features IncludeAir Circulation in the Oven Oven Vent LocationArranging Oven Racks Types of Oven RacksControl Pad Control Pad FeaturesSettings Minimum Maximum@ padstosetthetimeofdayto130/Fig Setting the Oven ControlsINSTRUCTiONS Setting Oven ControlsSetting Continuous Bake or 12 Hour Energy Saving To set the Kitchen Timer example for 5 minutesInstructions Press Display PressPR ESS Display Setting PreheatTo set the Preheat temperature for 350F To change Preheat temperature while oven isSetting Bake Setting Oven ControlsTemperature Visual Display Using the AirGuard feature some modelsLevel Oven BakingDone To program the oven to begin baking immediately Setting Cook Time@@g Setting Delay StartTo set the oven to broil at 550F Setting OvenSetting Broil ControlsTo Set the Food Convection Roast feature at 375F Setting the Food Categories FeaturesRoasting Rack Instructions if equipped Proper Meat Probe placement Using and Setting Meat ProbeSetting Oven Controls To set the oven for Convection Bake Temperature to 375F Setting Convection BakeTips for Convection Bake Setting Convection Convert feature SettingOven Controls Instructions Press Display Setting the Slow Cook FeatureTo set Warm & Hold Setting the Warm & Hold TM FeatureTo set Warm & Hold to turn on automatically Instructions Display To quickly erase all stored recipes To Set the Recipe Recall FeatureSo ore.eel,,S,owCookCook.,me To Recall a previous stored Recipe under padWhat to Expect during Cleaning Self-Cleaning OvenAdhere to the following cleaning precautions Self-Clean Cycle Time Length Self-Cleaning@i!!!Cii !iiiii Adjust Oven temperature Higher Adjusting Oven TemperatureWhen the Self-Clean Cycle is Completed Stopping or interrupting a Self-Cleaning CycleHow to Clean General Care & CleaningSurfaces Lock in normal position Figure Care and Cleaning of Stainless Steel SomemodelsTo Remove the Bake Element Cover somemodes General Care & Cleaning Changing the Oven LightLift up and pull out Halogen Light Bulb Occurrence Possible CAUSE/SOLUTIONSolutions to Common Problems Before You CallOccurrence Possible Cause / SolutionVent Page Protection Agreements Call anytime, day or night U.S.A. and Canada Your HomeOur Home Canada

790.4804, 790.4802, 790.4803 specifications

The Kenmore 790.4803, 790.4802, and 790.4804 are part of Kenmore's well-regarded line of freestanding ranges, designed for both functionality and style. These models stand out in the kitchen with their sleek design, user-friendly interfaces, and a plethora of features aimed at enhancing culinary experiences.

One of the main features across these models is their versatile cooking capabilities. Each range comes equipped with a powerful convection oven, which circulates hot air to ensure even cooking. This technology allows for quicker baking times and more evenly baked goods, making it ideal for both novice cooks and seasoned chefs. The ovens also feature a self-cleaning function, which saves time and effort in maintaining hygiene and cleanliness.

In terms of stovetop features, the Kenmore 790.4803, 790.4802, and 790.4804 include multiple high-performance burners that offer various heat outputs. This allows users to simmer delicate sauces on low heat and sear meats on high heat, providing flexibility for different cooking techniques. Additionally, some models feature a power burner, which generates intense heat for boiling water quickly, an essential feature for busy kitchens.

The design of these ranges is also worth noting. With a clean and modern stainless-steel finish, they can seamlessly integrate into any kitchen decor. The large oven windows provide a clear view of the cooking process, while the smooth surface stovetop is easy to clean and maintain.

User convenience is a key consideration in these models. They come equipped with intuitive controls and backlit knobs, making it easy to adjust settings even during low-light conditions. The digital display provides clear information about cooking times and temperatures, enhancing user experience.

Furthermore, the Kenmore 790 series incorporates safety features such as an automatic shut-off function and a child lock, ensuring peace of mind for families. The range's ability to accommodate different sizes of cookware, from small saucepans to large baking dishes, makes it a versatile choice for any home chef.

In summary, the Kenmore 790.4803, 790.4802, and 790.4804 are reliable, efficient, and stylish cooking appliances. Their combination of advanced technologies, user-friendly features, and thoughtful design makes them an excellent addition to any kitchen, appealing to both casual cooks and culinary enthusiasts alike. Whether preparing a simple weeknight dinner or hosting a festive gathering, these ranges offer the performance and features to tackle a variety of cooking challenges.