3C13840, 3C13880 specifications
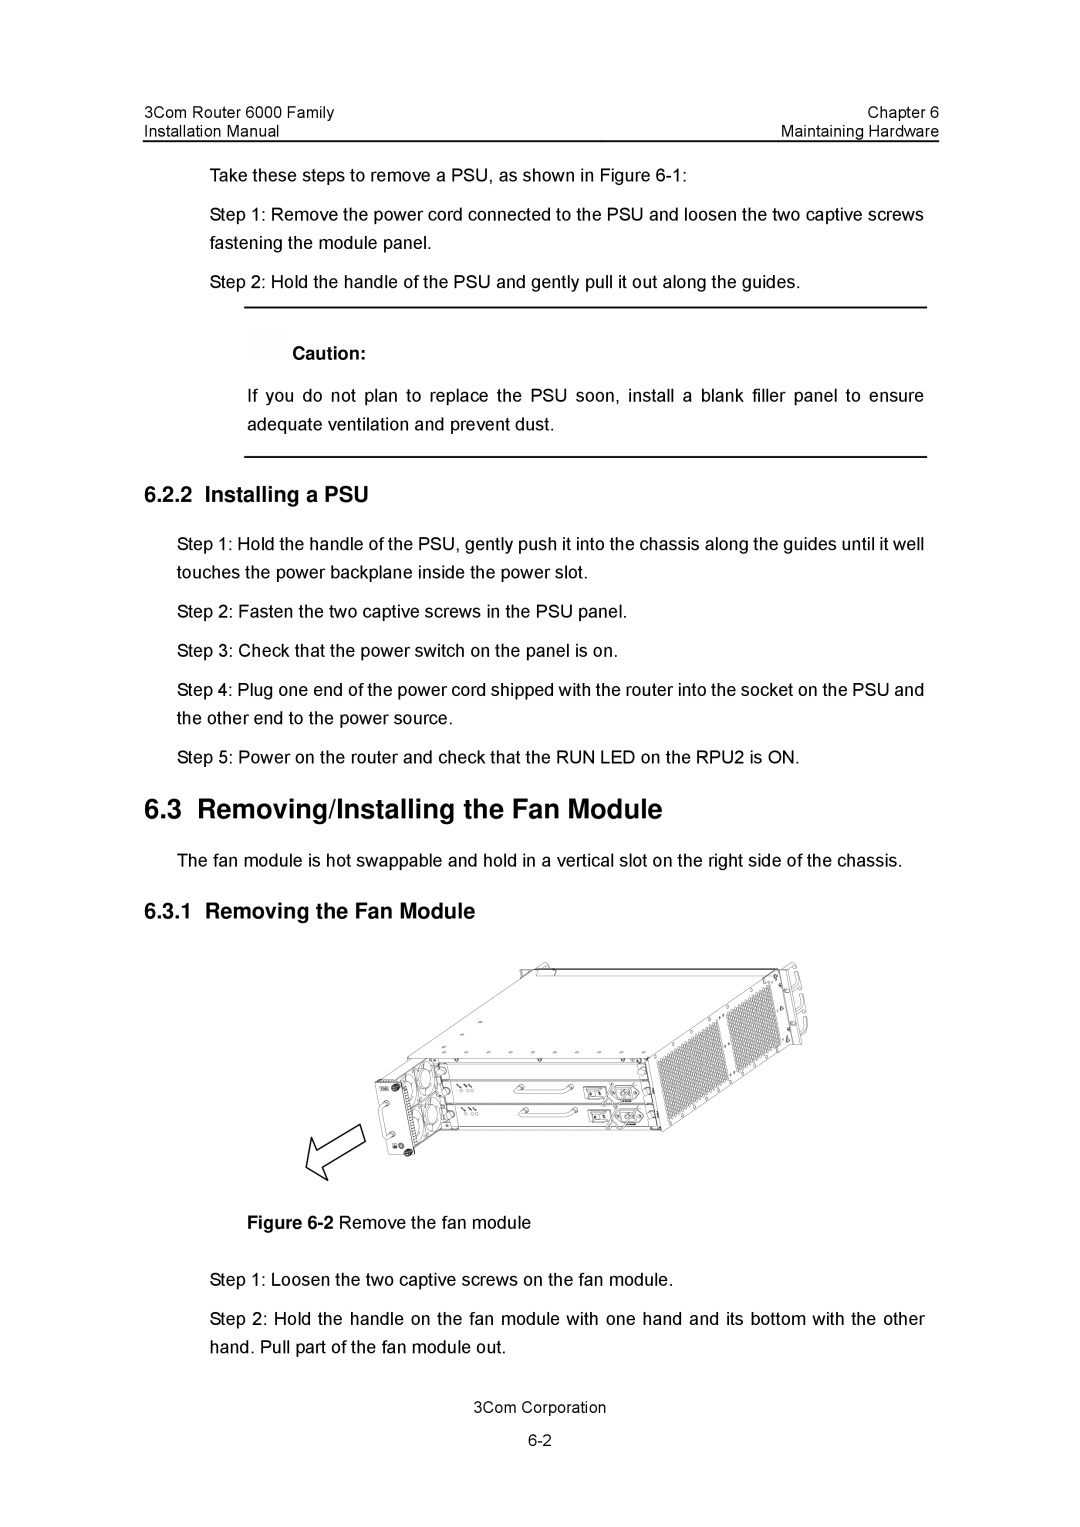
The 3Com 3C13880 and 3C13840 are notable components within the realm of networking technology, primarily designed for enterprise-grade solutions. These devices belong to the 3Com family, which has long been recognized for its commitment to developing robust networking products tailored to facilitate efficient data transfers and improve connectivity across various platforms.One of the standout features of the 3C13880 is its high-performance capabilities. This model supports advanced functions such as load balancing and fault tolerance, critical for maintaining optimum network performance in high-demand environments. Additionally, it supports various protocols, including Ethernet and Token Ring, making it versatile and adaptable to existing infrastructure. The device accommodates a wide range of network transmissions, ensuring seamless integration and operation within diverse network ecosystems.
In terms of connectivity, the 3C13880 is equipped with multiple ports, allowing for extensive device interconnectivity. This feature is particularly beneficial in large organization settings, where multiple devices, such as servers and workstations, need to communicate effectively. Coupled with high-speed data transmission rates, this model ensures minimal latency, enhancing overall network efficiency.
On the other hand, the 3C13840 is designed with a focus on cost-efficiency without sacrificing performance. This model provides essential networking features suitable for smaller business environments or those seeking budget-friendly options. It delivers reliable throughput and the ability to support a moderate number of users, making it ideal for small to mid-sized offices.
Both the 3C13880 and 3C13840 incorporate technologies that prioritize security and reliability. Features such as VLAN support and QoS settings help optimize network performance while ensuring the security and integrity of data are maintained. The devices also support management tools that allow administrators to monitor network performance in real time, facilitating quick troubleshooting and enhancing overall network management.
In summary, both the 3Com 3C13880 and 3C13840 devices stand out in networking technology by offering unique features tailored to different organizational needs. While the 3C13880 appeals to enterprises needing high performance and robust capabilities, the 3C13840 provides an accessible option for those requiring effective and budget-conscious networking solutions. The legacy of 3Com continues to be evident in these products, reflecting their innovative approach to addressing the dynamic demands of modern networking.

