The ALL setting is described in Section 4.1, “Open Collector Output.”
Error Message | Meaning |
Err.1 | Finger removed from touch panel during |
| measurement |
Err.2 | Actual test type does not match specified |
| test type |
O.F. | Measured value exceeded 200.0 ΜΩ |
| (Overflow) |
Solution
Repeat the test
Check test type (location), and repeat the test
Check test type and connections, and repeat the test
3.1 ESD Shoe Testing with the 3M™ Shoes and Wrist Strap Tester 747
This procedure tests the effectiveness of ESD protective shoes, and displays the actual measured resistance value along with the qualitative test result.
1.Ensure that the supplied shoes testing cable is connected between the shoe testing plate and the shoe testing connector. Refer to section 2.1, “Connecting the ESD Shoe Testing Plate.”
2.Select the required threshold resistance values. Refer to Section 2.2, “Threshold Resistance Settings (1).”
3.The wrist strap must not be connected to the front panel connector during shoe testing. If it is connected, remove it.
4.Step on the shoe testing plate, then press the touch panel with your finger. Continue pressing the touch panel until measurement is completed (until the . ![]() indicator goes out).
indicator goes out).
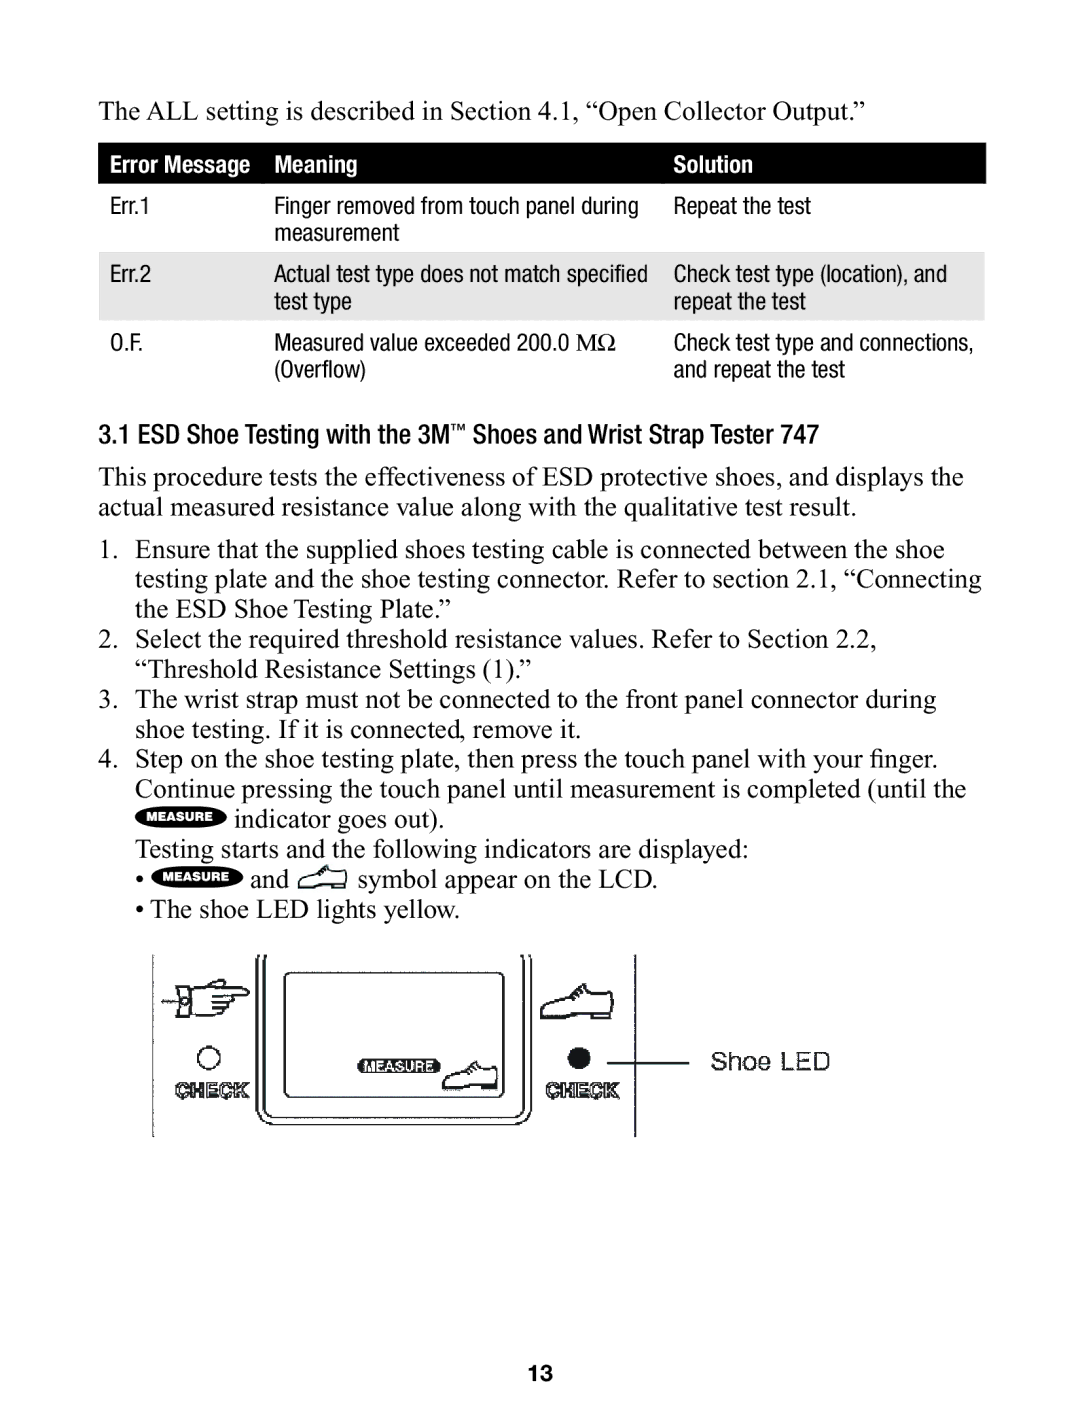
Testing starts and the following indicators are displayed:
•![]() and
and ![]() symbol appear on the LCD.
symbol appear on the LCD.
•The shoe LED lights yellow.
13