Testing Shoe Ranges
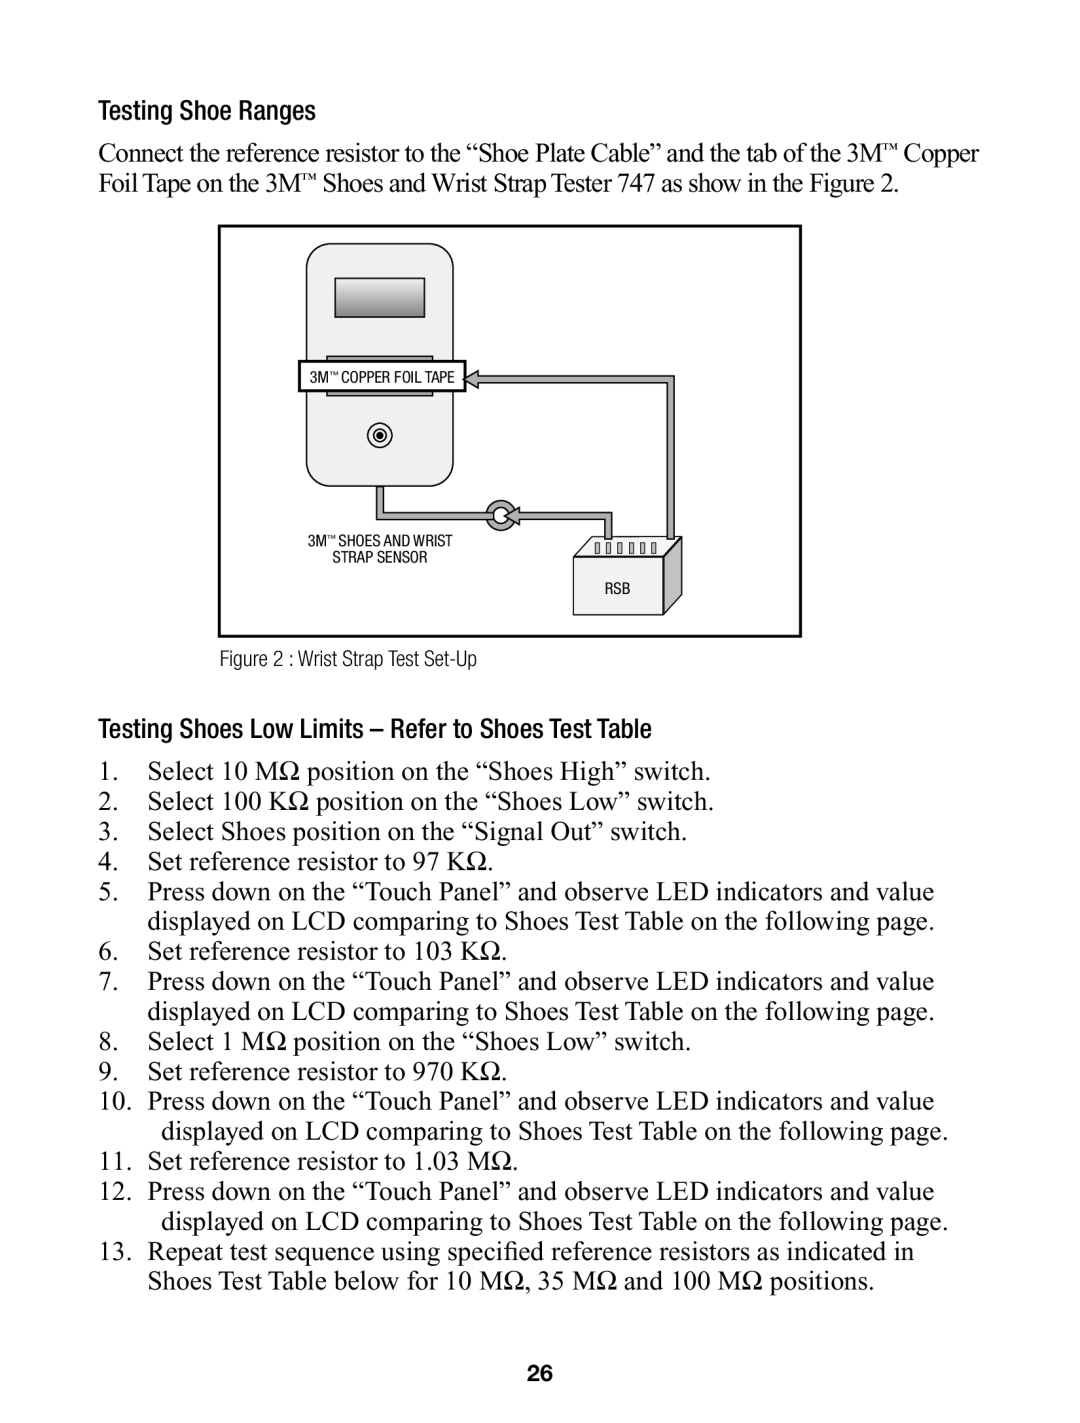
Connect the reference resistor to the “Shoe Plate Cable” and the tab of the 3M™ Copper Foil Tape on the 3M™ Shoes and Wrist Strap Tester 747 as show in the Figure 2.
3M™ COPPER FOIL TAPE
3M™ SHOES AND WRIST
STRAP SENSOR
RSB
Figure 2 : Wrist Strap Test Set-Up
Testing Shoes Low Limits – Refer to Shoes Test Table
1.Select 10 MΩ position on the “Shoes High” switch.
2.Select 100 KΩ position on the “Shoes Low” switch.
3.Select Shoes position on the “Signal Out” switch.
4.Set reference resistor to 97 KΩ.
5.Press down on the “Touch Panel” and observe LED indicators and value displayed on LCD comparing to Shoes Test Table on the following page.
6.Set reference resistor to 103 KΩ.
7.Press down on the “Touch Panel” and observe LED indicators and value displayed on LCD comparing to Shoes Test Table on the following page.
8.Select 1 MΩ position on the “Shoes Low” switch.
9.Set reference resistor to 970 KΩ.
10.Press down on the “Touch Panel” and observe LED indicators and value displayed on LCD comparing to Shoes Test Table on the following page.
11.Set reference resistor to 1.03 MΩ.
12.Press down on the “Touch Panel” and observe LED indicators and value displayed on LCD comparing to Shoes Test Table on the following page.
13.Repeat test sequence using specified reference resistors as indicated in Shoes Test Table below for 10 MΩ, 35 MΩ and 100 MΩ positions.
26