DECT 142 specifications
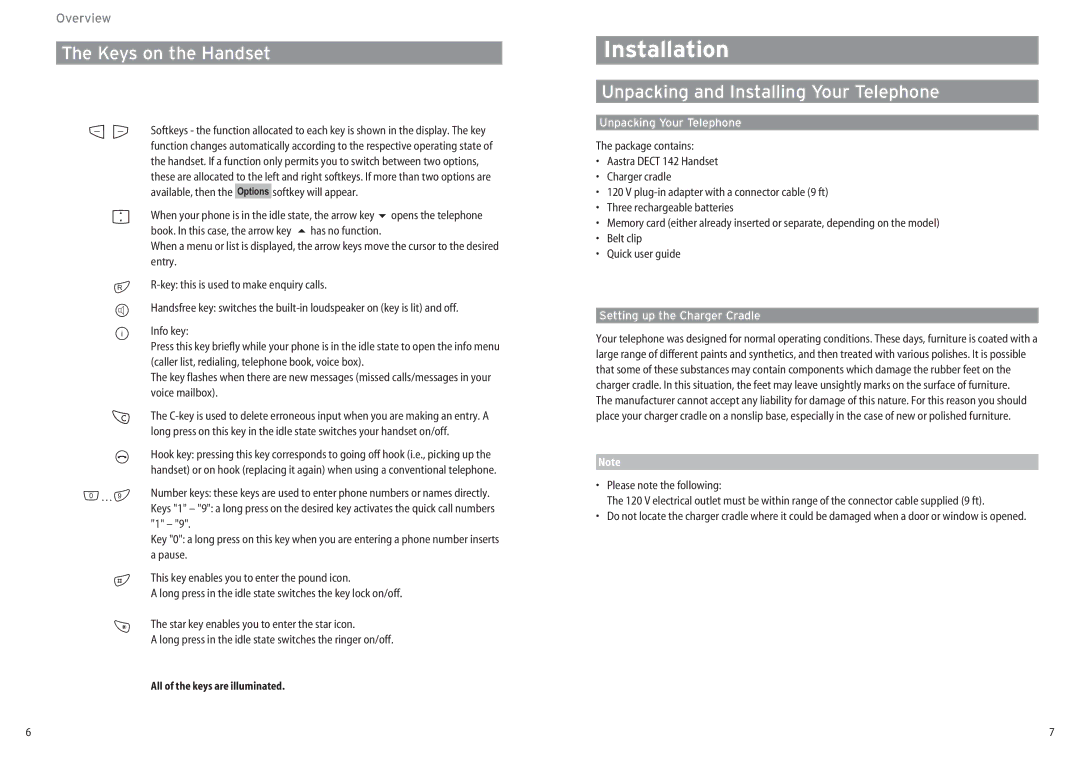
The Aastra Telecom DECT 142 is a highly regarded cordless phone system designed for both residential and small office environments. Known for its user-friendly features and reliable performance, this device stands out in the competitive landscape of wireless telecommunication technology.One of the key characteristics of the DECT 142 is its ergonomic design. The handset is lightweight and comfortable to hold, making it suitable for extended use. It features a clear and intuitive keypad layout, allowing users to access functions easily. The large display screen enhances user experience by providing easy navigation and readability, even in low light conditions.
A significant technological feature of the Aastra DECT 142 is its implementation of Digital Enhanced Cordless Telecommunications (DECT) technology. This offers numerous advantages, including excellent voice quality, enhanced security, and a long operational range. DECT technology ensures that conversations remain private and free from eavesdropping, thanks to its encryption capabilities.
The DECT 142 also boasts a robust battery life, supporting long talk times and standby durations. Users can expect up to 10 hours of talk time and several days of standby time before needing to recharge the device. The phone's charging dock ensures that it is always ready for use, minimizing downtime.
Another noteworthy feature is the phone's ability to store a substantial number of contacts, making it convenient for users to manage their communication needs. The Aastra DECT 142 can often support up to 50 entries in its phonebook, allowing for quick access to frequently dialed numbers.
The device is designed to support multiple handsets, which makes it a versatile choice for growing families or small businesses. Users can connect up to six handsets to a single base station, enhancing communication flexibility around the home or office.
Moreover, the Aastra DECT 142 is equipped with essential features like caller ID, call forwarding, and speed dial functions. These capabilities enhance the overall efficiency and responsiveness of the device, catering to the modern user's communication needs.
In conclusion, the Aastra Telecom DECT 142 offers a combination of ergonomic design, advanced DECT technology, and a suite of essential features that cater to both personal and professional communication requirements. Its reliability and user-friendly operation make it a preferred choice for those seeking a dependable cordless telephone solution.

