00608BPDI specifications
The Acu-Rite 00608BPDI is a state-of-the-art digital weather station that provides users with comprehensive and accurate weather data right from the comfort of their homes. For weather enthusiasts and anyone interested in tracking environmental conditions, this device delivers exceptional performance and advanced features.One of the key features of the Acu-Rite 00608BPDI is its ability to monitor various weather parameters, including indoor and outdoor temperature, humidity, wind speed, and rainfall. It comes equipped with a wireless outdoor sensor that communicates seamlessly with the main indoor display unit, providing real-time updates about changing weather conditions. The outdoor sensor boasts a robust range, allowing it to transmit data from a considerable distance, making it an excellent choice for suburban settings or larger spaces.
Another significant aspect of the Acu-Rite 00608BPDI is its user-friendly interface, which displays all essential information in an easily readable format. The station features a bright, color display that presents data in an intuitive layout, enabling users to access vital weather information at a glance. The device also includes customizable alerts, which notify users if temperature or humidity falls outside their predetermined thresholds. This feature is particularly useful for those managing indoor plants or sensitive equipment.
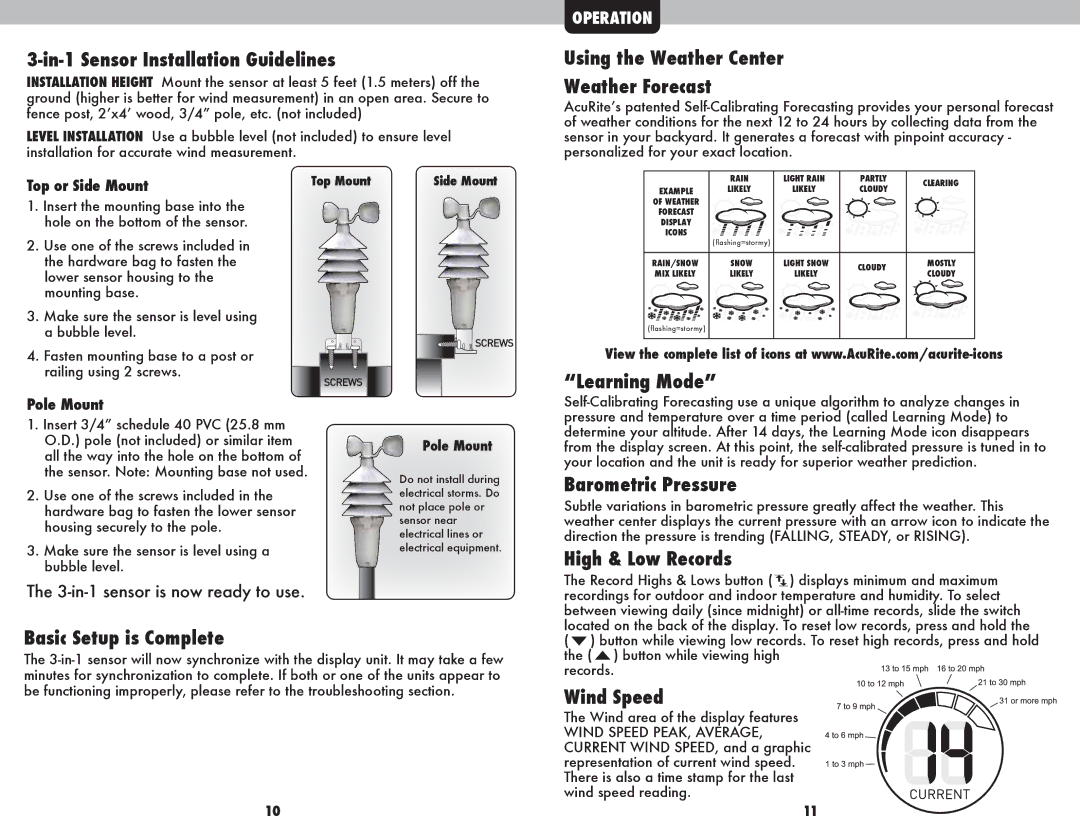
In terms of technology, the Acu-Rite 00608BPDI utilizes patented technology for precise measurements, ensuring that users receive accurate, real-time data. The device is equipped with self-calibrating sensors that analyze the past 14 days of weather data within the user’s specific location. This unique feature allows the station to provide hyper-local forecasts, which are more reliable than general predictions available from other sources.
Additionally, the Acu-Rite 00608BPDI is designed for easy installation and setup. Most users can have their weather station up and running within minutes, thanks to the intuitive instructions and clear prompts. The durable construction and weather-resistant design of the outdoor sensor ensure that it stands up to various environmental conditions, ensuring longevity and reliable performance.
In summary, the Acu-Rite 00608BPDI is an exceptional digital weather station that combines advanced technology with user-friendly features. From real-time data tracking to customizable alerts and self-calibrating sensors, it provides all the necessary tools for anyone looking to stay informed about their local weather conditions. Whether for personal interest or practical applications, the Acu-Rite 00608BPDI stands out as an excellent choice for weather monitoring.

