GTP-860 specifications
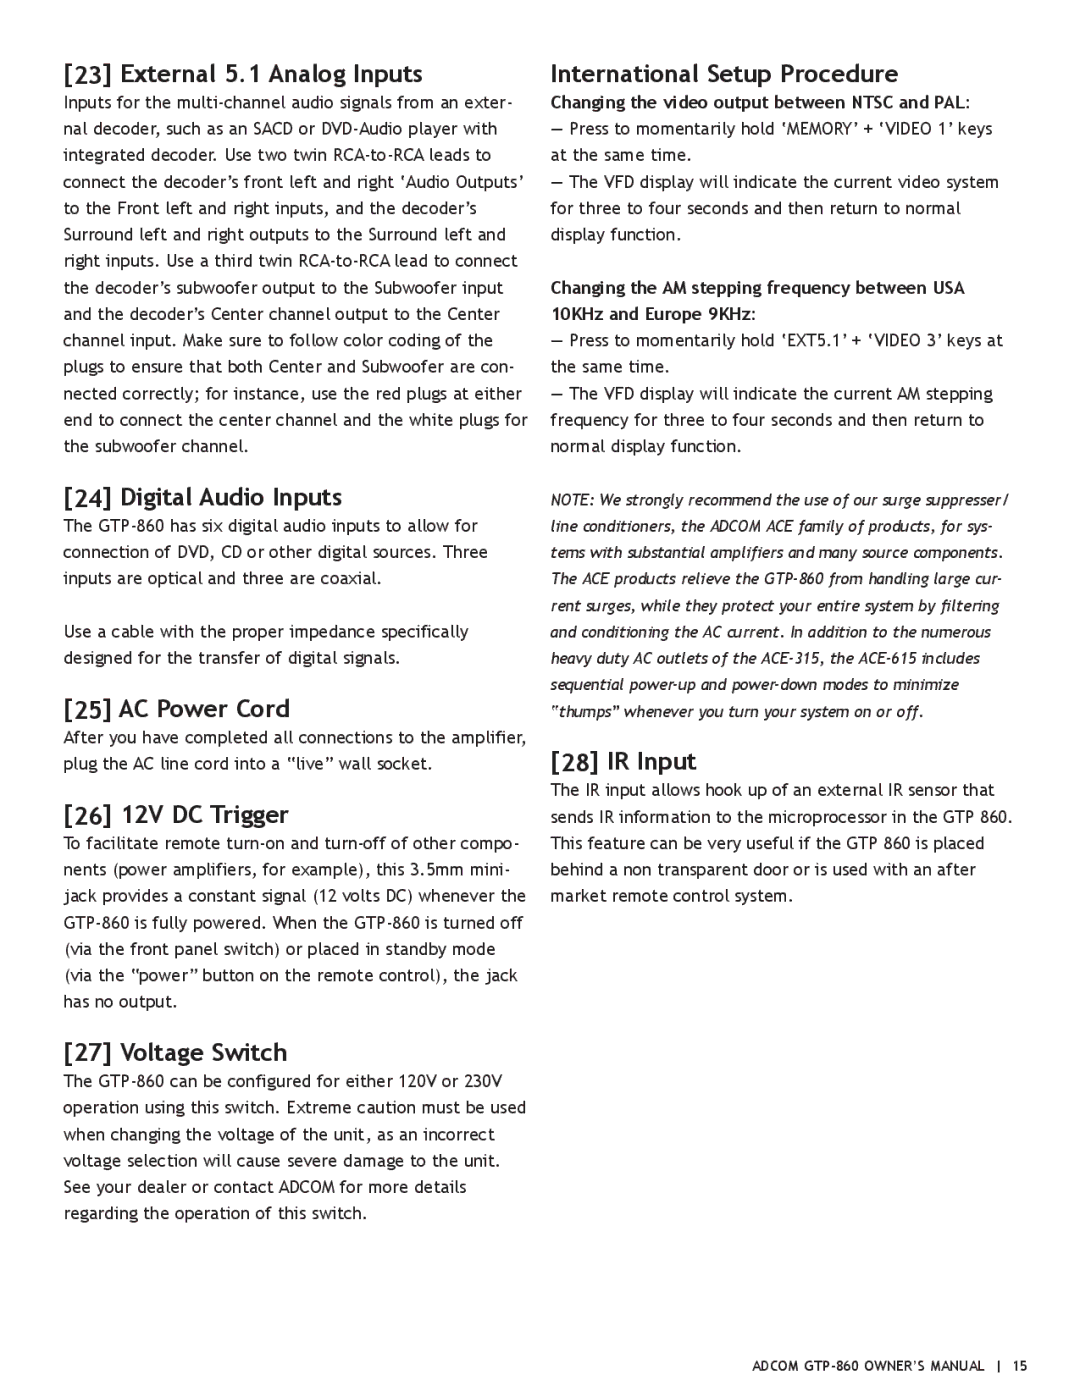
The Adcom GTP-860 is a versatile audio component that seamlessly combines a high-performance stereo receiver and a multi-source digital preamp. Known for its robust features and reliability, the GTP-860 caters to both audiophiles and casual listeners, making it a staple in many home audio systems.One of the standout features of the GTP-860 is its extensive connectivity options. With multiple analog and digital inputs, including optical and coaxial connections, users can easily integrate various devices such as CD players, Blu-ray players, and game consoles. The unit also includes a dedicated phono stage, providing support for vinyl enthusiasts. This wide range of connectivity ensures that users can enjoy high-quality audio from virtually any source, making it an adaptable choice for diverse audio setups.
The GTP-860 is equipped with advanced technologies that enhance its audio performance. It utilizes a high-quality digital-to-analog converter (DAC) that supports high-resolution audio formats, allowing for a richer and more detailed listening experience. The unit also features a built-in FM and AM tuner, enabling users to access their favorite radio stations with ease. The user-friendly interface and intuitive remote control further enhance the listening experience, allowing users to navigate through various settings and inputs effortlessly.
Another notable characteristic of the GTP-860 is its robust build quality. Constructed with premium materials, the unit not only looks sophisticated but is also designed to withstand the rigors of regular use. The solid chassis helps minimize vibrations, contributing to improved audio clarity and performance.
The Adcom GTP-860 is also known for its excellent sound staging and imaging capabilities. The unit is designed to reproduce a wide soundstage, allowing listeners to experience music as it was intended by the artists. The precise imaging ensures that every note and instrument can be distinctly heard, providing an immersive listening experience.
In summary, the Adcom GTP-860 is a feature-rich audio component that blends functionality and performance. With its versatile connectivity options, advanced audio technologies, and high build quality, it stands out as a compelling choice for anyone looking to elevate their home audio setup. Whether for casual listening or for critical listening sessions, the GTP-860 delivers on all fronts, making it a valuable addition to any audio system.
