RAID Rack with Port Multiplier Compatibility
Note: When configured as a set of individual drives, the Port Multiplier will only work with a Port Multiplier aware host. Identify your host controller and check with its hardware manufacturer if you are unsure. Addonics offers several Port Multiplier capable host adapters.
Removing Cover
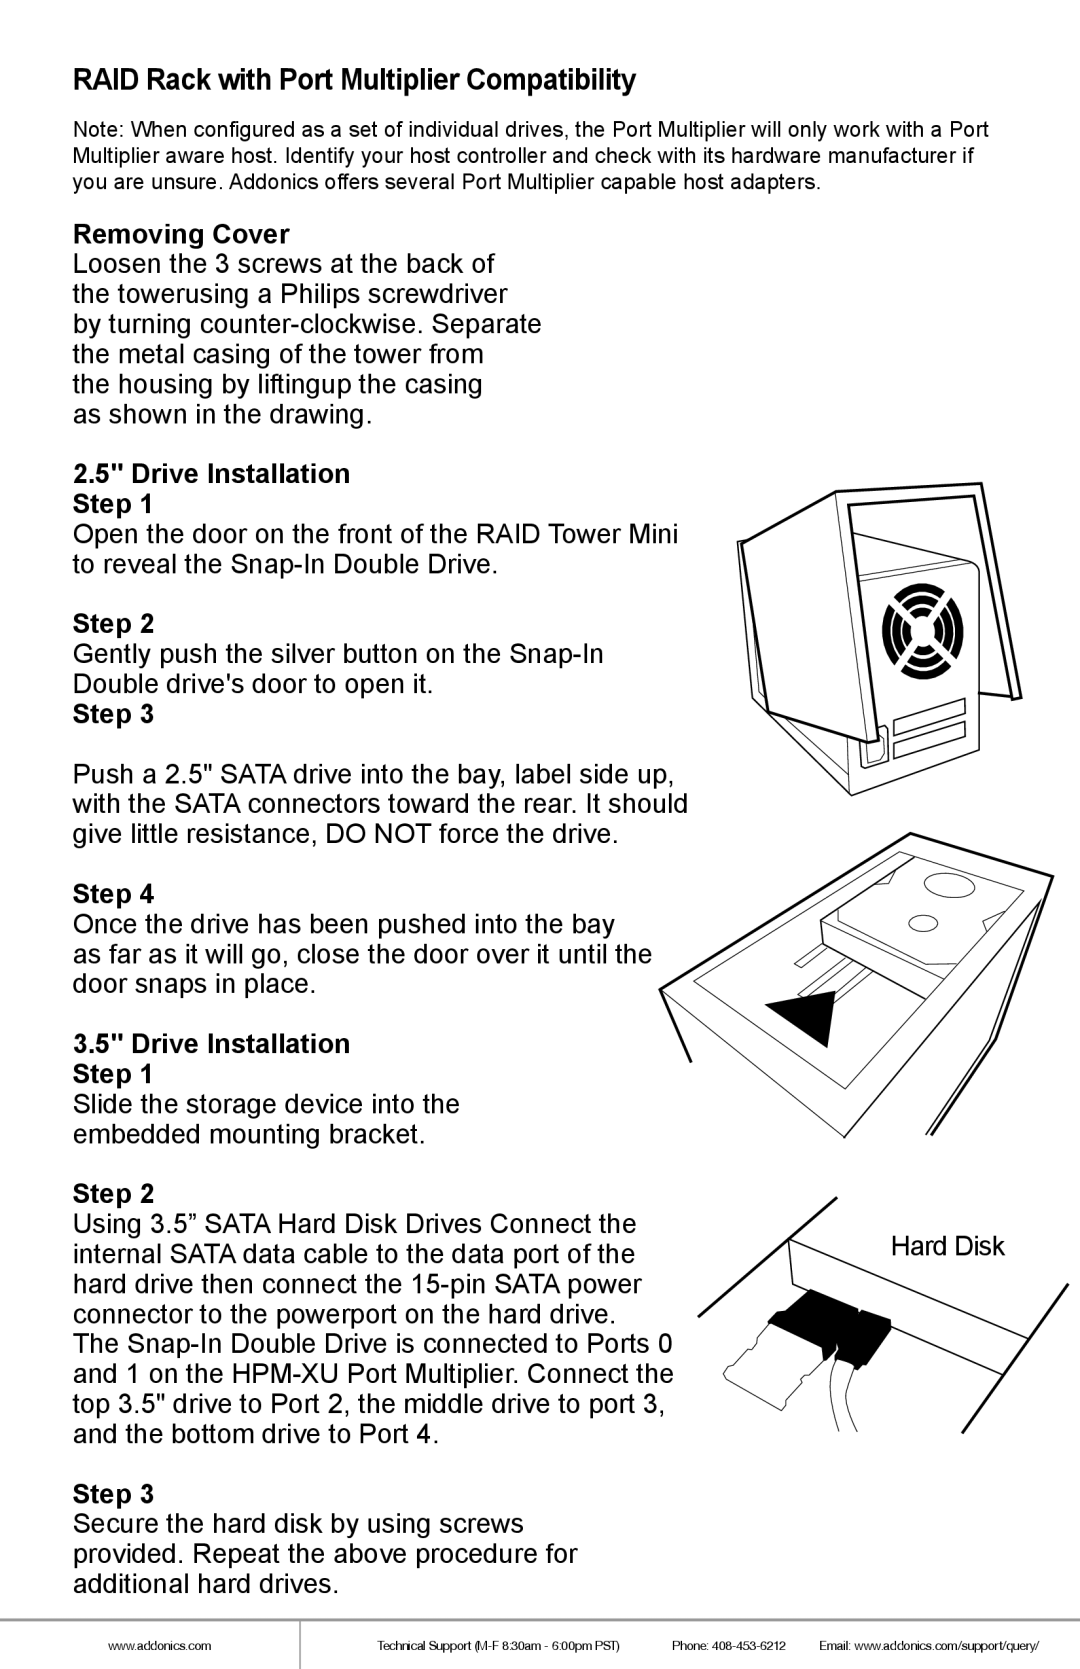
Loosen the 3 screws at the back of the towerusing a Philips screwdriver by turning
as shown in the drawing.
2.5" Drive Installation
Step 1
Open the door on the front of the RAID Tower Mini to reveal the
Step 2
Gently push the silver button on the
Double drive's door to open it.
Step 3
Push a 2.5" SATA drive into the bay, label side up, with the SATA connectors toward the rear. It should give little resistance, DO NOT force the drive.
Step 4
Once the drive has been pushed into the bay as far as it will go, close the door over it until the door snaps in place.
3.5" Drive Installation
Step 1
Slide the storage device into the embedded mounting bracket.
Step 2
Using 3.5” SATA Hard Disk Drives Connect the
internal SATA data cable to the data port of theHard Disk hard drive then connect the
connector to the powerport on the hard drive. The
Step 3
Secure the hard disk by using screws provided. Repeat the above procedure for additional hard drives.
www.addonics.com
Technical Support | Phone: | Email: www.addonics.com/support/query/ |
