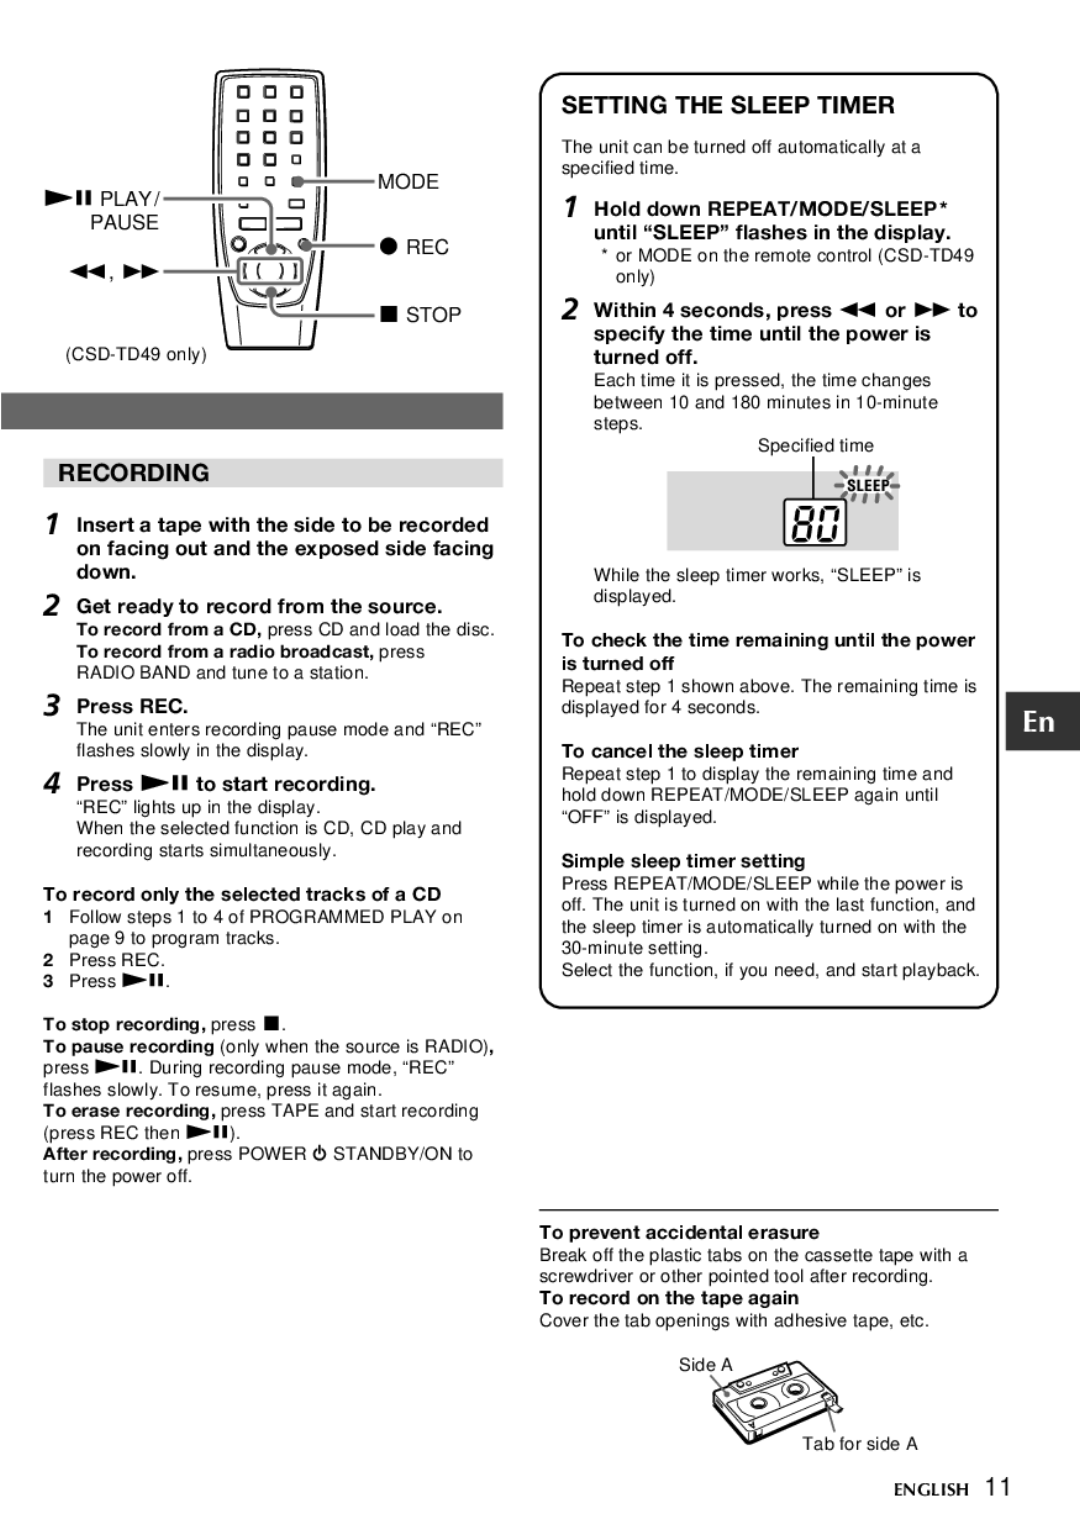
MODE
e PLAY/
PAUSE
w REC
f, g![]()
s STOP
RECORDING
1 Insert a tape with the side to be recorded on facing out and the exposed side facing down.
2 Get ready to record from the source.
To record from a CD, press CD and load the disc. To record from a radio broadcast, press RADIO BAND and tune to a station.
SETTING THE SLEEP TIMER
The unit can be turned off automatically at a specified time.
1 Hold down REPEAT/MODE/SLEEP * until “SLEEP” flashes in the display.
*or MODE on the remote control
2 Within 4 seconds, press f or g to specify the time until the power is turned off.
Each time it is pressed, the time changes between 10 and 180 minutes in
Specified time
While the sleep timer works, “SLEEP” is displayed.
To check the time remaining until the power is turned off
Repeat step 1 shown above. The remaining time is
3 Press REC.
The unit enters recording pause mode and “REC”
displayed for 4 seconds.
En
flashes slowly in the display.
4 Press e to start recording.
“REC” lights up in the display.
When the selected function is CD, CD play and recording starts simultaneously.
To record only the selected tracks of a CD
1Follow steps 1 to 4 of PROGRAMMED PLAY on page 9 to program tracks.
2Press REC.
3Press e.
To stop recording, press s.
To pause recording (only when the source is RADIO), press e. During recording pause mode, “REC” flashes slowly. To resume, press it again.
To erase recording, press TAPE and start recording (press REC then e).
After recording, press POWER 6 STANDBY/ON to turn the power off.
To cancel the sleep timer
Repeat step 1 to display the remaining time and hold down REPEAT/MODE/SLEEP again until “OFF” is displayed.
Simple sleep timer setting
Press REPEAT/MODE/SLEEP while the power is off. The unit is turned on with the last function, and the sleep timer is automatically turned on with the
Select the function, if you need, and start playback.
To prevent accidental erasure
Break off the plastic tabs on the cassette tape with a screwdriver or other pointed tool after recording.
To record on the tape again
Cover the tab openings with adhesive tape, etc.
Side A
Tab for side A
ENGLISH 11
