NSX-A111 specifications
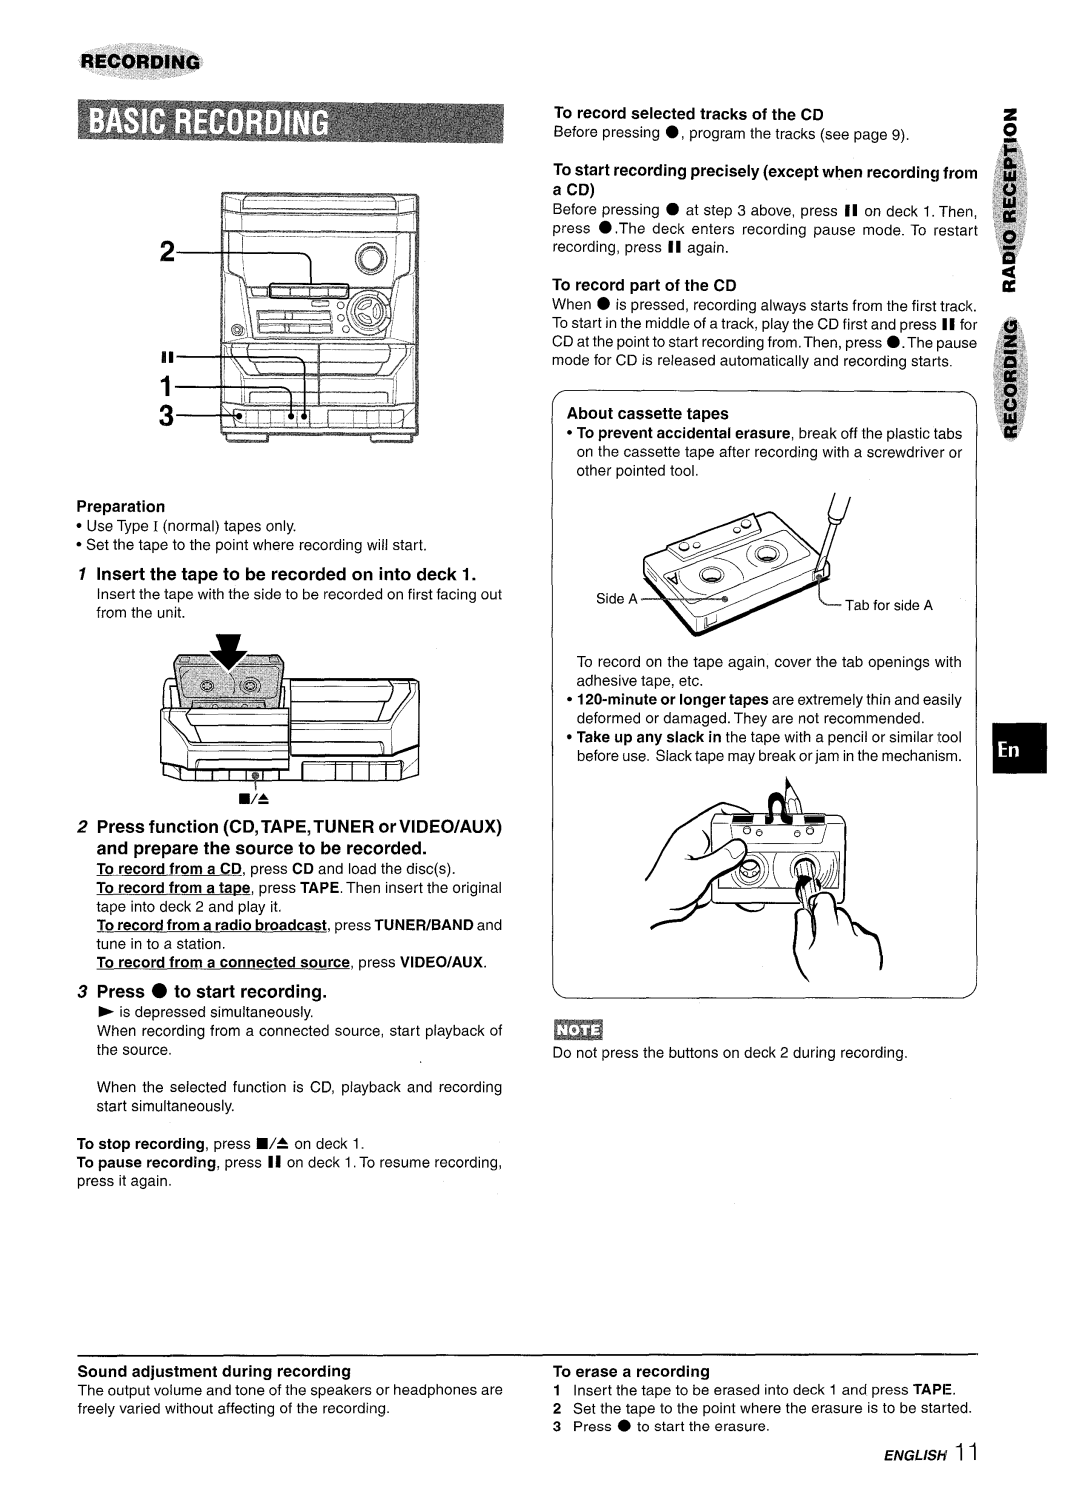
The Aiwa NSX-A111 is a notable compact stereo system that gained popularity in the late 1990s and early 2000s due to its remarkable combination of functionality, sound quality, and design. This system is part of Aiwa's effort to deliver an affordable yet powerful audio experience for everyday users.One of the most prominent features of the NSX-A111 is its cassette deck, which allows for both playback and recording. This feature was particularly popular during its time, enabling users to create mixtapes or record songs from the radio. The cassette deck is complemented by a CD player, further enhancing the versatility of the system. The CD player supports various formats, allowing users to enjoy their favorite albums or compilations with excellent sound fidelity.
The NSX-A111 also includes a built-in AM/FM radio tuner, which offers plenty of listening options. The tuner features digital tuning and preset functions, allowing listeners to quickly switch between their favorite stations. This convenience makes it an ideal choice for those who enjoy a variety of music styles and want easy access to different radio channels.
The audio output of the Aiwa NSX-A111 is impressive for a compact stereo. With dual speakers incorporating a 2-way design, the system delivers a balanced sound profile with clear highs and rich lows, making it suitable for a diverse range of music genres. The power output rivals larger systems, allowing it to fill a room with sound without distortion.
In terms of design, the NSX-A111 is aesthetically appealing, featuring a sleek and modern look that fits well in various home environments. The user interface is straightforward, with intuitive controls for easy navigation of functions. Additionally, the system is compact, which is perfect for users with limited space while still providing a powerful audio experience.
Another key technology in the Aiwa NSX-A111 is its easy-to-use remote control, giving users the ability to adjust settings, change tracks, and manage volume from a distance. This added convenience enhances user experience, making it suitable for casual listening or entertaining guests.
In summary, the Aiwa NSX-A111 encapsulates the essence of a quality compact stereo system, delivering excellent sound, versatility, and user-friendliness. Its combination of a cassette deck, CD player, FM/AM radio, and impressive audio output makes it a memorable choice for music enthusiasts of its time. With its smart design and reliable performance, the NSX-A111 remains a nostalgic piece of audio equipment in the hearts of many users.