XR-MG9 specifications
The Aiwa XR-MG9 is a standout portable MiniDisc player that combines cutting-edge technology with user-friendly features, making it a popular choice among audiophiles and casual listeners alike. This device exemplifies Aiwa's commitment to exceptional sound quality and innovative design, positioning it as one of the most sought-after players in its category.One of the main features of the Aiwa XR-MG9 is its compact and lightweight design, enabling users to carry it effortlessly whether they are commuting, exercising, or simply enjoying music on the go. Despite its size, the XR-MG9 does not compromise on audio performance. It is equipped with advanced digital signal processing technology, which ensures crisp highs and rich lows, delivering an immersive listening experience.
Additionally, the XR-MG9 offers impressive playback capabilities, supporting a variety of audio formats including MP3 and ATRAC, enabling users to enjoy their favorite tracks with superb clarity. Another significant feature is its long battery life, which allows for extended listening sessions without the need for frequent recharges. This is particularly advantageous for users who spend long hours traveling or exploring.
The device also boasts built-in memory, allowing users to store a significant amount of music directly on the player. This feature not only enhances convenience but also makes it easier to curate personalized playlists without the need for bulky external storage. Furthermore, the user interface is designed for simplicity, featuring an intuitive menu system and easy navigation controls, which enhance the overall user experience.
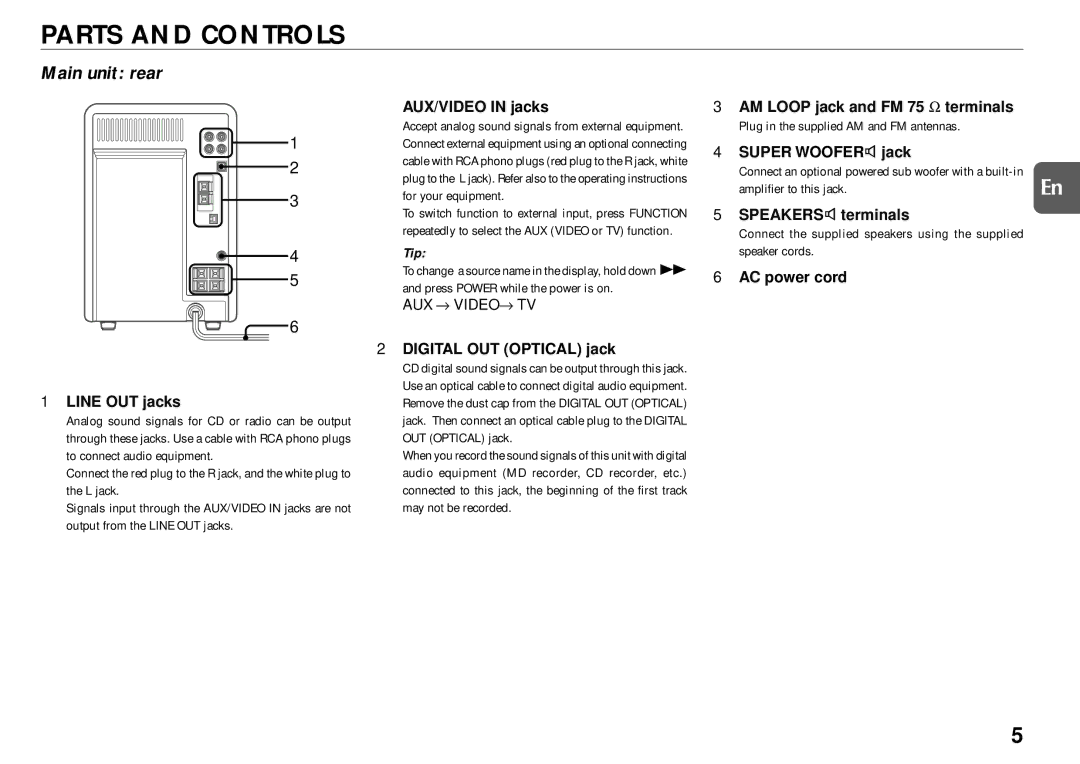
In terms of connectivity, the Aiwa XR-MG9 includes various input and output options, enabling compatibility with a wide array of devices. This flexibility is a valuable asset as it allows users to connect it to external speakers, home audio systems, or headphones with ease.
In conclusion, the Aiwa XR-MG9 stands out for its combination of portability, sound quality, and user-centric features. With its robust performance, versatile playback options, and sleek design, it represents a quintessential choice for music enthusiasts looking for a reliable and high-performing MiniDisc player. Aiwa’s commitment to quality and innovation is evident in the XR-MG9, ensuring that users enjoy their music wherever they go.

