PRESET MODE
A Preset is a collection of information about how the MPK49’s keyboard, sliders, knobs, buttons and pads will behave. Using Presets allows you to save different configurations so you can quickly recall them at any time, without having to reprogram the MPK49 every time. You can press the [PRESET] button at any time to call up this mode. In Preset Mode you can load, save/copy and rename Presets – each of these functions can be accessed through the 3 different pages.
PAGE 1 – LOAD PRESET
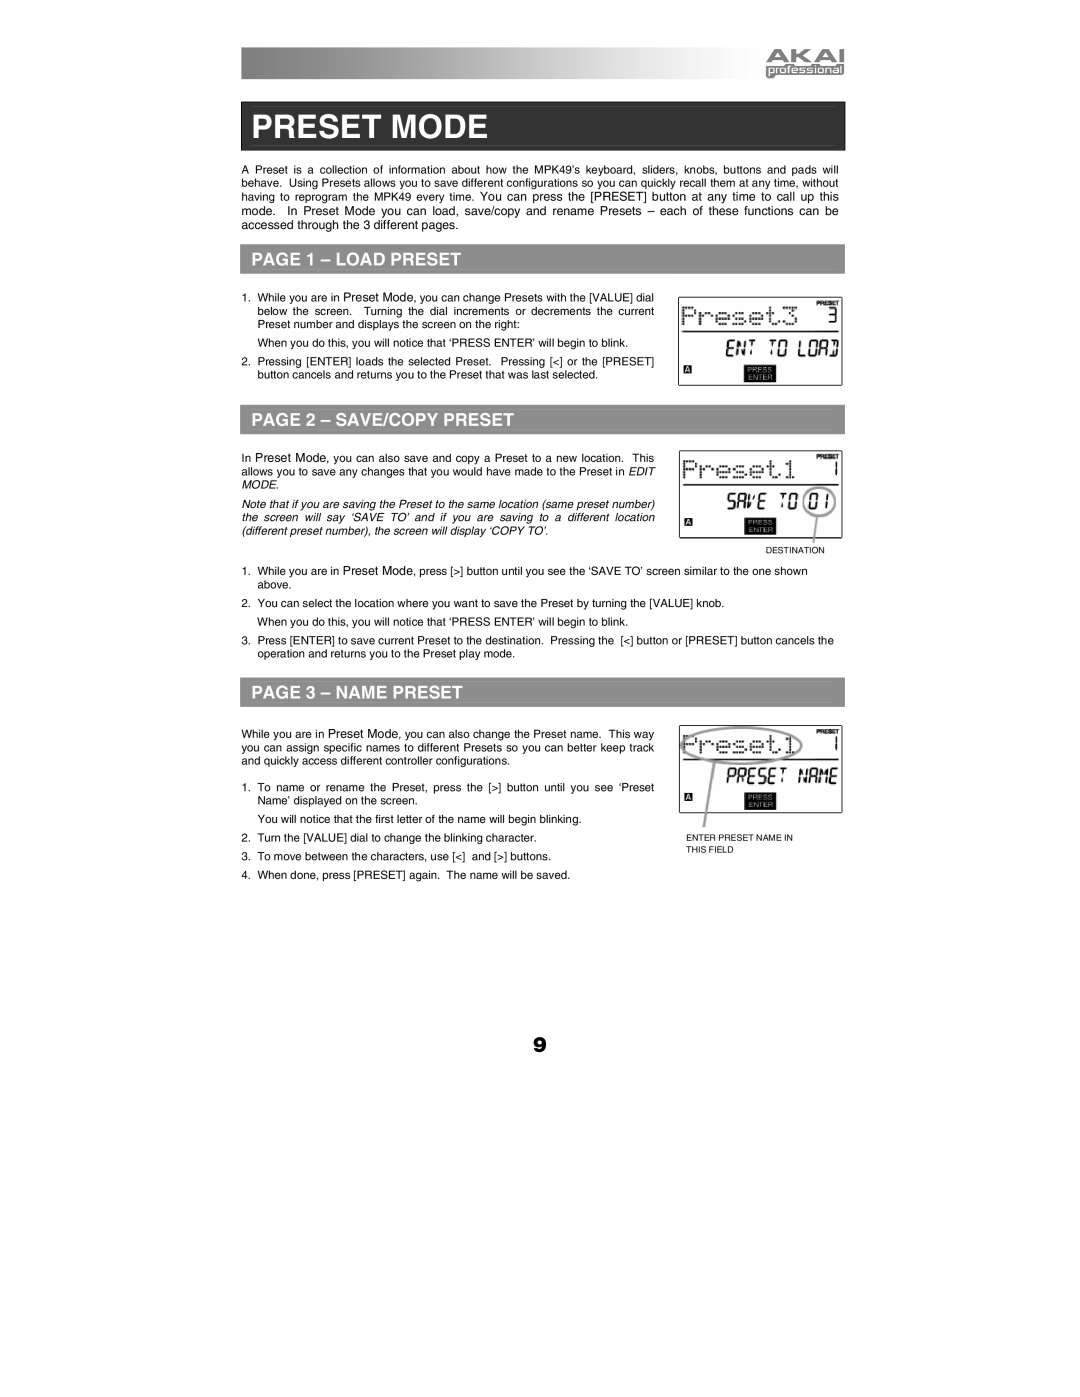
1.While you are in Preset Mode, you can change Presets with the [VALUE] dial below the screen. Turning the dial increments or decrements the current Preset number and displays the screen on the right:
When you do this, you will notice that ‘PRESS ENTER’ will begin to blink.
2.Pressing [ENTER] loads the selected Preset. Pressing [<] or the [PRESET] button cancels and returns you to the Preset that was last selected.
PAGE 2 – SAVE/COPY PRESET
In Preset Mode, you can also save and copy a Preset to a new location. This allows you to save any changes that you would have made to the Preset in EDIT MODE.
Note that if you are saving the Preset to the same location (same preset number) the screen will say ‘SAVE TO’ and if you are saving to a different location (different preset number), the screen will display ‘COPY TO’.
DESTINATION
1.While you are in Preset Mode, press [>] button until you see the ‘SAVE TO’ screen similar to the one shown above.
2.You can select the location where you want to save the Preset by turning the [VALUE] knob. When you do this, you will notice that ‘PRESS ENTER’ will begin to blink.
3.Press [ENTER] to save current Preset to the destination. Pressing the [<] button or [PRESET] button cancels the operation and returns you to the Preset play mode.
PAGE 3 – NAME PRESET
While you are in Preset Mode, you can also change the Preset name. This way you can assign specific names to different Presets so you can better keep track and quickly access different controller configurations.
1.To name or rename the Preset, press the [>] button until you see ‘Preset Name’ displayed on the screen.
| You will notice that the first letter of the name will begin blinking. |
|
2. | Turn the [VALUE] dial to change the blinking character. | ENTER PRESET NAME IN |
3. | To move between the characters, use [<] and [>] buttons. | THIS FIELD |
| ||
4. | When done, press [PRESET] again. The name will be saved. |
|
9