
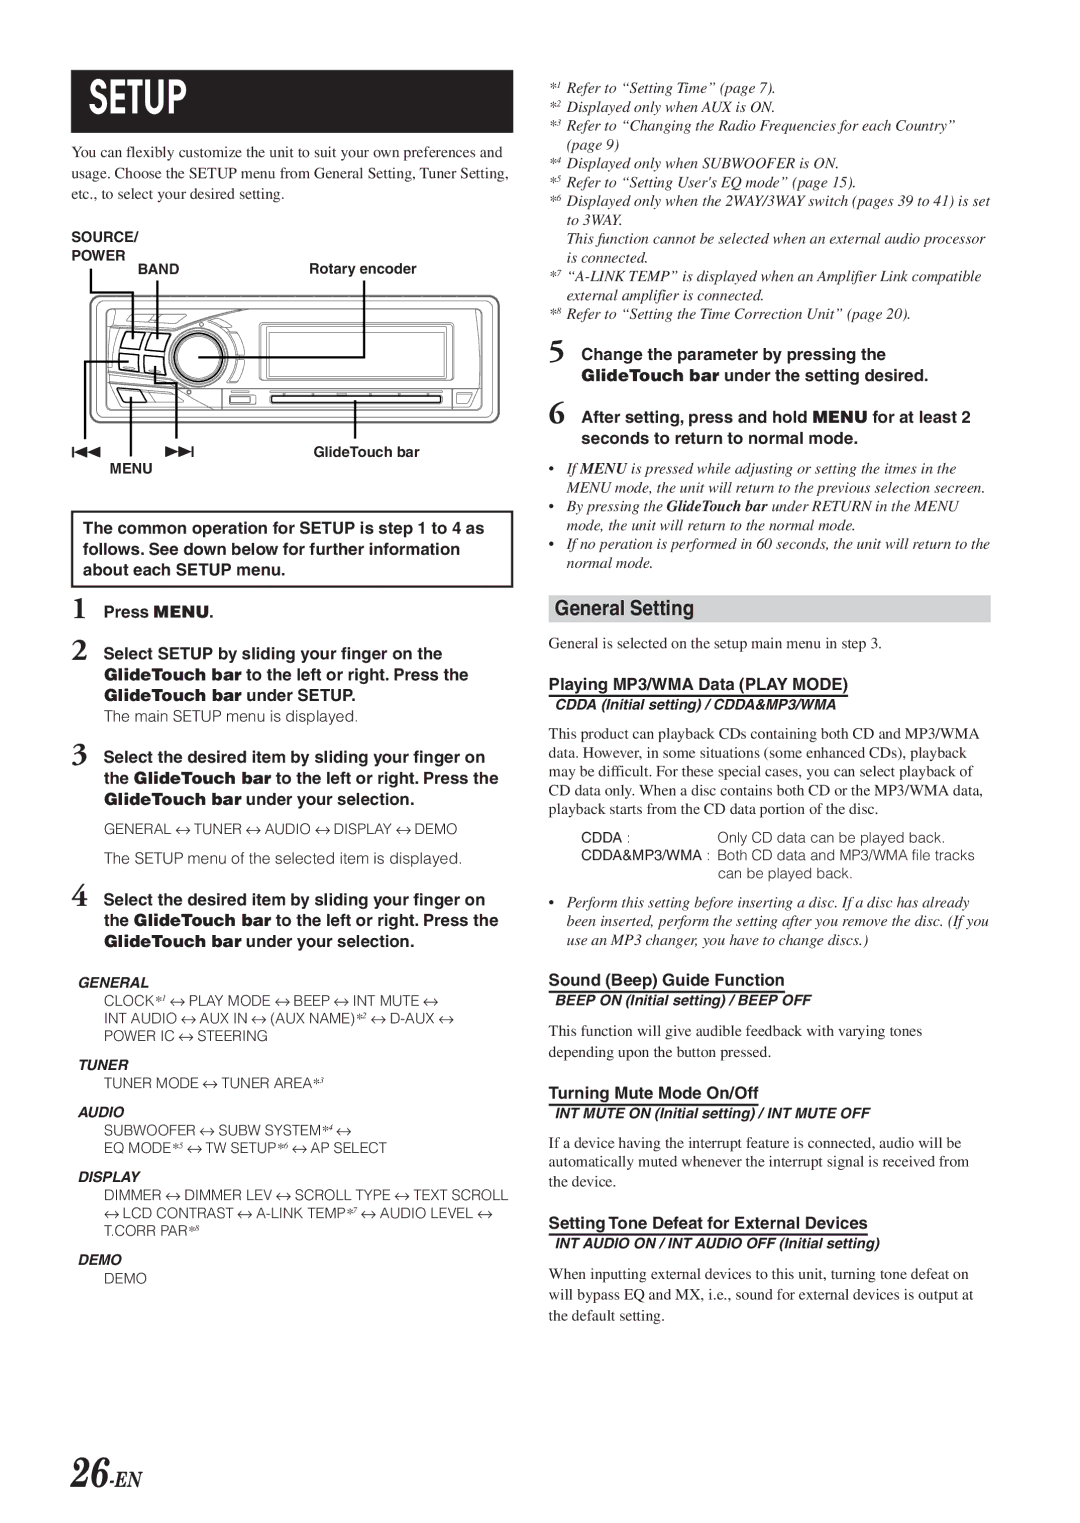
68-04123Z09-A specifications
The Alpine 68-04123Z09-A is a premium automotive accessory, designed to enhance the audio experience within a vehicle. This model is part of Alpine's distinguished lineup of car audio products, renowned for their superior sound quality and innovative technology.One of the standout features of the Alpine 68-04123Z09-A is its advanced sound processing capabilities. The unit comes equipped with a high-fidelity digital signal processor (DSP), which allows for precise tuning and customization of audio settings. This technology optimizes sound quality by eliminating distortion and providing a balanced audio spectrum.
Another significant characteristic of the Alpine 68-04123Z09-A is its compatibility with various audio sources. It supports Bluetooth connectivity, enabling users to stream music wirelessly from their smartphones or other devices. Furthermore, it has USB ports for easy access to digital audio files, and it can play CDs and AM/FM radio, catering to diverse listening preferences.
The display of the Alpine 68-04123Z09-A is also noteworthy. Featuring an intuitive user interface with a clear, bright touchscreen, it ensures easy navigation through menus and settings. The display is customizable, allowing users to choose different background colors and layouts to suit their personal style.
Additionally, the Alpine 68-04123Z09-A incorporates advanced equalization settings, which enable users to adjust bass, treble, and midrange frequencies. This feature is essential for those who desire a highly tailored audio experience, allowing for adjustments based on audio genre and personal taste.
Safety and convenience are also prioritized in the design of the Alpine 68-04123Z09-A. The unit often includes hands-free calling features, allowing drivers to stay connected without diverting their attention from the road. Integration with voice command systems enhances this capability, making it a more user-friendly option.
In summary, the Alpine 68-04123Z09-A stands out in the competitive world of car audio accessories. With its impressive sound processing technology, versatile compatibility, user-friendly interface, and strong emphasis on safety, it is an excellent choice for audiophiles and casual listeners alike, promising an outstanding audio experience on the road.