Storing XM Channel Presets
1 Press the BAND button to select the desired band (XM1 or XM2) you want to store.
2 After tuning in the desired channel, press and hold any one of the Preset buttons (1 through 6) that you want to store the station on for at least 2 seconds. The selected station is stored.
3 Repeat the procedure to store up to 5 other channels onto the same band.
To use this procedure for other bands, simply select the band desired and repeat the procedure.
A total of 12 channels can be stored in the preset memory (6 channels for each band; XM1 and XM2).
NOTE
If you store a channel in a preset memory which already has a station, the current channel will be cleared and replaced with the new one.
Receiving Stored XM Channels
1 Press the BAND button to select the desired band
(XM1 or XM2).
→FM1 → FM2 → XM1 → XM2 → AM
2 Press the channel Preset button that has your desired satellite channel in memory.
Category Search
Category Search functionality allows you to search for a specific channel by the category of programming it offers, or to surf within a given category.
1 In XM mode, press the CAT button to display the category of the channel that is currently selected for 5 seconds.
2 While the category is displayed, press the g DN or f UP button to select a different category (or leave it to stay with the same category.)
3 Within 5 seconds of selecting the category, press the CAT button again to select the next channel within that category. Repeatedly press the CAT button within 5 seconds to select additional channels within that category.
When tuned in, the category is displayed for 5 seconds, then the display returns to normal mode.
NOTE
If you cannot find your desired category, the display shows
Changing the Display
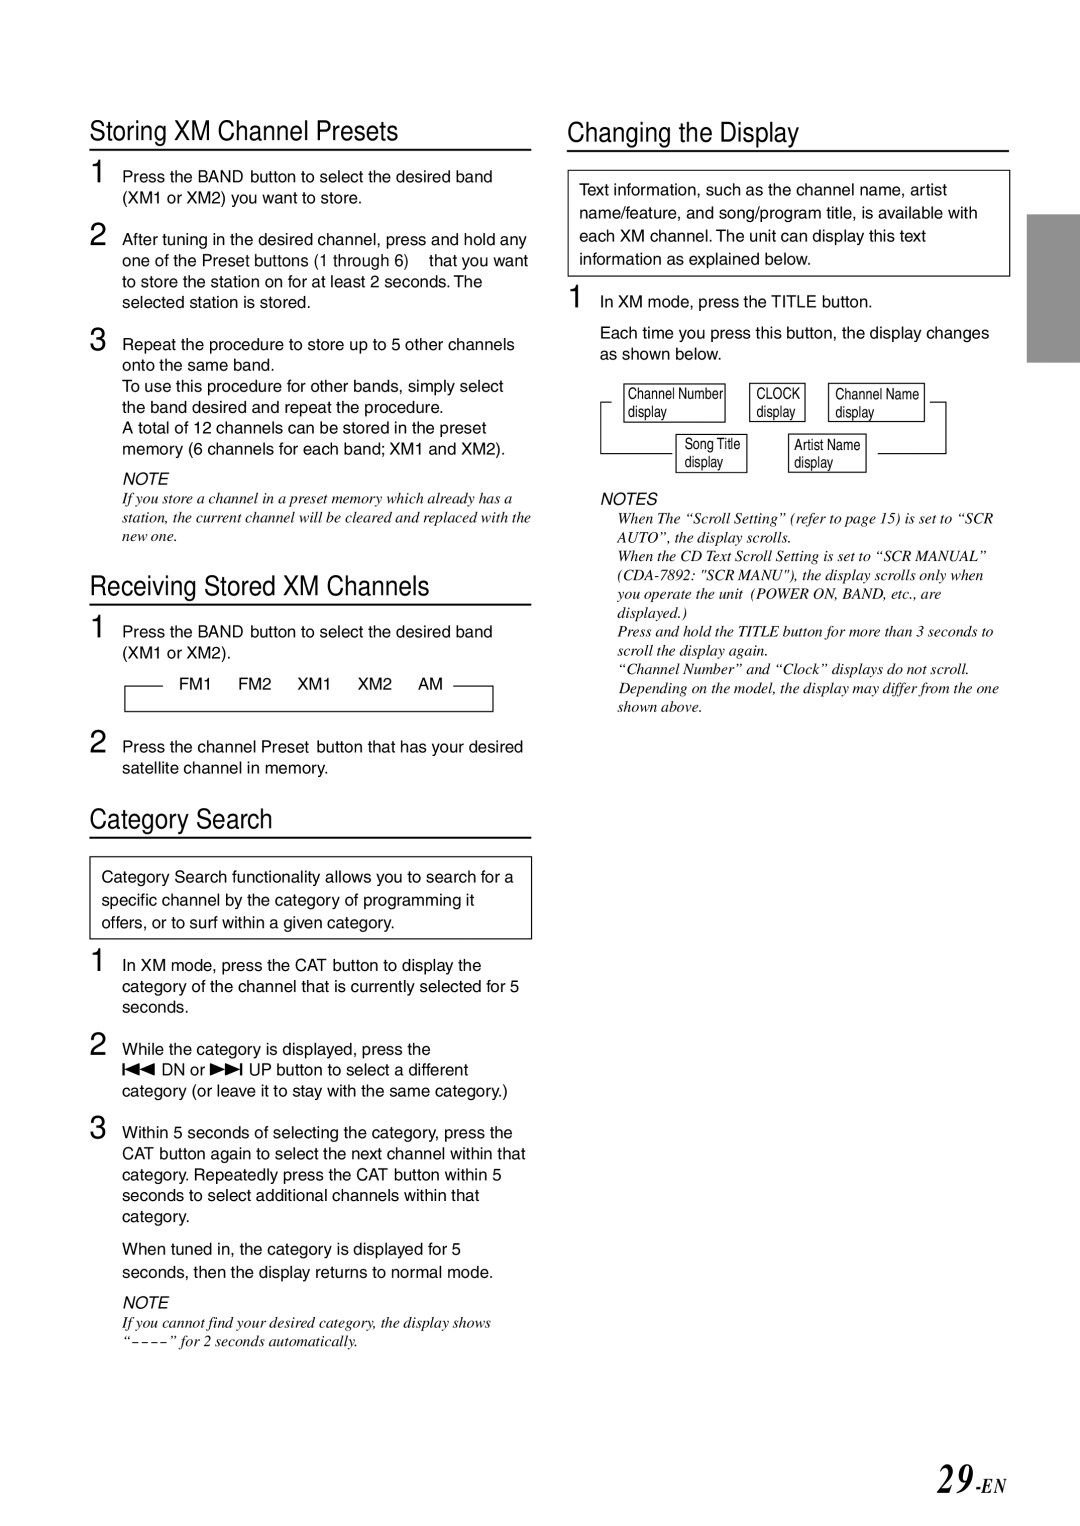
Text information, such as the channel name, artist name/feature, and song/program title, is available with each XM channel. The unit can display this text information as explained below.
1 In XM mode, press the TITLE button.
Each time you press this button, the display changes as shown below.
→Channeldisplay Number → CLOCKdisplay → Channeldisplay Name ![]()
![]()
Song Title | ← | Artist Name |
| ← |
display | display |
| ||
|
|
|
NOTES
•When The “Scroll Setting” (refer to page 15) is set to “SCR AUTO”, the display scrolls.
When the CD Text Scroll Setting is set to “SCR MANUAL”
Press and hold the TITLE button for more than 3 seconds to scroll the display again.
•“Channel Number” and “Clock” displays do not scroll.
•Depending on the model, the display may differ from the one shown above.
