3
2
Press the MODE button to return to the normal mode.
NOTES
Press the Preset buttons (1 through 6) that has your desired time correction in memory.
Recalling the Stored Time Correction Settings
1 Make time corrections by pressing the T.CORR button. Each press changes the modes as follows:
4 For setting another speaker, repeat the steps 2 to 3.
5 After setting, press the MODE button to return to the normal mode.
NOTES
3 Adjust the desired time correction value by turning the Rotary encoder.
To store the adjusted contents
Press the MX button to select MX ON.

Adjusting and Storing the Time Correction

Before performing the following procedures, refer to “About the Time Correction”(Page 10)

1 Make time corrections by pressing the T.CORR button. Each press changes the modes as follows:

Bass Focus modeTime correction modeNormal mode

2 Select a speaker to be adjusted by pressing the BAND button.

F-L F-R R-L R-R SW-L SW-R

(S-L) (S-R)

1)Press and hold any one of the Preset buttons (1 through 6) for at least 2 seconds into which you wish to store the adjusted curve.

Time Correction mode is automatically canceled if no buttons are pressed within 15 seconds.

To cancel Time Correction mode for all music source, press and hold the T.CORR button for at least 3 seconds to turn Time Correction off.

Bass Focus mode Time correction mode Normal mode

Time Correction mode is automatically canceled if no buttons are pressed within 15 seconds.

To cancel Time Correction mode for all music source, press and hold the T.CORR button for at least 3 seconds to turn Time Correction off.

Setting the MX Mode

MX (Media Xpander) makes vocals or instruments sound distinct regardless of the music source. The radio, CD, and MP3, will be able to reproduce the music clearly even in cars with a lot of road noise.

1

2 Press the SOURCE button to select the source you want to MX (Media Xpander)-correct.

3 Press and hold the MX button for at least 2 seconds to select the MX mode.

4 Turn the Rotary encoder to select your preferred mode or OFF.

FM (MX 1 to 3):

The medium to high frequencies become more clear, and produces well balanced sound in all the bands. CD (MX 1 to 3):

CD mode processes a large quantity of data. MX uses this massive data quantity to enhance the sound cleanly.

MP3/XM (MX 1 to 3):

This corrects information that was omitted at the time of compression. This reproduces a well-balanced sound close to the original.

DVD/Video CD (MX1 to 3):

MX 1 to 2 (MOVIE): reproduces the dialog of movies more clearly.

MX 3 (MUSIC): reproduces discs containing incidental music, music clips, etc. more clearly and effectively. AUX (MX 1 to 3):

Choose the MX mode (MP3, MUSIC, or MOVIE) that corresponds to the media connected.

5 After setting, press the MODE Button to return to the normal mode.

NOTES

By “Setting the Defeat of the external input” (page 19) to ON, operation is bypassed.

To cancel MX mode for all music sources, press the MX button to turn MX off.

MX mode is automatically canceled if no buttons are pressed within 15 seconds.

Each music source, such as radio, CD, and MP3 can have its own MX setting.

On disks with both MP3 and CD-DA, as the source changes from “MP3 to CD-DA” or “CD-DA to MP3”, the MX-mode needs to switch. This switching process may increase the time before a piece is actually heard.

Setting to MX OFF makes MX mode of each music source OFF.

This function is inoperable when DEFEAT is ON.

MX mode does not function when MX is ON for AM radio.

13-EN

Page 15
Image 15
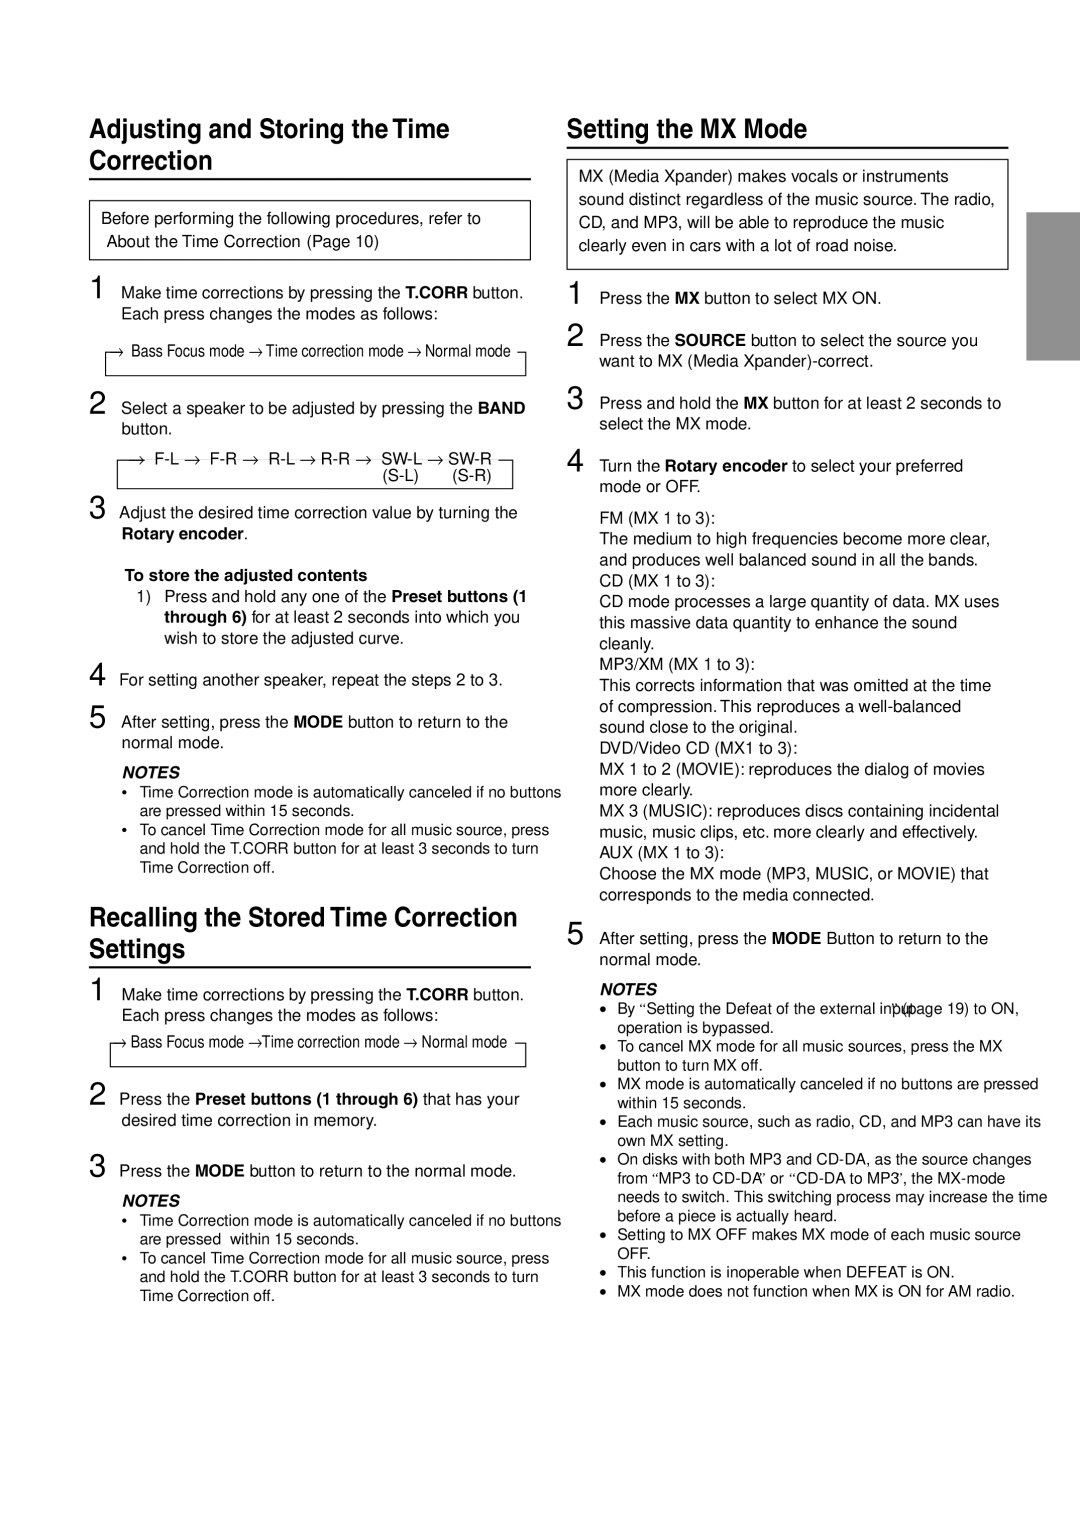
Alpine CDA-7897 owner manual Adjusting and Storing the Time Correction, Setting the MX Mode

CDA-7897 specifications

The Alpine CDA-7897 is a versatile and high-performance CD receiver that appeals to audiophiles and casual listeners alike. Renowned for its rich feature set and exceptional sound quality, the CDA-7897 is designed to enhance the in-car audio experience.

One of the standout features of the CDA-7897 is its direct connectivity options. The unit offers multiple inputs, including a front auxiliary input and USB connectivity for playing digital music files. This allows users to easily connect their smartphones or MP3 players directly to the receiver, ensuring that their favorite tunes are always within reach. The receiver is also compatible with Alpine's full-speed iPod connection, which allows for seamless control and playback of iPod music.

The CDA-7897 boasts impressive sound processing capabilities. Its built-in 24-bit digital-to-analog converter (DAC) offers superior audio clarity and fidelity, ensuring that even the most intricate details in music are faithfully reproduced. Additionally, the unit features extensive tuning options, including a 3-band parametric EQ and adjustable crossover settings, allowing users to customize their audio output to their liking. The included built-in amplifier provides a robust 50 watts per channel, delivering powerful sound that fills the car with rich, dynamic audio.

Another noteworthy aspect of the CDA-7897 is its sleek and user-friendly design. The receiver features a stylish front panel with a detachable faceplate for added security. The intuitive interface allows for easy navigation through menus and options, making it simple for users to adjust settings while on the road.

In terms of expandability, the CDA-7897 offers several options for enhancing your audio system. It includes preamp outputs for additional amplifiers and speakers, allowing users to build a more powerful setup over time. The unit also supports a variety of audio formats, including MP3 and WMA, ensuring playback compatibility across different music libraries.

Overall, the Alpine CDA-7897 is a feature-rich CD receiver that combines high-quality audio performance with modern connectivity options. Its blend of technology, customization, and user-friendly design solidifies its place as a top choice for car audio enthusiasts seeking an engaging listening experience. Whether cruising down the highway or parked at a gathering, the CDA-7897 delivers an impressive audio performance that elevates any journey.