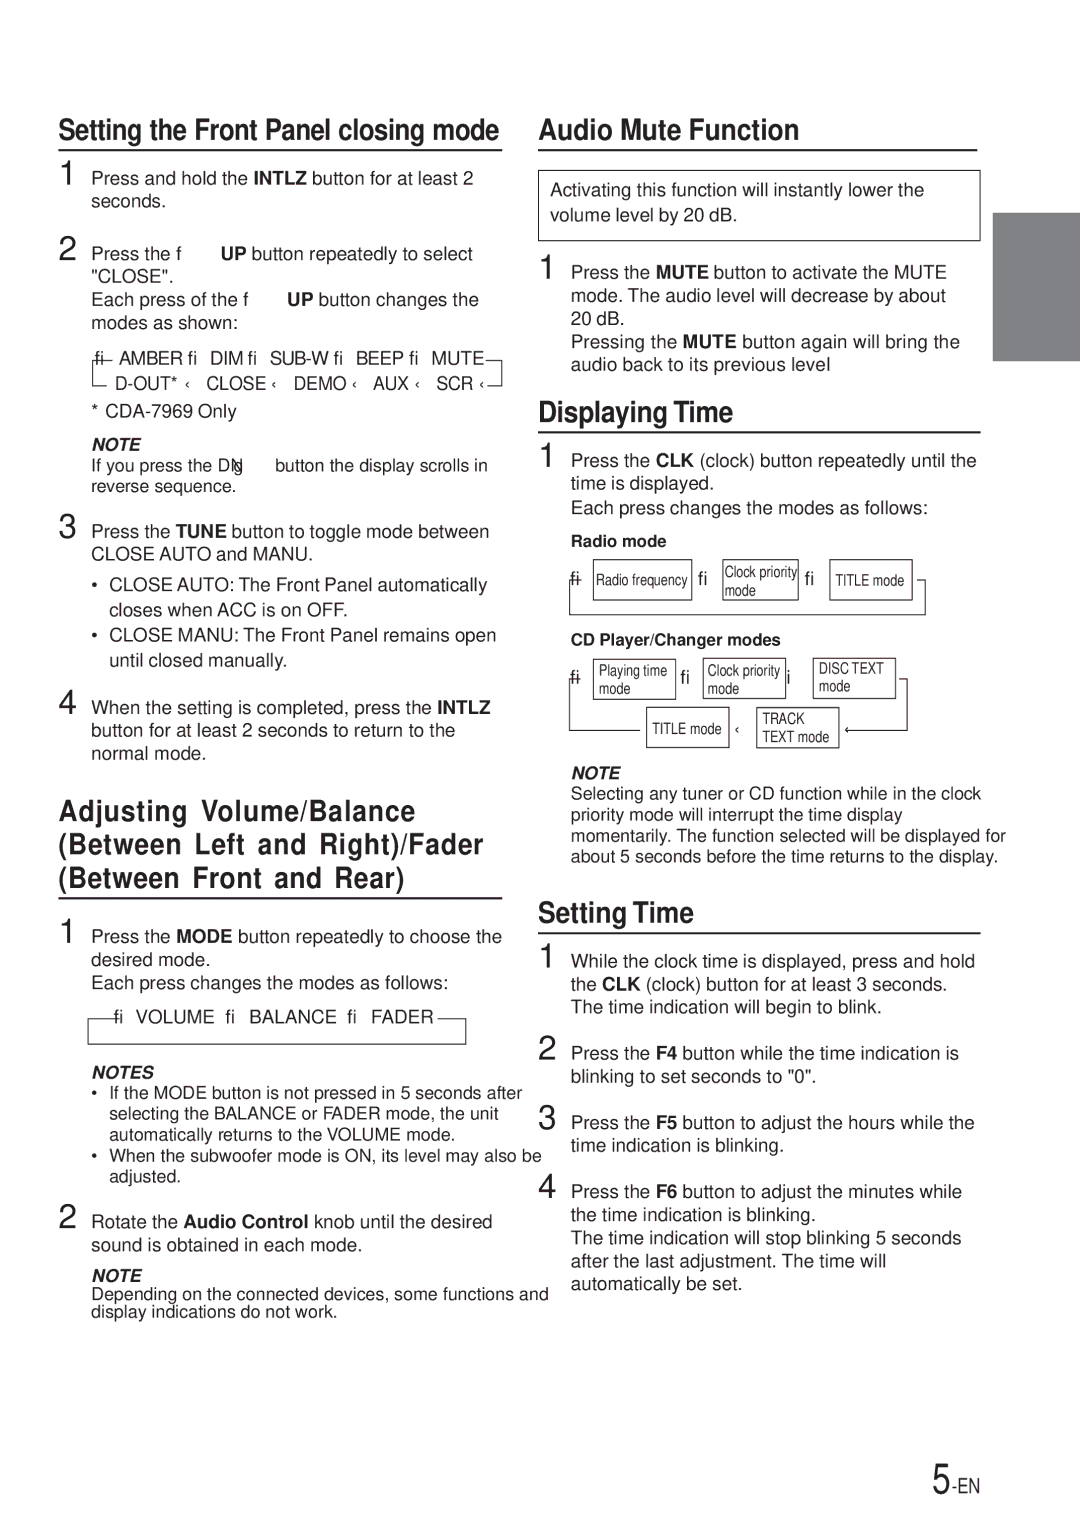
CDA-7969, CDA-7867 specifications
The Alpine CDA-7867 and CDA-7969 are two notable car audio receivers that have gained recognition among enthusiasts for their advanced features, user-friendly interfaces, and superior sound quality. Both models showcase Alpine's commitment to delivering high-performance audio solutions for automotive environments.The Alpine CDA-7867 stands out with its sleek design and a vibrant, illuminated display. It supports MP3/WMA playback, allowing users to enjoy their favorite digital music files with ease. The device comes equipped with a built-in 24-bit Digital-to-Analog Converter (DAC), which enhances sound clarity and detail. An integrated 4-channel amplifier powers up to 50 watts per channel, ensuring a robust audio experience. The CDA-7867 also supports CD playback, providing versatility for users who still enjoy traditional media. Its customizable equalizer features multiple preset options and a 3-band parametric EQ, enabling users to tailor the sound profile to their preferences.
On the other hand, the Alpine CDA-7969 boasts advanced features that cater to tech-savvy users. It includes a detachable faceplate for additional security, making it an attractive option for those concerned about theft. This model is also equipped with a progressive scan CD mechanism, resulting in seamless playback and improved disc handling. The CDA-7969 offers Bluetooth compatibility, allowing for hands-free calling and wireless music streaming from smartphones. Furthermore, it features a comprehensive set of inputs, including USB ports and auxiliary inputs, expanding the connectivity for various audio sources.
Both models utilize Alpine's proprietary sound processing technologies, which optimize acoustic performance for enhanced listening experiences. The dedicated subwoofer output available in both units allows for the easy integration of subwoofers, amplifying low-frequency sounds and producing a fuller audio spectrum.
In summary, the Alpine CDA-7867 and CDA-7969 are excellent choices for those seeking high-quality car audio systems. With their blend of traditional and modern technologies, these receivers cater to a wide range of audio preferences, ensuring that users can enjoy their favorite music with exceptional clarity and power. Whether selecting the CDA-7867 for its straightforward functionality or the CDA-7969 for its advanced features, both models are designed to elevate the in-car audio experience to new heights.

